
After Effects is a robust application with a steep learning curve, but one way to take advantage of its features is to start with a template. Try your hand at After Effects and learn to customize an AE template for a promo video with this step-by-step tutorial. We’ll provide the free AE template and other assets so you can easily follow along. Don’t have After Effects? Get a free trial.
Learn to create this:
But first, download the template and other assets to get started.
Just make sure you know that by downloading this content, you agree that you will only use this content for personal use to practice your skills, and not for any other purpose such as a commercial purpose, nor will you distribute this content to anyone.
Now that you’ve downloaded the assets, follow along with the video or the transcription below.
Download and Get Organized
Download all assets and put them in a folder. When working with AE, it’s important to keep your assets together, as After Effects will continue to reference each file’s location.
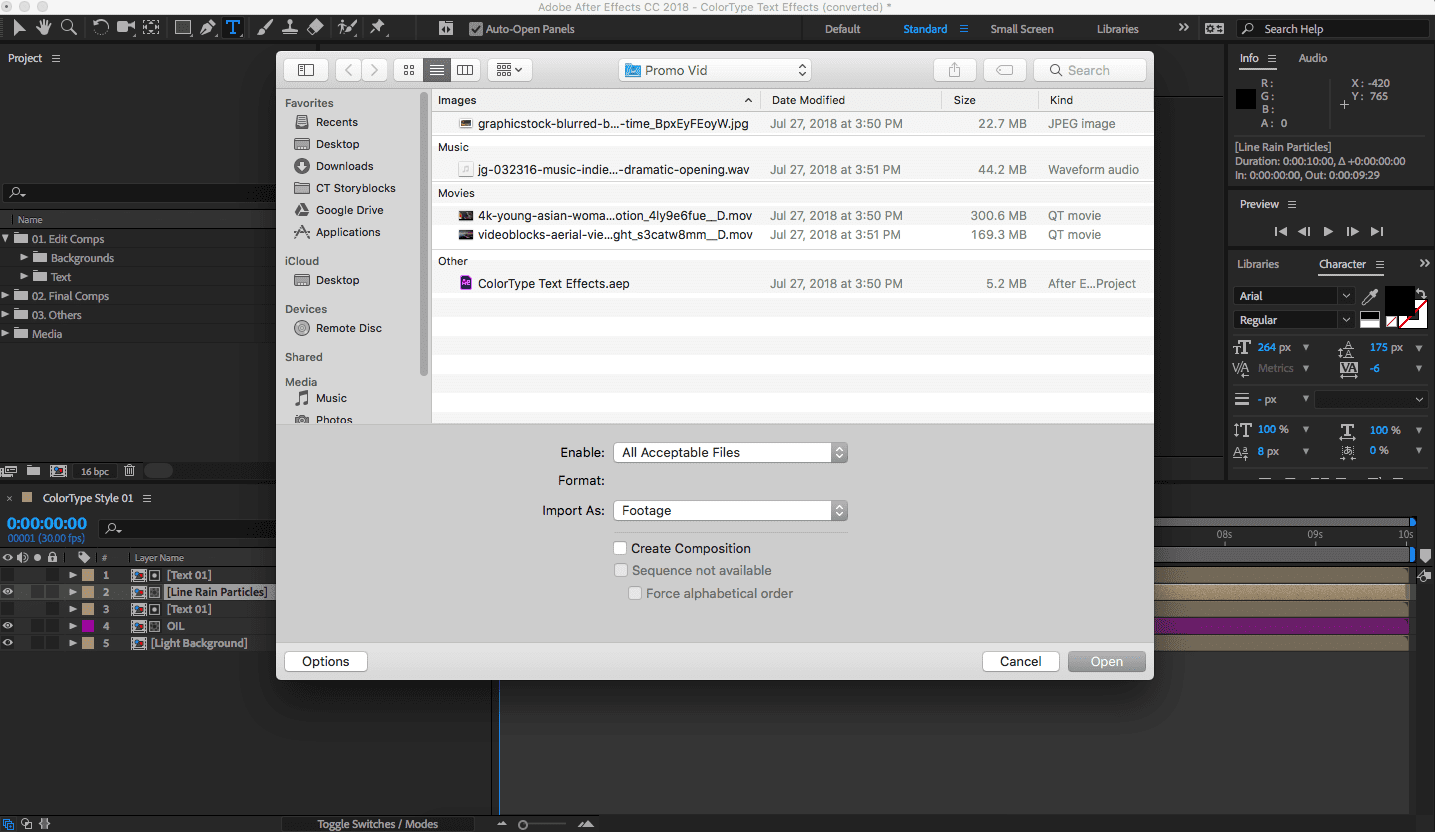
Import Media
Open the project and click OK. To import other files, go to File > Import > Files (Cmd/Ctrl-i) to and choose any other assets like video or music that you know you want to use. You may want to create a folder in the Project panel for imported media (File > New > New Folder).
Create a New Comp
Go to Composition > New Composition and select the size and duration for the comp. Give a name that makes sense, too. We’ll call it “Final.” Pro Tip: If you are creating a vertical or square video for social media, set those dimensions in this step.

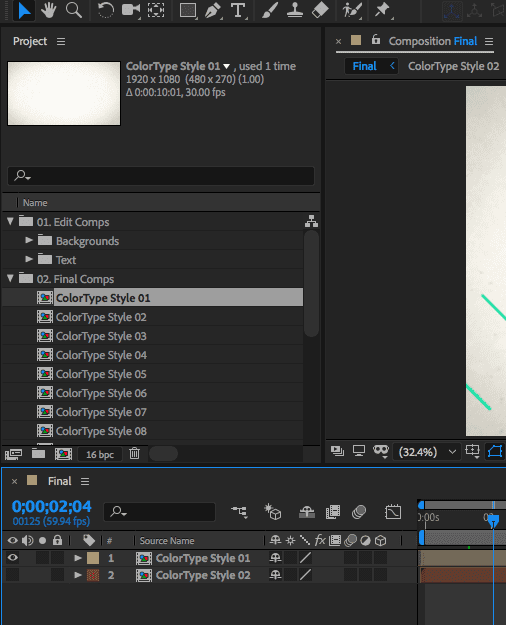
In the Project panel, find the animations you like in the Final Comps folder. Double-click a comp to open and press spacebar to view it. Drag the ones you like to the timeline in your new comp. We’ll use styles 01 and 02 now. Hide all but one layer to start, by clicking the eyeball next to the layer name.
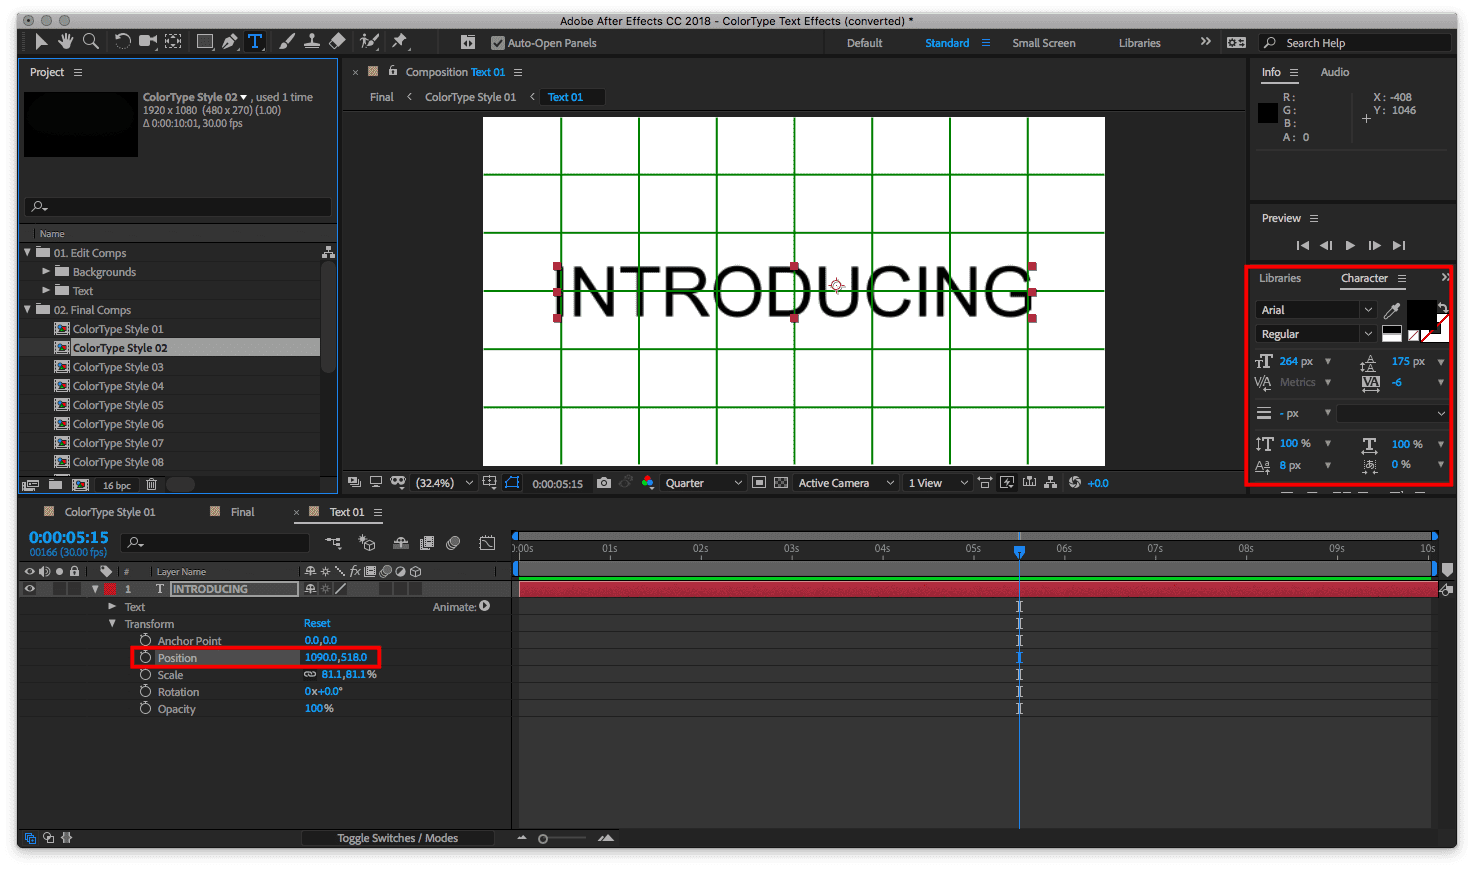
Edit the Text
To change the text, navigate to the Text Comps in the Edit Comps folder in your project panel. Open the comp you want to edit and double-click the text in the Viewer to change it. Use the Character panel on the right side to edit the size and font. Note: if you don’t see the Character panel, navigate to Window > Character. Reposition text by using the Selection Tool or by using the Position property in the Timeline.
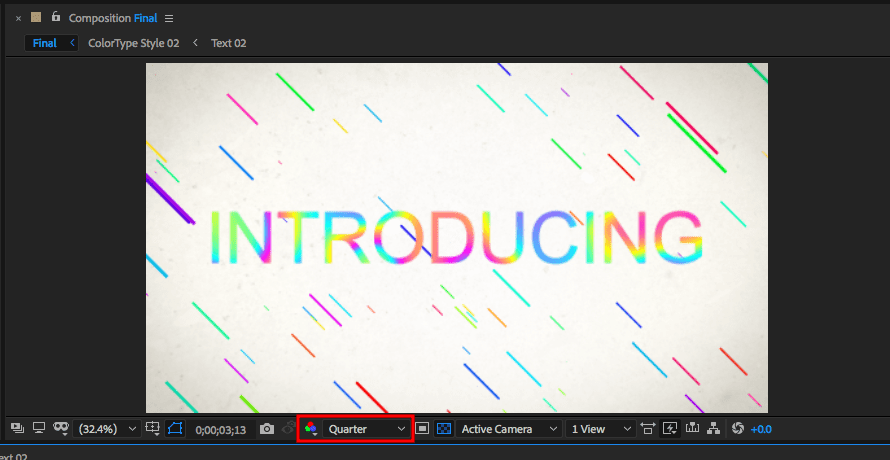
Check in on your progress by opening the Final Comp and playing back what you have so far.
Note: If playback is lagging on your computer, lower the playback quality for better performance while you work. This will not affect output quality.
Trim the first shot by clicking and dragging the end in the Timeline. Unhide the next layer and click and drag to trim and re-position in the Timeline.
Locate the Edit Comp for Style 02, and edit the text, font, and position.
Add Media
Drag the first video clip to the timeline. Click and drag the ends to shorten the clip and re-position. Do the same with the second video clip and the photo.
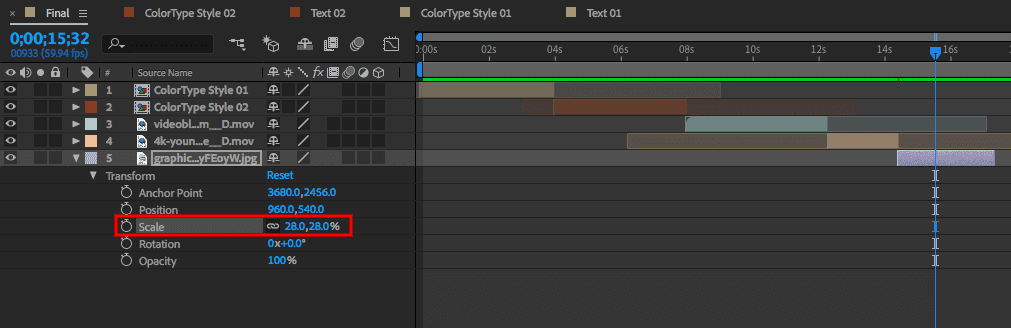
The photo will need to be resized to fit your project. Locate the Scale (s) property under the photo layer in the timeline and lower the scale.
Playback the entire project so far and adjust all timing as needed. Remember to keep it moving!
Next, import your logo. Drag the logo from the Project panel to the Timeline. Make sure it is above the photo layer. Trim the logo layer to line up with the photo layer. Resize it using the Scale (s) property in your Timeline.
To use text instead of a logo, select the image layer and choose the text tool. Click in the Viewer and type your text. Trim the text clip in the timeline to line up with the image layer.
Add Audio
Now let’s add the music. Drag the audio clip from the Project panel to the Timeline. The track is a little long so we’ll need to create a fade out. Open up the drop downs in the Timeline until you see the audio waveforms. On the Timeline, find where you want to begin the fade out and add a keyframe by clicking the timer icon. Next, move the Playhead to where the audio will stop, and set the audio levels to -20. Play it back and click and drag keyframes to tweak the timing.

Export
To export, go to File > Export > Add to Render Queue. Select your render quality, name, and output location and click Render. Locate your file and play it back to make sure it looks good.

Create more promos like this one with your Storyblocks membership and unlimited downloads of AE templates, videos, images, and audio from our library. Show us what you create by tweeting us @StoryblocksCo. If you’re ready to take your After Effects skills to the next level, start here.


