
Blurring your video projects in Premiere Pro can be a great way to add more movement, blur people’s faces for privacy, or even cover up objects/logos you don’t want to show up in your footage. Adding blur to your video is a more advanced effect (if you’re new to Premiere Pro, check out our beginner’s guide). but fairly simple to master. In this post, we’ll walk you through the 4 steps for how to blur your video projects in Premiere.
If you’re looking to add a motion blur effect specifically, you can check out our tutorial on that here!
4 steps for adding blur to your video
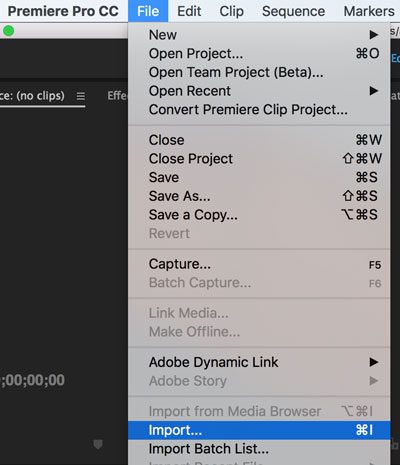
Step 1: Import Your Footage
Open up Premiere Pro, go to File>Import, choose your footage, and drop it into your Timeline. If you’re a member, you can use your Storyblocks plugin to easily browse our library and add footage to your project right within your editor.
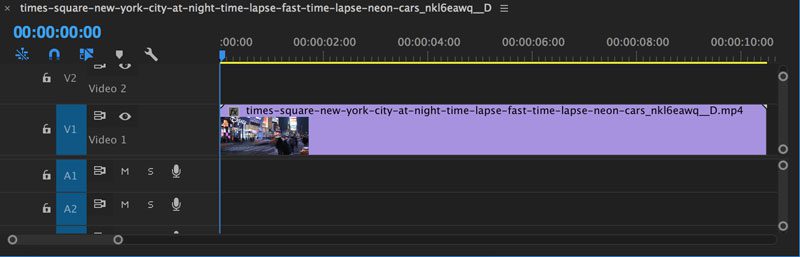
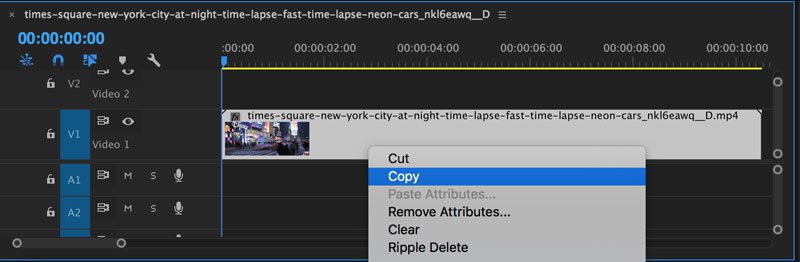
Then Copy the clip and place it above the original clip on track two of the Timeline.

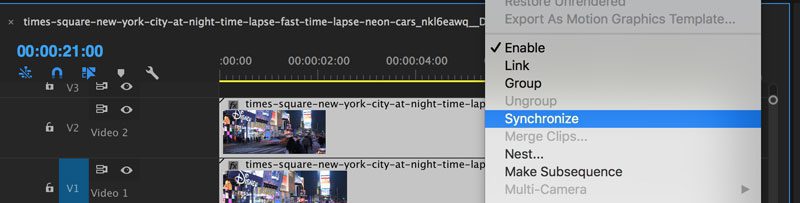
Step 2: Sync your clips
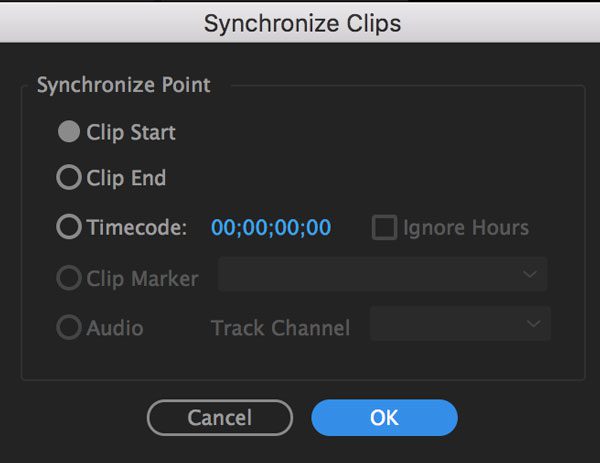
With both clips selected, right click and choose Synchronize. Select the option Based on the Clip Start and click Okay to sync the clips together.
Step 3: Add the Blur Effect to Your Video
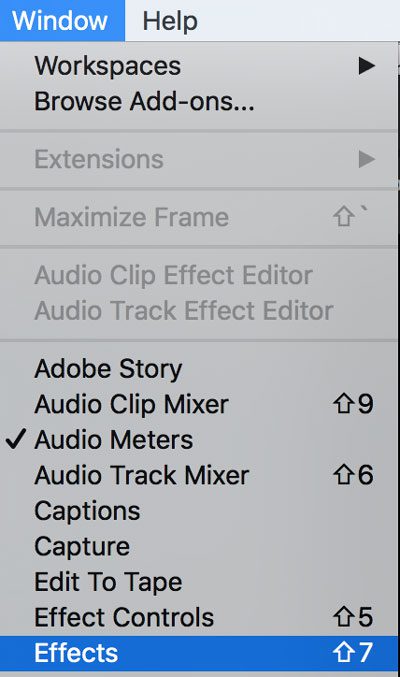
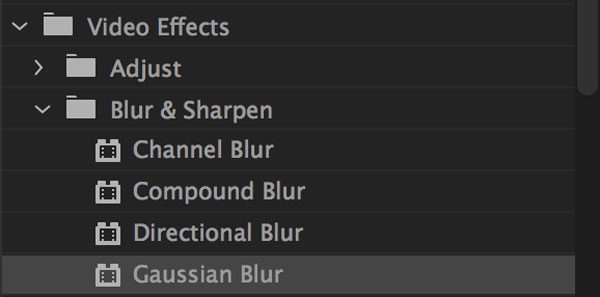
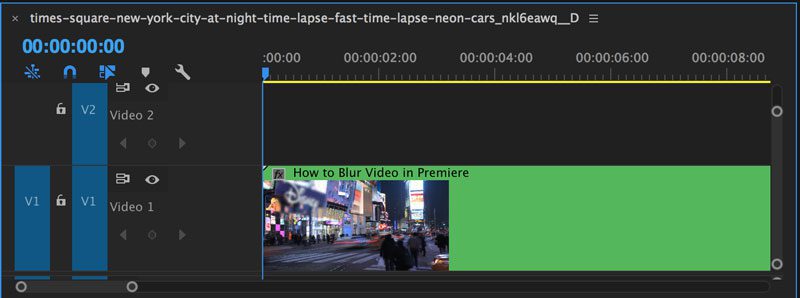
Go the Video Effects menu and choose Gaussian Blur in the Blur and Sharpen folder. Drag that effect onto the clip on Video Track 2.
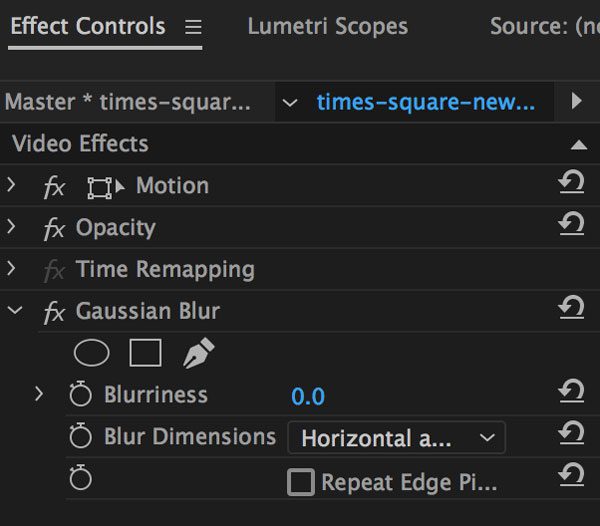
Next, go to the Effects Control Panel to manipulate the effect. Set the Gaussian Blur to the appropriate blurriness. We like to start in the 25-30 range.
Then go to back to Video Effects and click Transform and choose Crop. Use the crop parameters to scale down the crop and move it to cover the desired logo or image. You can also create a Mask to crop your blur to an area.

Step 4: Export your clips
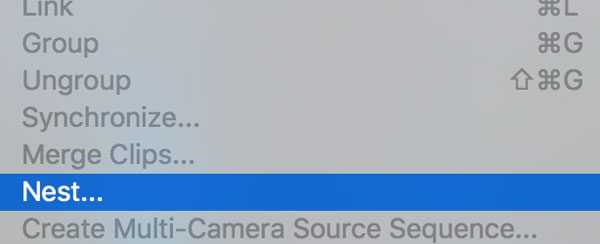
Go to Clip and select Nest to merge your two clips together. Then go to File> Save As.. or Export your file to use in your next project!
Learn how to do more with Premiere Pro
It’s that easy! So the next time you’re reviewing your b-roll and you realize you’ve got some unintentional product placement—you know what to do. Or maybe you just want to add a touch of mystery to your project. Blur effects are handy for all sorts of use cases. If you’re learning Premiere Pro, check out more of our simple tutorials for creating advanced things like a Ken Burns effect, glitch effect, or an invert effect.
If you’re looking for a faster way to add effects to your projects, Premiere Pro templates are worth exploring. These pre-built, customizable templates are created by professional editors and allow you to easily add advanced effects to your projects in just a few clicks.
Editor’s Note: This post has been updated to include additional information. It was originally posted on January 30, 2013.


