Today, so many people post high-quality video content, and it can be tough to stand out from the crowd. Sometimes good footage alone is not good enough. Luckily, there are tricks you can use to step up your game — like adding an animated illustration to your footage.
In this tutorial, I’ll show you how to add animated illustrations to your footage using After Effects, transforming a standard video into something unexpected. It’s a fun and creative effect to make, and it’s not that hard to do; it just takes a bit of time to complete. The end result is well worth it, so stick with me!
If you’re brand new to After Effects, check out the Beginner’s Guide to Advanced Tools and Techniques for a primer. And head over to Storyblocks Video to download some stock footage to work with.
Let’s get started!
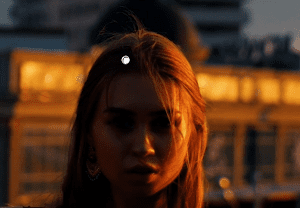
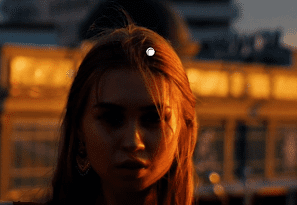
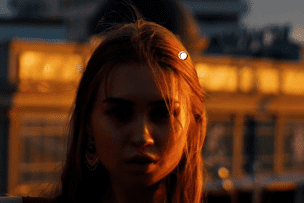
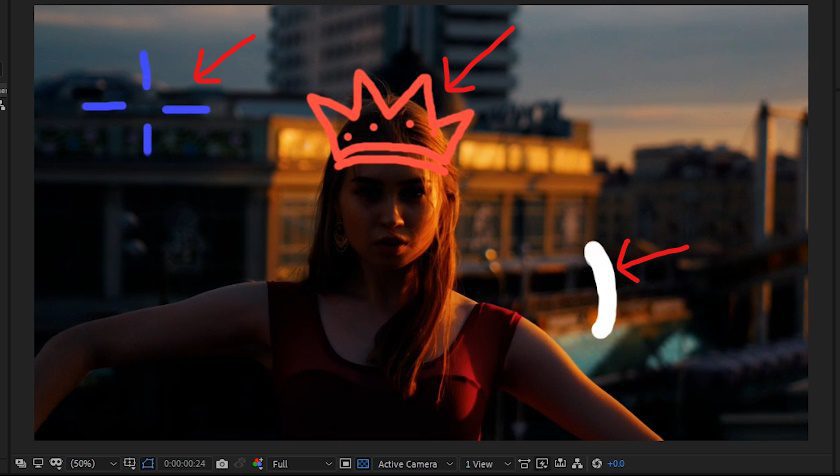
Here’s what we’ll have created by the end of the tutorial:
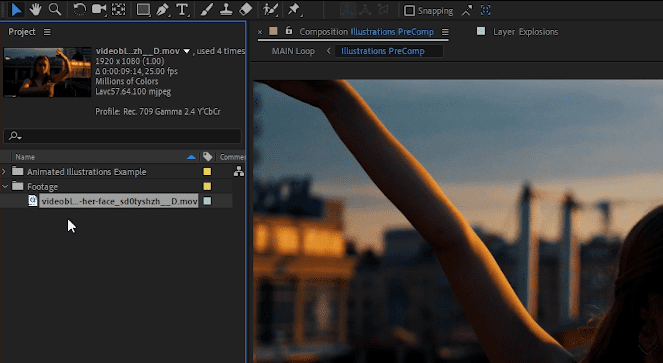
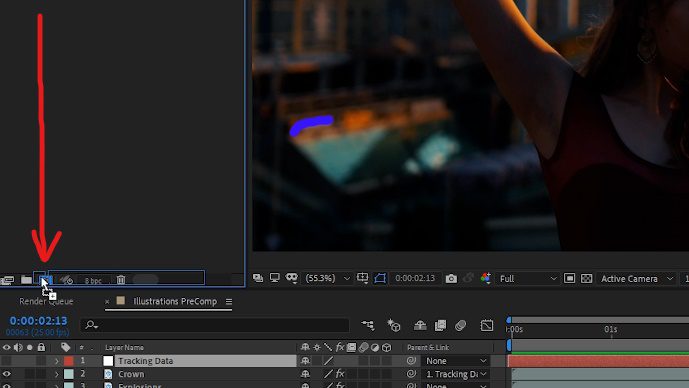
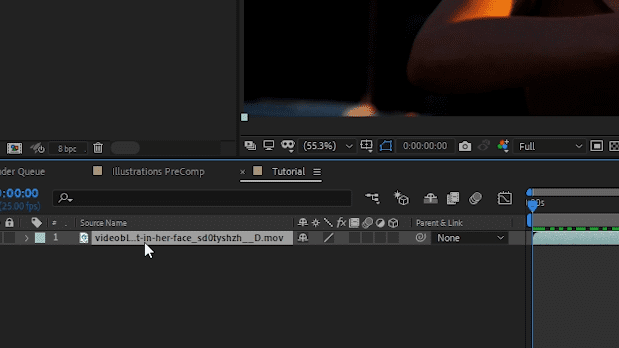
1. Import your footage into After Effects and drag it onto the New Composition button.
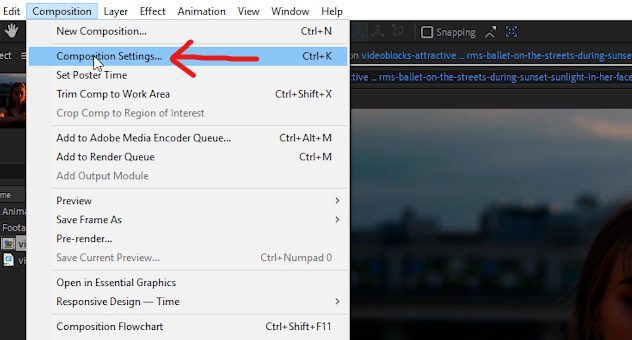
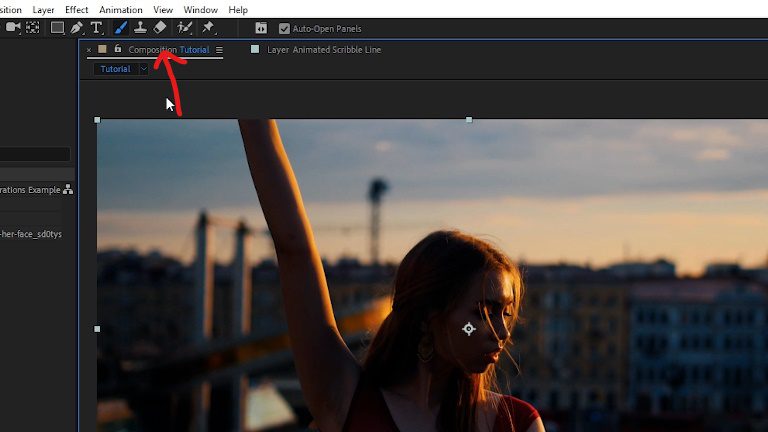
2. At the top of the After Effects screen, click on Composition and then Composition Settings.
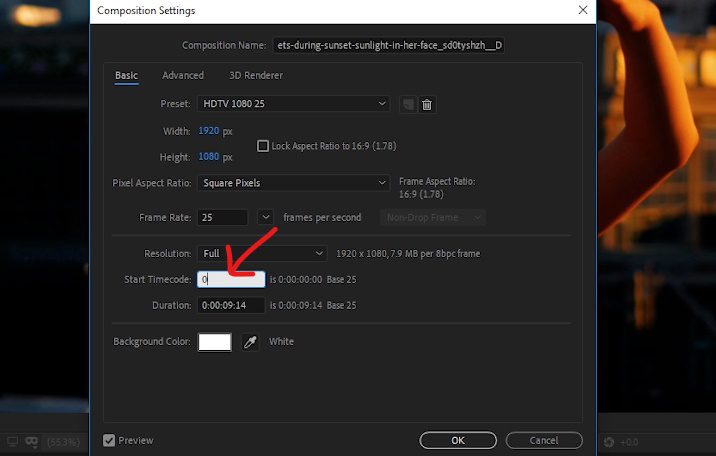
Change the Start Timecode to 0, so that it is easier to tell which frame we will be on while creating the effect.
3. In the composition, click on the footage to select it, and duplicate it (Cmd + D on Mac, or Ctrl + D on PC.)
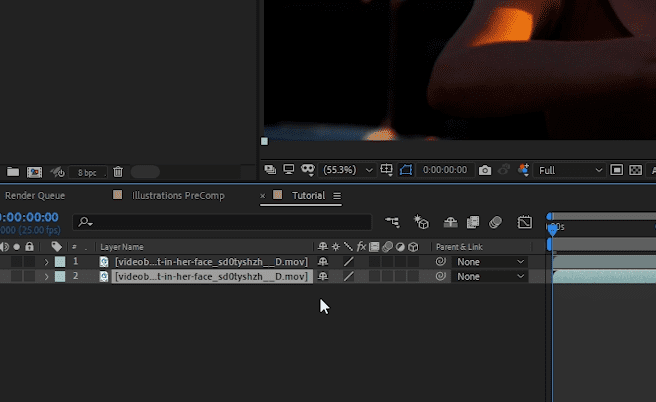
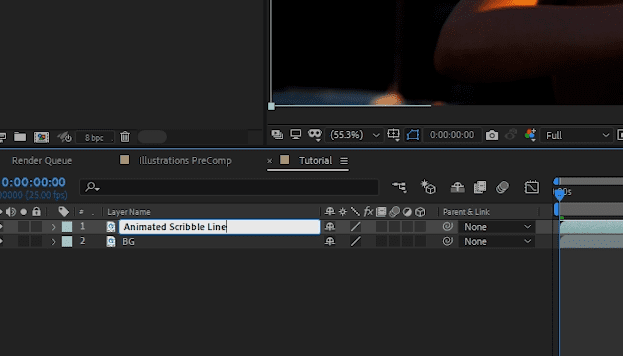
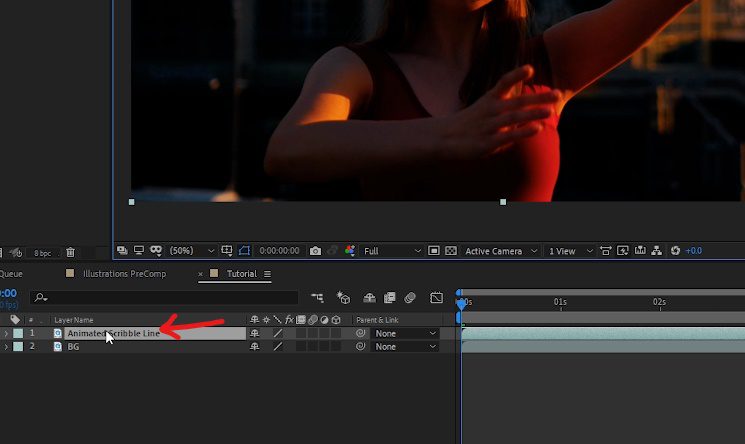
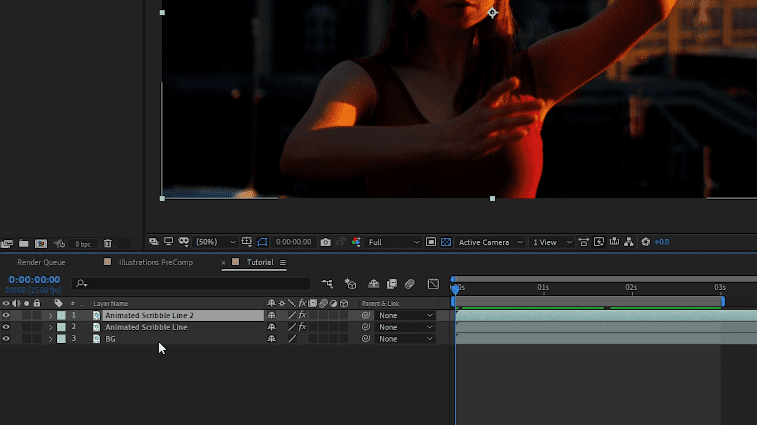
Then rename the layers by selecting the bottom layer first and pressing Enter on your keyboard; name it ‘BG’ for background, and rename the duplicated layer ‘Animated Scribble Line.’
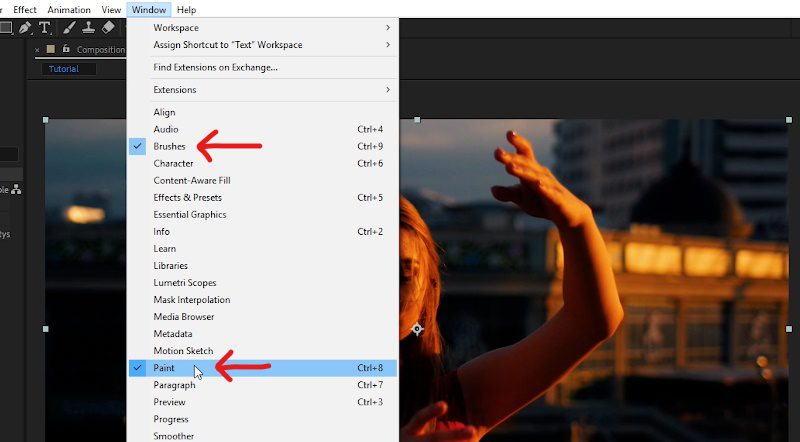
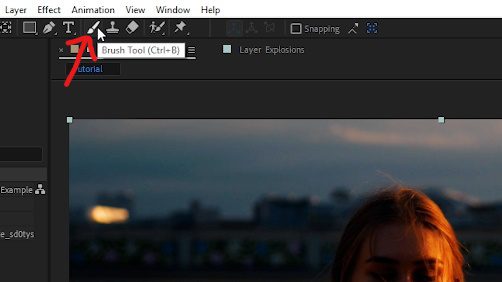
At the top of the After Effects screen, click on Window and open the Paint and Brushes panel windows, and switch to the Brush Tool.
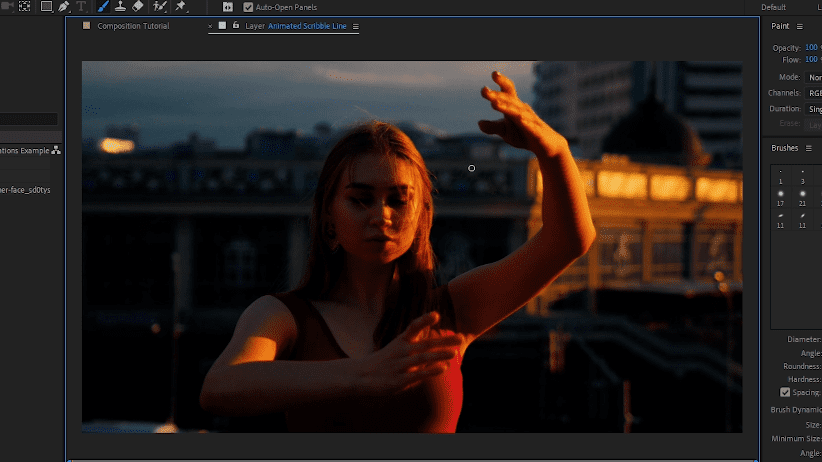
Double-click on the Animated Scribble Line layer within your composition to switch to the Layer panel. This will allow you to start painting.
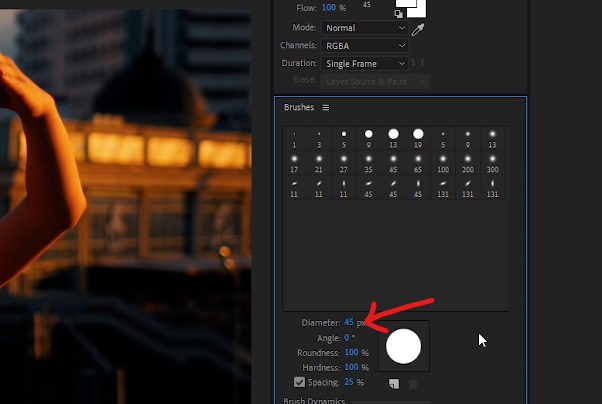
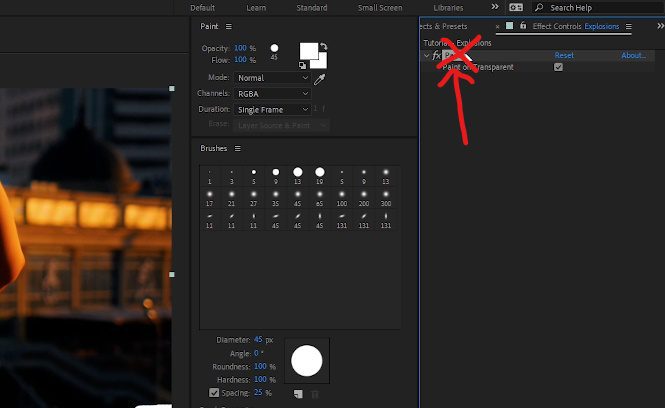
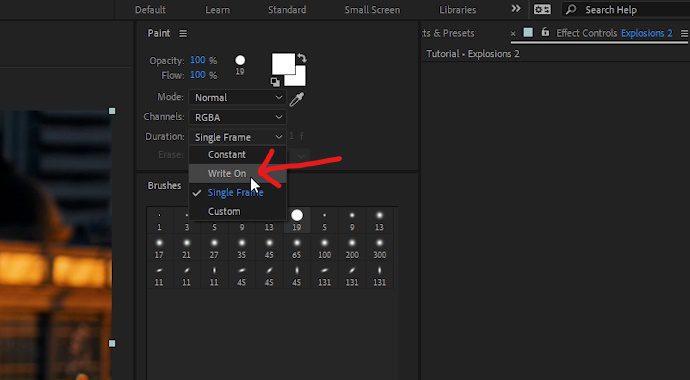
5. Within the Paint panel window, change the settings so that it looks like the following:
Opacity: 100%
Flow: 100%
Mode: Normal
Channels: RGBA
Duration: Single Frame
Setting the Duration to Single Frame means that when you paint, it will only stay on screen for 1 frame.
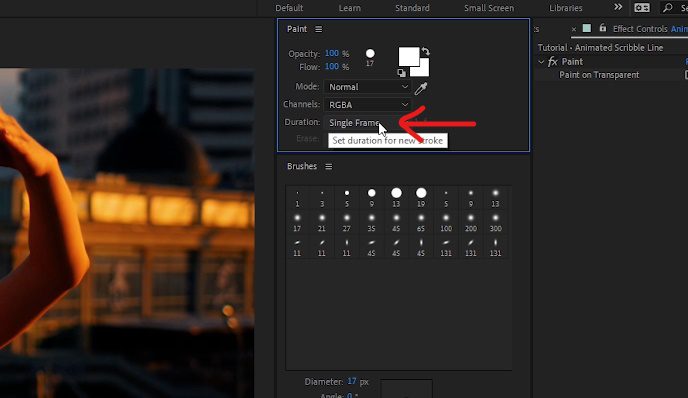
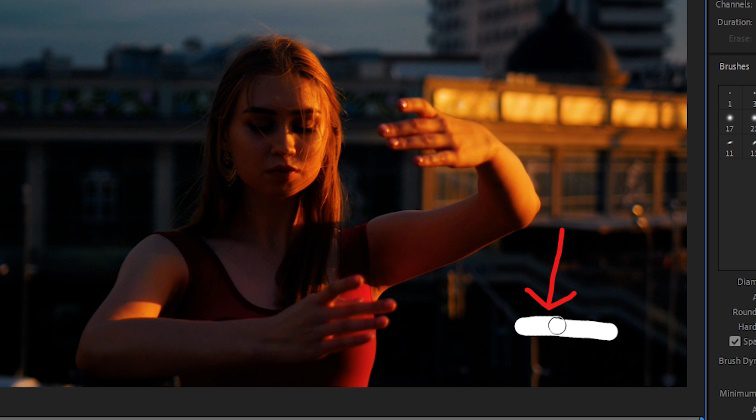
In the Brushes panel window, set the Diameter to 45 pixels to increase the size of the paintbrush.
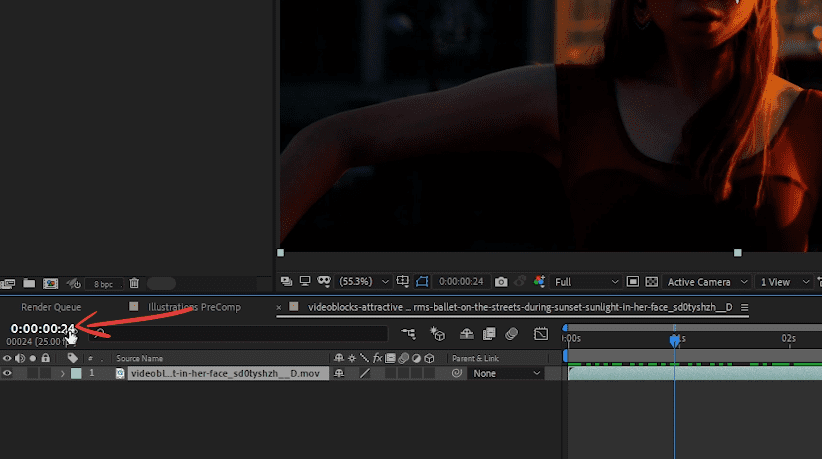
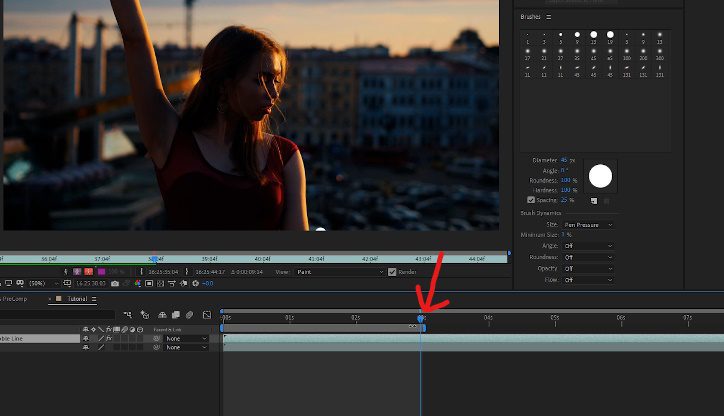
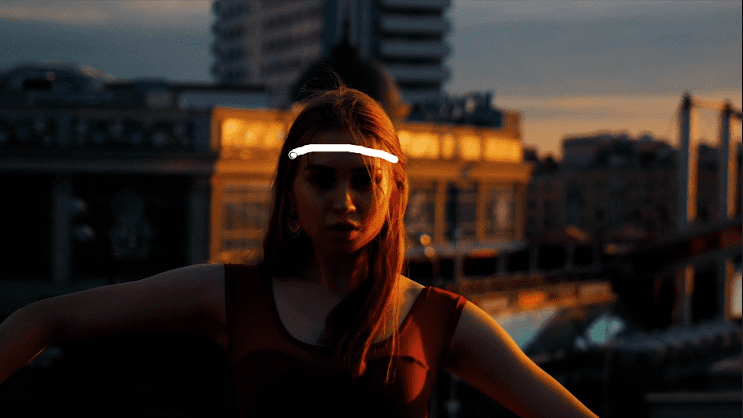
6. Next, set the playhead to the start of your composition.
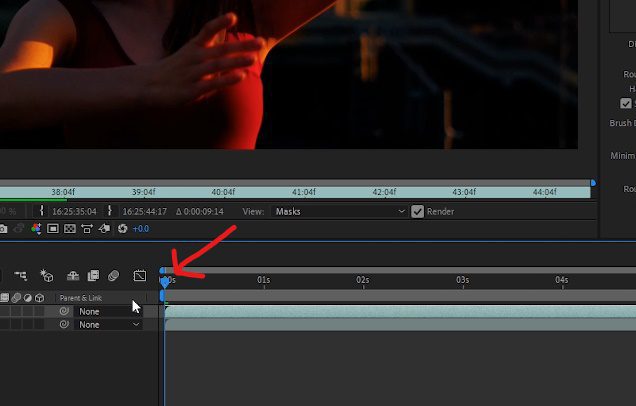
Start painting frame by frame to begin creating the animated illustration effect until it has been completed (using a full-size keyboard, you can press the Page Up or Page Down keys to switch frames instead of using your computer mouse.)
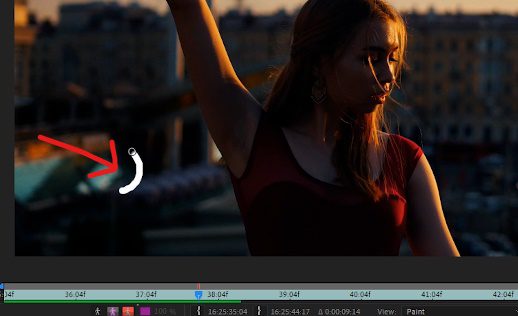
First frame:
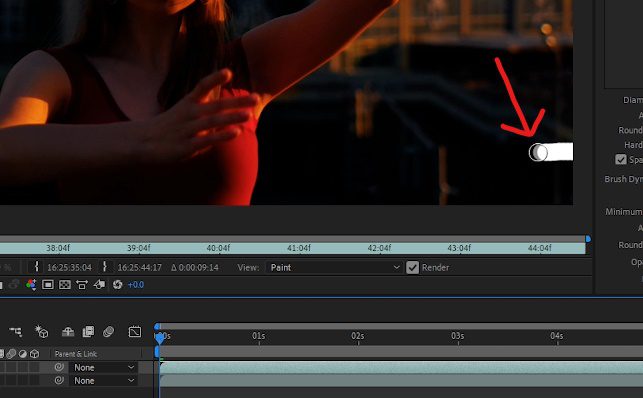
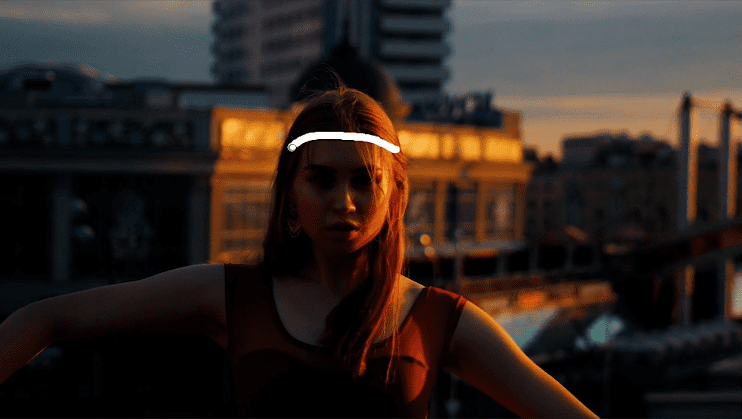
Second frame:
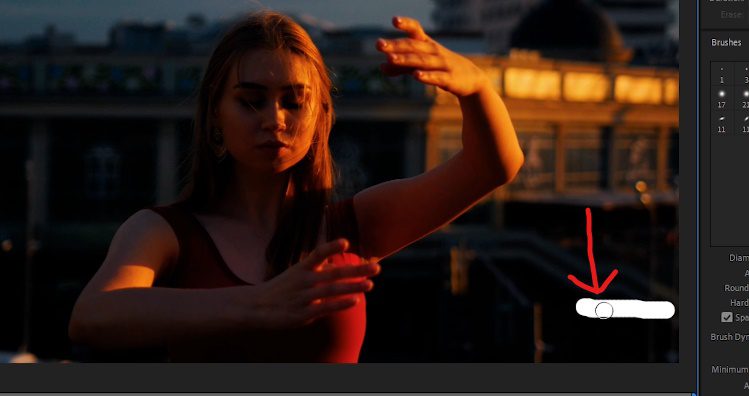
Third frame, etc.:
7. If you do not want to animate over your entire footage, move the timeline cursor to where you’d like the footage to end and press ‘n’ on your keyboard to trip the work area.
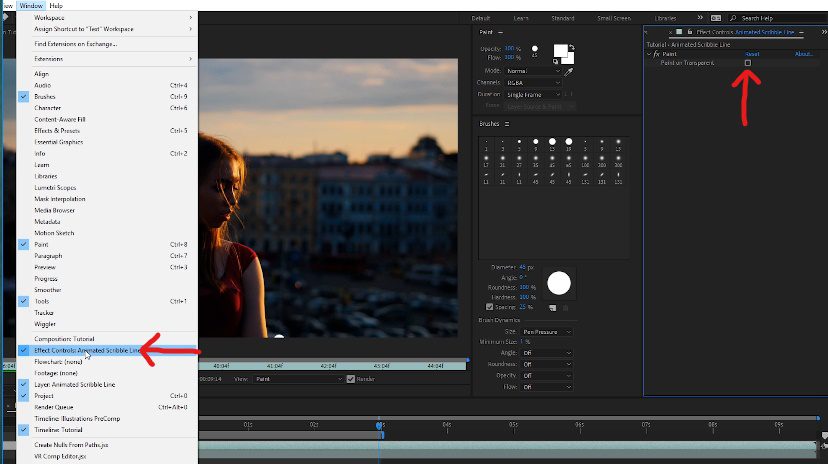
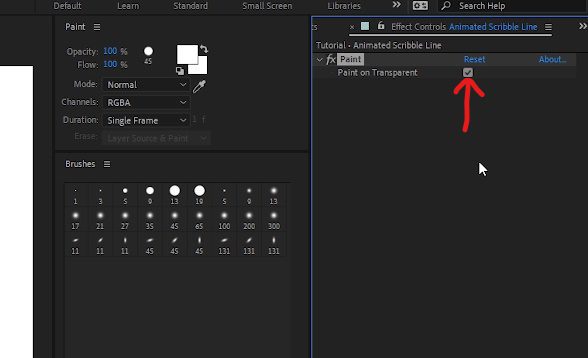
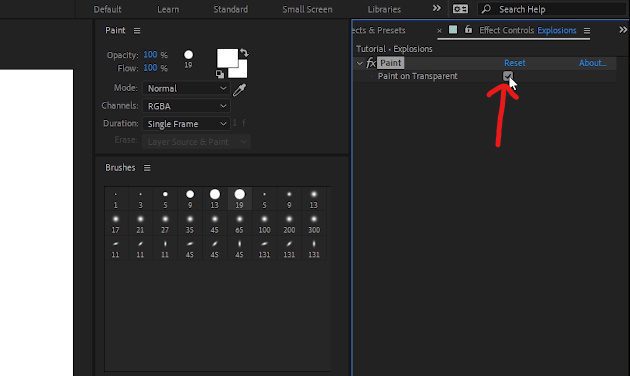
8. Then, at the top of the After Effects screen, go to Window and open the Effect Controls panel window, and check the box for Paint on Transparent. This will remove the footage from the layer and only keep the paint effect. This is what we want because we can still see the footage from the original ‘BG’ layer at the bottom of our composition.
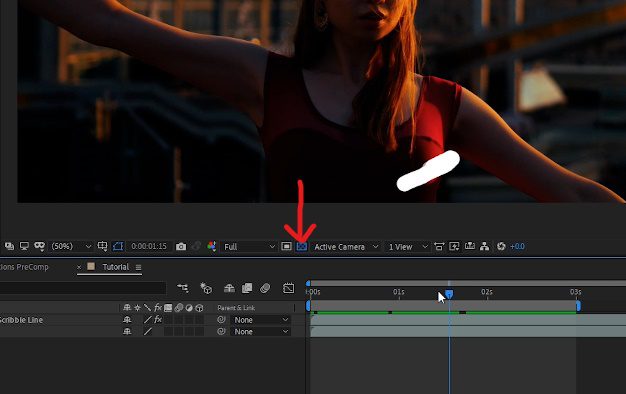
Next, go back to your Composition window.
Press the Toggle Transparency button. This allows the white paint to be seen if you were to remove the ‘BG’ layer and had your composition background color set to white.
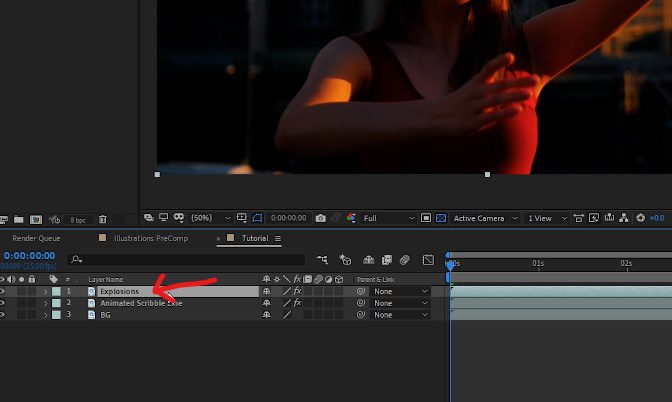
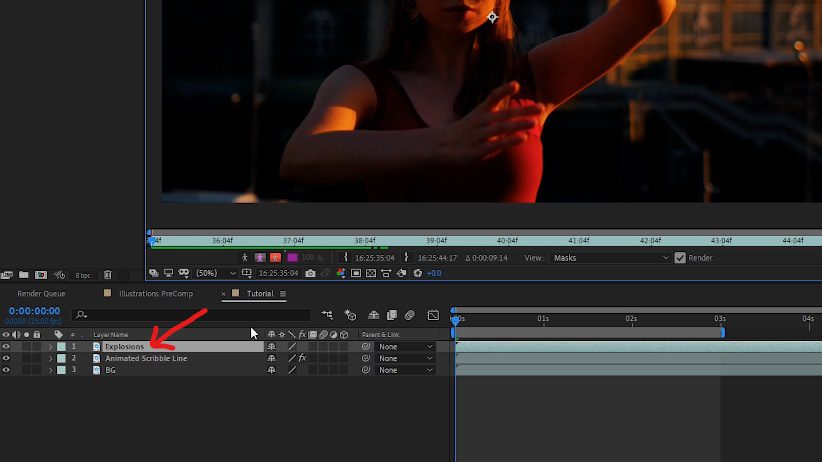
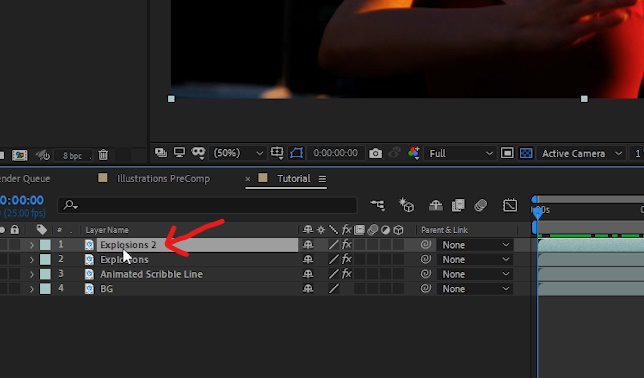
Now that we are finished with the animated scribble line let’s select it, and duplicate it (Cmd + D on the Mac, or Ctrl + D on the PC.)
Rename it to ‘Explosions’ by pressing Enter on your keyboard.
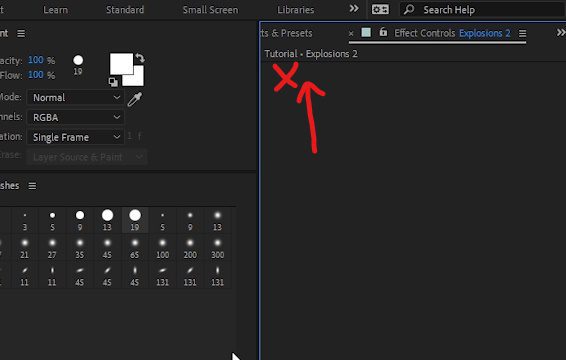
Then, in your Effect Controls panel window, select the Paint effect and delete it, so that we can create a new paint illustration on this duplicated layer.
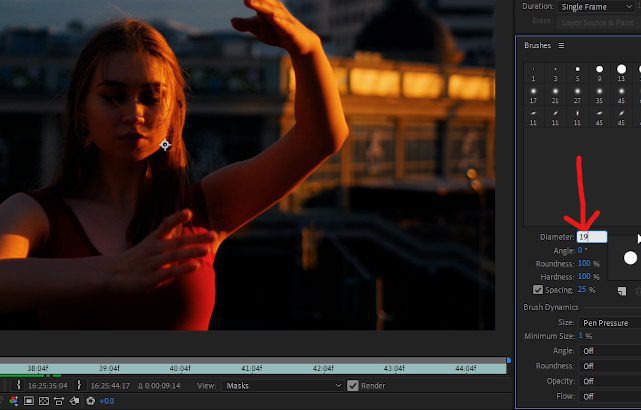
10. Double-click on the Explosions layer within the composition like we did in step 4.
Within the Brushes panel window, change the Diameter to 19, (this will create a smaller paintbrush size) and begin painting on each frame until the illustration is complete.
First frame:
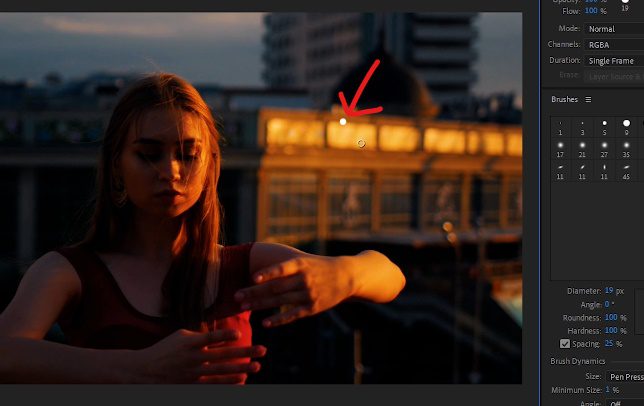
Second frame:
Third frame, etc.:
11. In my example, I created 4 of these explosion illustrations (2 on the right side of the frame and 2 on the left side of the frame.) However, create as many or as few as you see fit.
12. With the Explosions layer selected in the timeline, navigate to the Effect Controls panel window and, once again, check the Paint on Transparent box.
Then duplicate the Explosions layer in the composition, and rename it to ‘Crown.’
And once again, within the Effect Controls panel window, delete the Paint effect.
13. For the next step, instead of leaving Duration inside the Paint panel window set to Single Frame, let’s change it to Write On. This will allow the effect to animate on the screen over time between 2 keyframes.
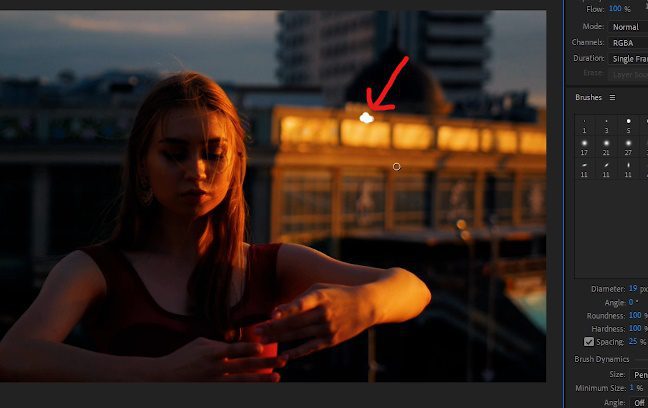
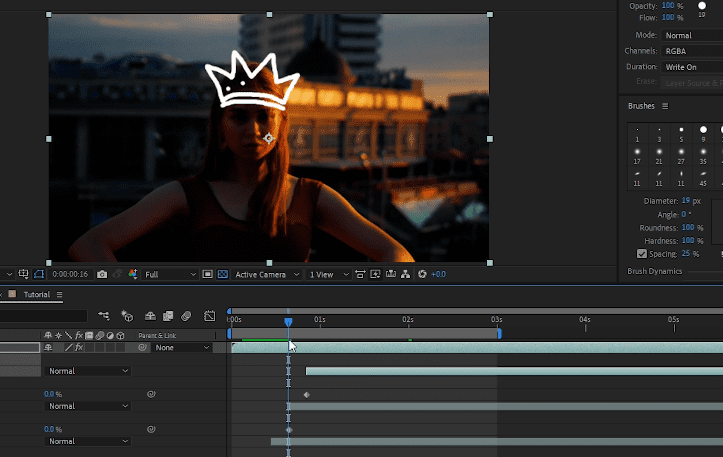
Double-click on the Crown layer to enter the layer (which will let you start painting like in previous steps), move your timeline cursor to the time in your composition that you’d like the animation to be, then on the same frame, paint on the entire illustration. For my example, the crown will be painted on in 7 steps:
Bottom line:
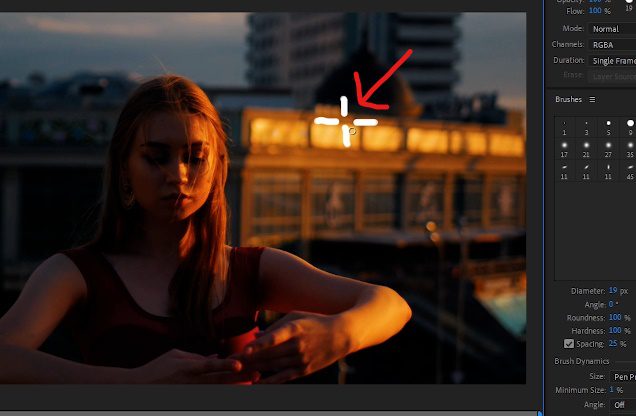
Second line:
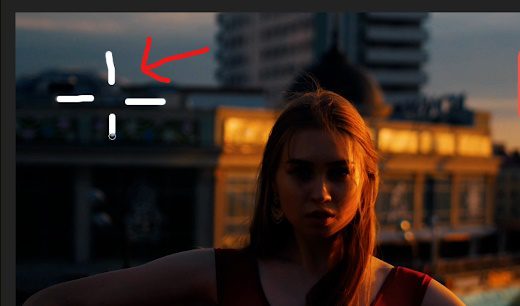
Top of crown:
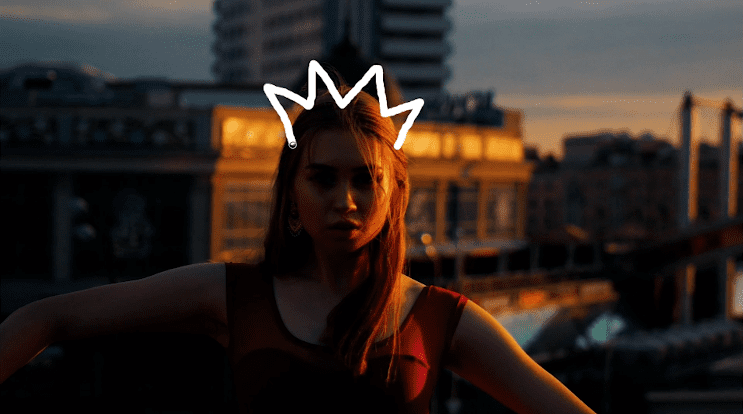
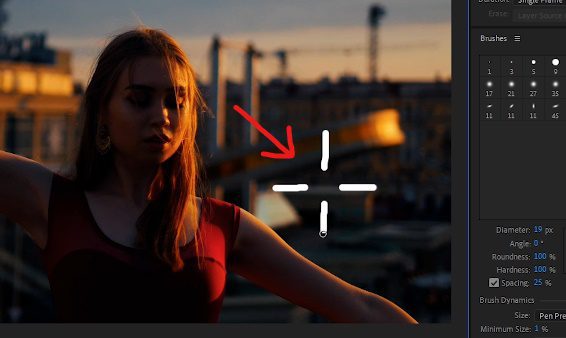
And the 4 dots:

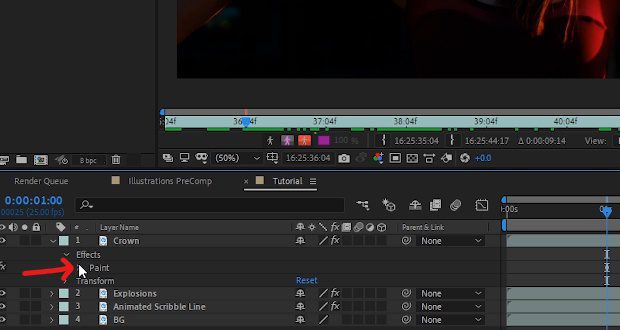
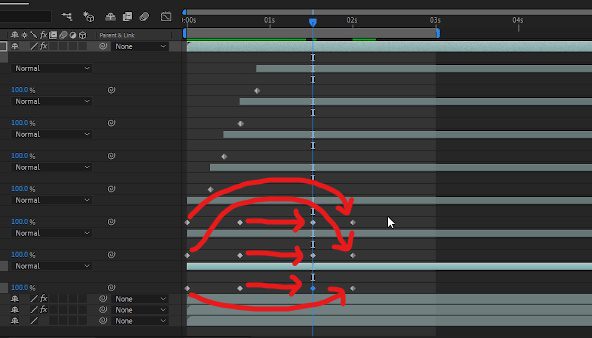
14. Now that the crown illustration has been painted onto 1 frame navigate to the Composition window and open up the paint sub-layers.
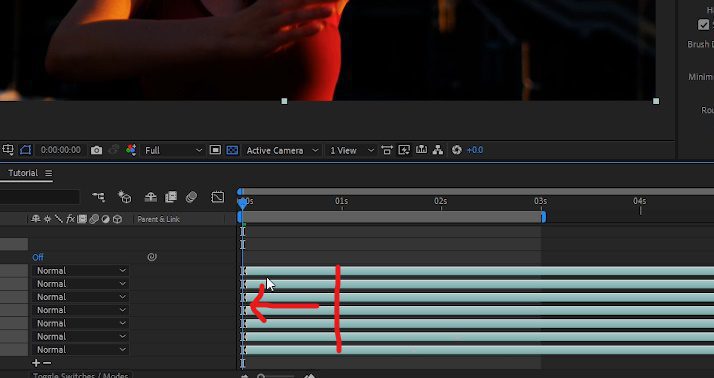
And since the animation is happening too slow, we need to make some adjustments. Select all of the paint layers, and move them to the beginning of the composition, or where you’d like the animation to start.
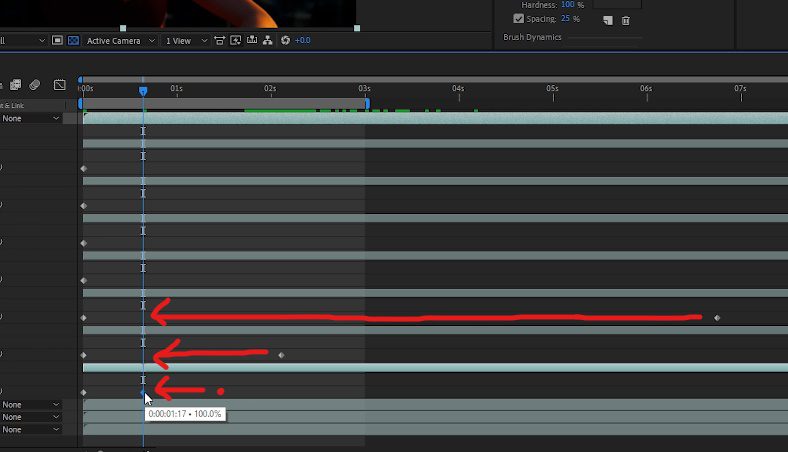
Press the ‘u’ key to reveal all the keyframes on the selected layers, and drag each of the keyframes that are too far to the right, to where you want them to animate in.
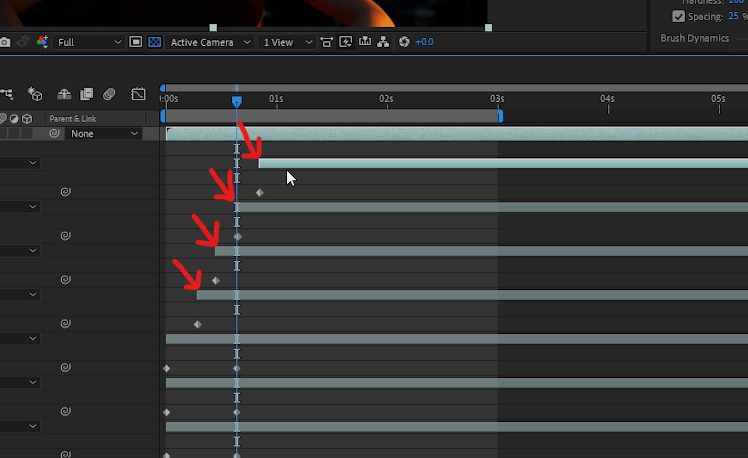
For the four dots, position them so that they animate in gradually.
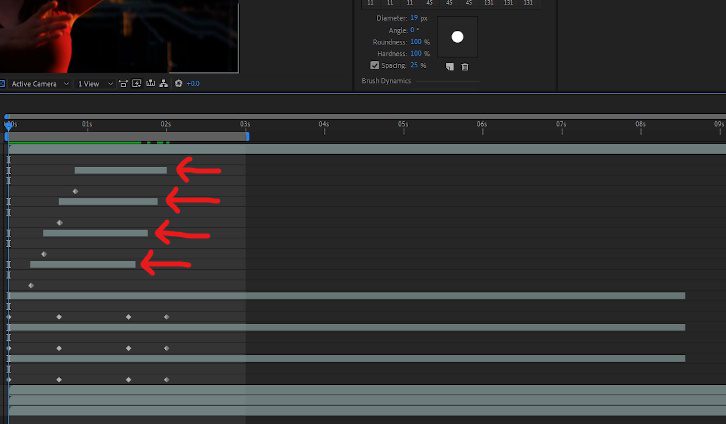
15. To animate the crown back, we can use the existing keyframes by copying them to the time in the composition where we’d like the crown to start animating out.
With the timeline cursor at the time in the composition where you’d like to paste the keyframe, select a keyframe and press Cmd + c on Mac, or Ctrl + c on PC, then press Cmd + v on Mac, or Ctrl + v on PC.
Continue this step until you have all of the keyframes copied and pasted for the ending part of the crown animation.
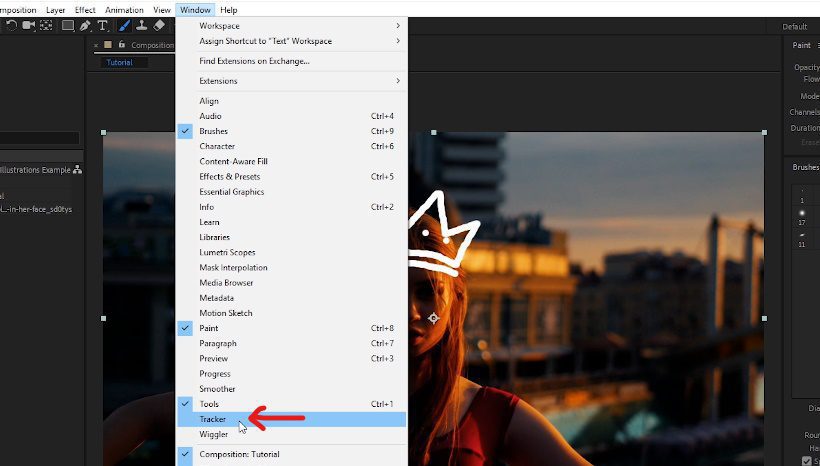
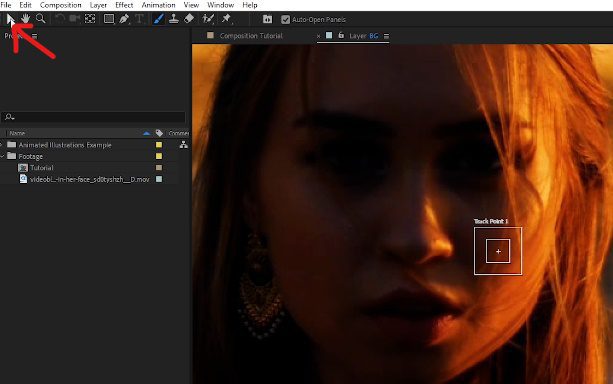
17. The next step is to track the crown to the person’s head so that it follows her movement. With the ‘BG’ layer selected, navigate to Window at the top of the After Effects screen and open the Tracker panel window.
Next, within the Tracker panel window, click on Track Motion.
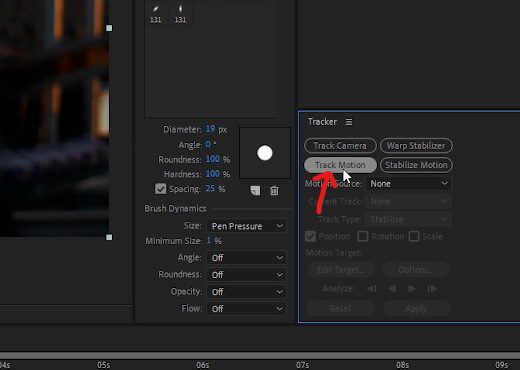
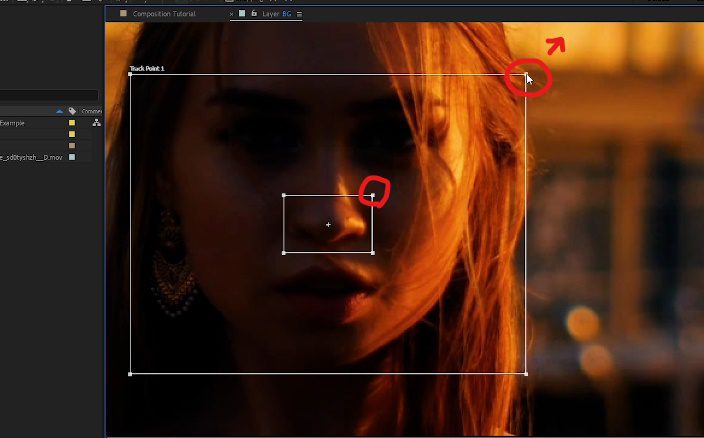
Switch back to the main selection tool, place your timeline cursor in your composition to approximately the same frame as where you painted on the crown, then adjust the Track Point 1 box in the middle of your footage so that it covers the part of the footage that you’d like to track.
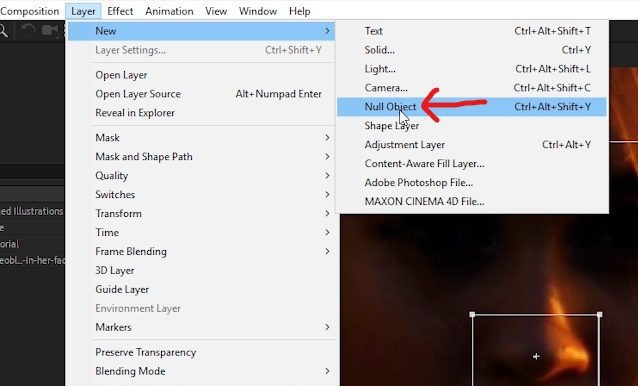
18. At the top of the After Effects screen, click on Layer, New, Null Object.
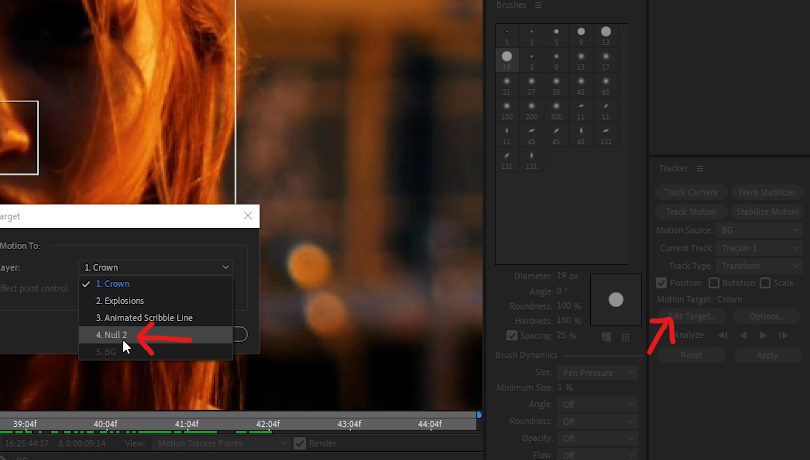
And within the Tracker panel window, click on Edit Target and set it to your Null Object. This will hold our tracking data once we track our footage.
Now that we have the Edit Target connected to the Null Object we created let’s track our footage from the current time in the composition to the beginning by pressing the Analyze backward button.
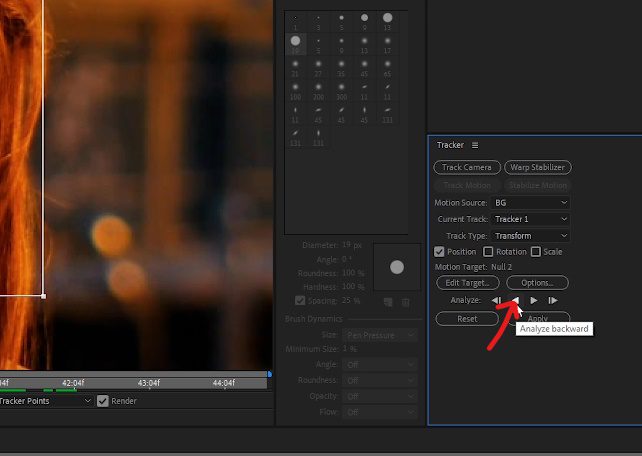
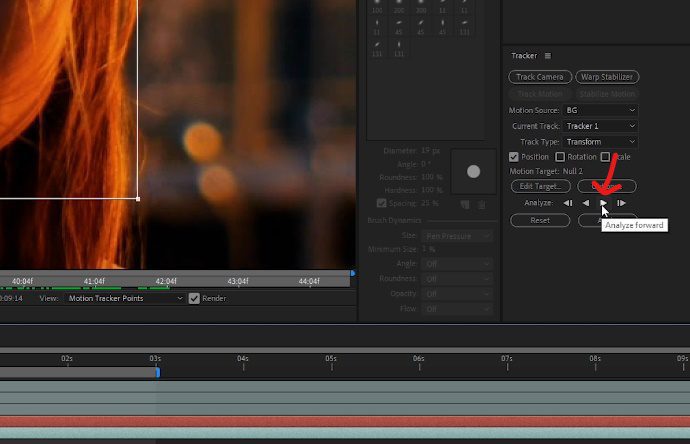
Once the tracking has completed, move the timeline cursor back to the frame where the crown was painted on, and in the Tracker panel window, press the Analyze forward button. If you find your tracking marker has moved off of where it should be, stop the track at that frame, make the adjustment, and continue tracking.
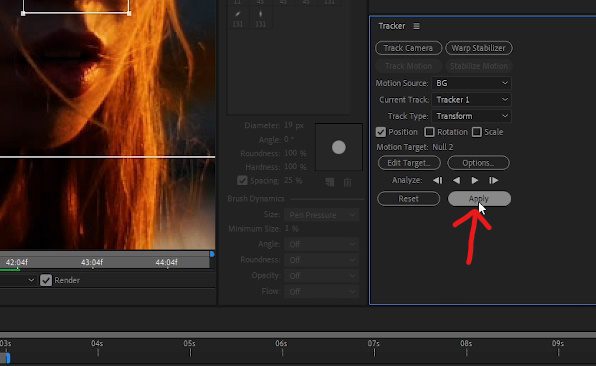
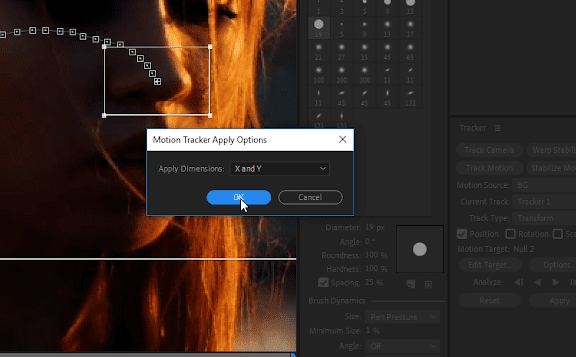
19. With the tracking complete, inside the Tracker panel window, press the Apply button, and Ok button for the ‘X and Y’ dimensions to apply the tracking data to our Null Object.
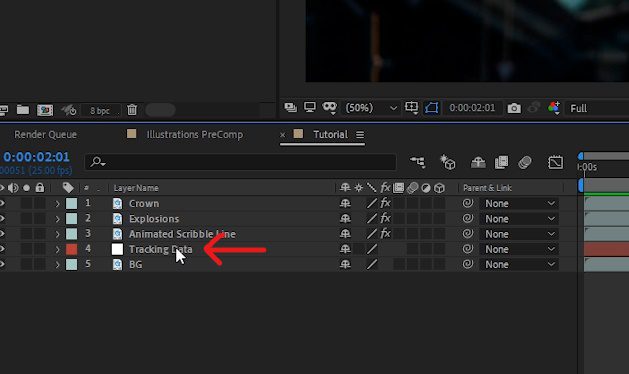
Rename the Null Object in your composition to Tracking Data for better organization.
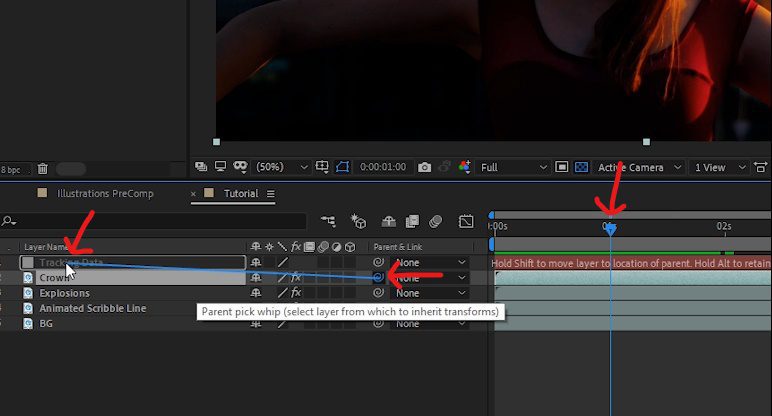
Then, make sure you have the timeline cursor on the same frame where the crown was painted on. With the pick whip icon on the Crown layer, click and hold, then drag it to the Tracking Data layer and let go. This will parent the Crown layer to the Tracking Data so that it follows the motion of the person’s head.
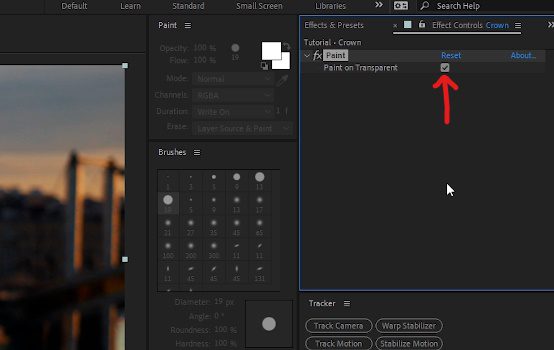
20. With the Crown layer selected, go to the Effect Controls panel window, and one last time, check the Paint on Transparent box.
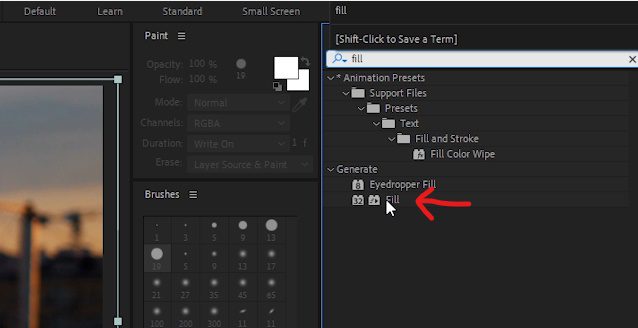
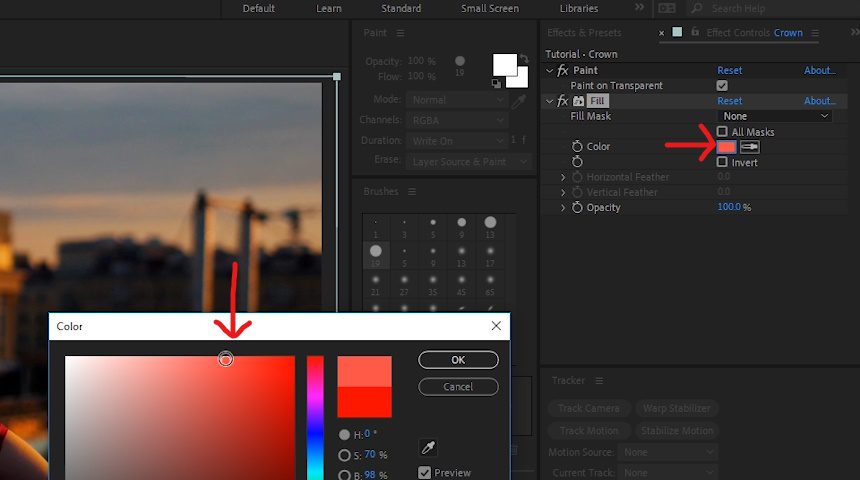
21. The final step in our animated illustration effect is to add some color! To do that, select the Crown layer in the composition, and in the Effects & Presets panel window, search for and double-click on the Fill effect to add it to the Crown layer.
Inside the Effect Controls panel window, within the Fill effect, change the color to your liking.
22. For the finishing touches, repeat the process of adding the Fill effect to the Explosions layer with a different color so that the Crown and Explosions layers have their own unique color that’s different from the Animated Scribble Line layer.
And we are done!
Thanks for hanging in there. There are quite a few steps, and it does require a bit of time to complete. But overall, it’s a relatively simple effect to create, and the result really does make your video unique. We got the inspiration for this tutorial from one of the visual trends featured in the Storyblocks 2020 Trends Guide. Check it out for more context!
Want to learn more from Will Bartlett? Look for new tutorials to come on the Storyblocks blog or follow Alli and Will on YouTube and Instagram.