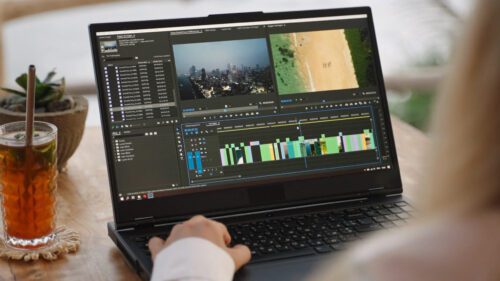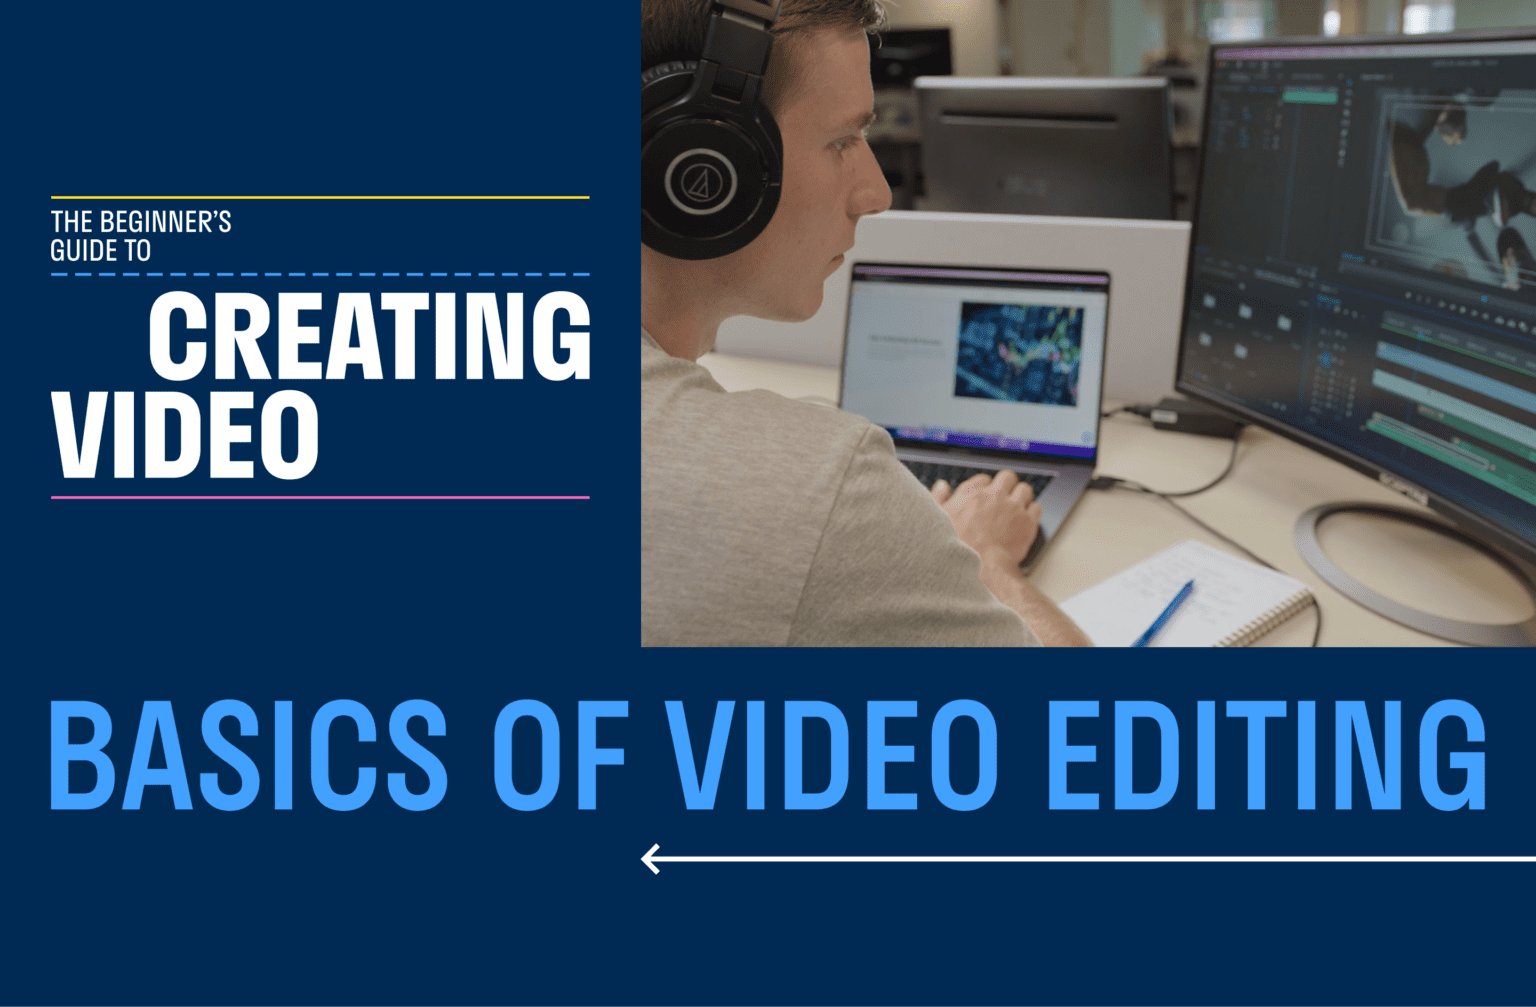
You’ve gathered all of your footage and recorded your audio. Next, you just need to coax these raw materials into their final form. Video editing is where the real magic happens. The decisions you make during the editing phase will shape how your project ultimately comes together. In Episode 5 of the Storyblocks original series, The Beginner’s Guide to Creating Video, you’ll learn some tips that will make the entire video editing process a lot more manageable.
Editing is super important, so it’s ok to feel a bit intimidated by it. Listen, you can do this. Just take a deep breath, pour yourself some coffee (or something stronger, if that’s what it’s gonna take), and follow Storyblocks’ Senior Video Production Specialist Kyle Miller’s lead. He’ll walk you through a few of his proven pointers. After you watch Episode 5, you’ll have a solid framework to handle any challenge — no matter what video editing software you use.
Let’s dive into some of Kyle’s tips and tricks!
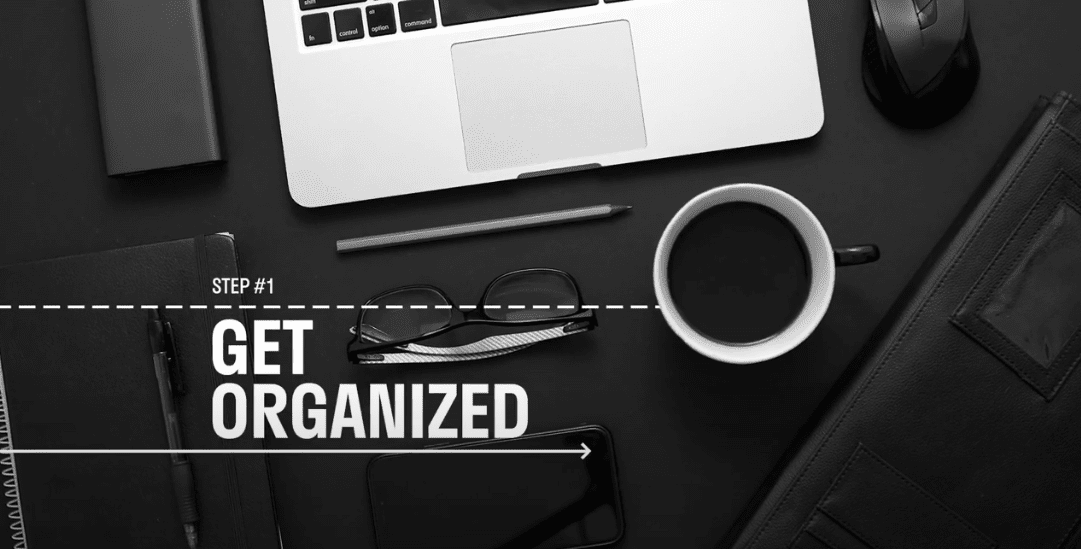
Step 1: Organize you files before you start editing your video
Depending on the length of your video, you’ve probably amassed dozens or even hundreds of video clips and audio files. The first thing you’ll want to tackle is getting all of those assets organized.
Take some time to create a folder structure that makes everything easy to find. Be sure to label everything clearly and consistently. When you’re two weeks deep in the video editing process, that abstract file-naming convention you thought up won’t seem so clever anymore. After all, no video editing tips will be able to help you if you can’t find your footage. A good rule of thumb is to plan for another editor to be able to step in at any point. Organize everything in a way that will help them pick up right where you left off.
Start by making a main project folder on your computer’s desktop. Then, create dedicated subfolders for “Sounds”, “B-Roll”, and “Raw Footage” inside of it. As you import your clips, be sure they land in their respective folders. That may seem tedious, but it can be a real motivation killer if you have to track down a missing file later on. Being organized and detail oriented from the jump will set you up for video editing success. You’ll not only save time, but a ton of stress down the line.
Pro tip: Refer back to your concept during the video editing process
If you watched Episode 4 of this series, you already have your concept mapped out and a good idea of what you want your video to say. Make sure you have those notes handy as you’re editing your video. This could include anything from a script to a storyboard or a project brief.
Now, it’s time to familiarize yourself with your footage. Watch every single clip you have. There’s nothing worse than discovering a better take than the one in the finished cut after the fact. If everything looks right and nothing seems to be missing, you’re ready to take things to the next level.
Ready to get your assets organized?
Watch Episode 5 of The Beginner’s Guide to Creating Video.
Step 2: Put together your assembly cut
The very first edit of your project is called your “assembly cut.” As the name suggests, this is the phase in the video editing process where you’ll set up your video’s general sequence, tone, and narrative. It’s when you’ll lay the foundation. Don’t worry about flourishes like transitions, text animation, or sound effects just yet. For now, you’re simply putting your primary footage in the right order.
You can start thinking about ways to enhance your story with visuals once your narrative is in place. Do any of your talking points need additional context? Does a specific visual come to mind when you hear part of the script? B-roll (or supplemental footage) gives your story an entirely new dimension. It adds a splash of visual interest to keep your audience hooked throughout your video.
Here’s a bonus video editing tip: You can use B-roll to cut away from any mistakes in your primary footage if you need to. Storyblocks makes it easy to experiment with as many premium stock footage clips as you want, so you don’t need to shoot your own B-roll. And our new Premiere Pro plugin brings the entire Storyblocks library directly into Premiere, so you can test out different footage without toggling between programs.
At this point, your video should be starting to take shape. Next comes the fun part: Giving it those all-important finishing touches.
Want more video editing tips for assembling your first cut?
Check out Episode 5 of The Beginner’s Guide to Creating Video.
Step 3: Make your video editing project pop off the screen
The third and final set of video editing tips in Episode 5 of The Beginner’s Guide to Creating Video are all about the details. This is the fun part. You’re done worrying about things like file names, folder structure, and general sequencing. Now, it’s finally time to start adding the elements that will really make your video stand out. This phase of the video editing process can also make or break your final product. So, you’ll want to approach it with some finesse and self-restraint.
Take a good look at your assembly cut and think about how it makes you feel as you watch. Were you bored? Confused? Annoyed in some way? There’s a good chance your audience will feel the same. By momentarily taking off your editor hat and looking at your work through your viewers’ eyes, you’ll start to see what they might think about it.
Carefully planning out your cuts is a great way to keep the audience engaged throughout your video. Viewers are naturally drawn to videos that steadily gain momentum and build to a release of tension. To achieve that feeling, you’ll need to structure the pace of your cuts within your video in a way that will really grab your audience’s attention. Speaking of cuts, keep an eye out for any small mistakes between clips, like a blank space or a section that you cut too soon or too late.
This final stage in the video editing process is also the time to add any graphics, text, or other visuals to enhance your scenes or reinforce your video’s message. Storyblocks’ vast content libraries include all the footage, templates, music, and sound effects you’ll need for that. Combine them with your own creativity to punctuate the most impactful moments of your narrative.
Pro tip: Keep your ears open throughout your video editing process
As you watch your edits back, pay close attention to your soundscape during the video editing process. You’ll want to make sure your audio isn’t obscuring your message in any way. Just adjust your audio levels to ensure the main elements of your video aren’t drowned out by music, sound effects, or natural background noise.
Oh, and one last piece of advice to build into your video editing process: Don’t be afraid to step away from the screen from time to time. Taking a short break to do something else can really change your perspective and help you approach video editing with fresh eyes.
Want to learn how to take your video editing process from good to great?
Watch Episode 5 of The Beginner’s Guide to Creating Video.
Watch Storyblocks’ Beginner’s Guide to Creating Video
Storyblocks’ original series, The Beginner’s Guide to Creating Video, is free for you to watch right now. You can binge the whole series in less than an hour, or just pick and choose individual episodes that interest you. Regardless of how you watch it, you’ll pick up tons of tips. Tune in now to learn how you can start making great videos faster than ever before.
Coming up in Episode 6, you’ll learn how to boost audience engagement and keep the right people coming back for more — video after video.