The 3D Glasses effect gives you a distorted view of the image, or movie, when wearing red and blue or red and green tinted 3D glasses so it appears as a stereoscopic 3D image. This can be a fun, retro effect to apply to images and video footage in After Effects. However, it does require the right 3D glasses to see the finished product.
Want to learn how to do this? Keep reading this tutorial.
What is the 3D Glasses Effect?
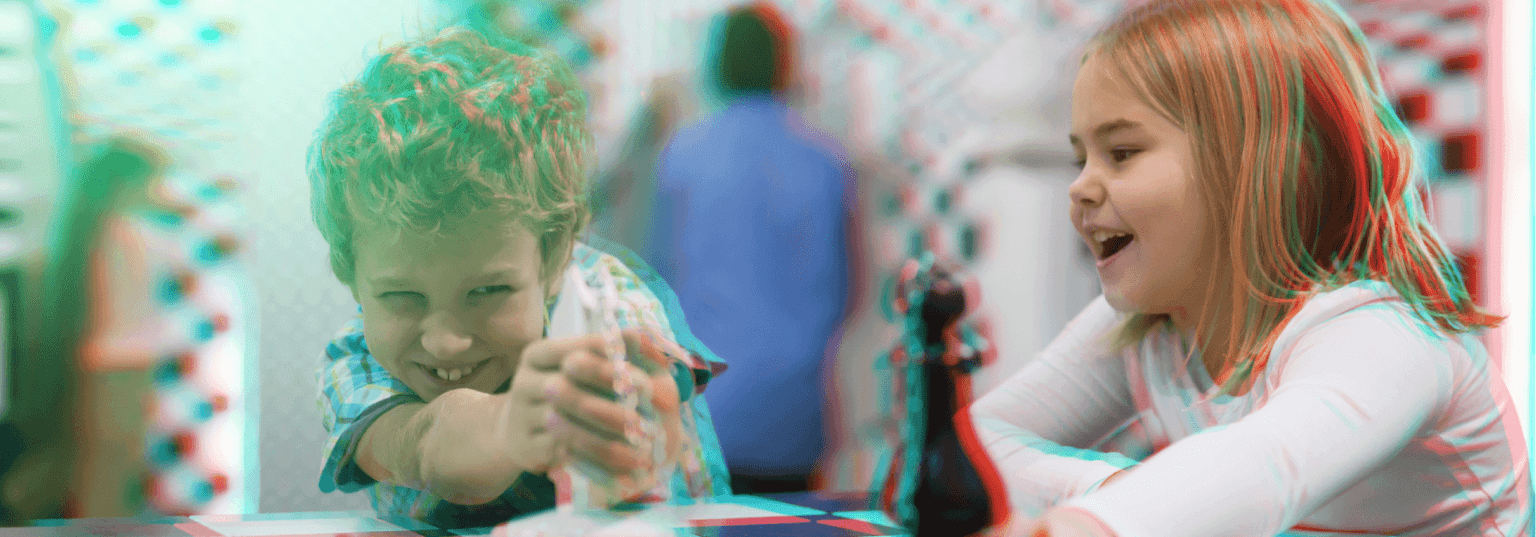
The 3D Glasses effect is an effect where two of the same images are overlayed with tinted contrasting colors, typically red and green or red and blue. This is called an anaglyph. When viewed through tinted 3D glasses, the image will appear to pop out of the screen.
In After Effects, you can find the 3D Glasses effect if you search through the Effects & Presets. You can apply this to a background animation to create an immersive feel.
How Do You Make the Anaglyph 3D Glasses Effect in Adobe After Effects?
Creating the 3D Glasses effect in After Effects is relatively simple. You will need two slightly different views from a stereoscopic camera to create the final look.
Follow these steps to create an image with a 3D Glasses effect:
Upload Your Video Footage
Whether you are creating 3D video footage or a still image, you will need two sources that are slightly offset from each other horizontally. For example, you could film the same subject using two cameras set next to each other.
Upload each version into your composition timeline and layer them on top of each other.
Apply 3D Glasses Effect
Navigate to Effects > Perspective > 3D Glasses. Apply this effect to only one layer and label it as either Left View or Right View.
Adjust the Convergence Offset
The Convergence Offset is how much the two views are offset from each other. Adjust this setting until you get the view you want. It will make some elements appear in front of the screen and others appear behind it.
There are additional settings within the 3D Glasses effect that you can use. These include:
- Vertical Alignment: This setting controls the vertical offset of the two views.
- Units: You can choose between “Pixels” or “% Of Source” as the unit of measure.
- Swap Left-Right: You can check or uncheck this box to swap the left and right views.
- 3D View: This setting determines how the views are combined.
- Stereo Pair (Side by Side): With this setting selected, it will disable Convergence Offset. It also scales both layers to make them fit side by side in the bounding box.
- Over Under: Scales both layers to fit on top of each other in the bounding box. With Swap Left-Right selected, it will create a cross-eyed effect.
- Interlace Upper L Lower R: If you want to view your image using polarized or LCD shutter glasses, select this option. It combines the upper left field with the lower right field and combines them into an interlaced frame.
- Red Green LR: Tints the left view green and the right view red.
- Red Blue LR: Tints the left view blue (cyan) and the right view red.
- Balanced Red Green LR: Does the same function as Red Green LR while also balancing the colors to reduce ghosting and shadows.
- Balanced Red Blue LR: Does the same function as Red Blue LR while also balancing the colors to reduce ghosting and shadows.
- Balanced Colored Red Blue: This option keeps the original colors of the layers but may produce ghosting or shadows. It also changes the layer into a 3D view with the RGB channels in the original layer.
- Balance: This setting specifies the balance level in the 3D view. You can use this option to reduce the ghost and shadow effects. The default value is typically the ideal choice. Setting the balance too low creates no 3D effect while setting it too high creates a highly saturated image.
What are Some Examples of the 3D Glasses Effect in Use?
Looking back to the 3D movie craze of the 1950s, we can consider classic films like:
- Bwana Devil (1952), the first 3D color film
- Flight to Tangier (1953)
- House of Wax (1953)
- Creature from the Black Lagoon (1954)
These films used the stereotypical blue and red tinted layers. The 3D film craze quickly died down when theaters complained about the technical difficulties of playing two film reels at the same time and there was limited attendance at 3D showings. The last 3D film of the 1950s was Revenge of the Creature in 1955.
James Cameron brought the 3D craze back to life with his expertly filmed Avatar. It was filmed with 3D viewing in mind. Since then, many filmmakers have tried to force 2D movies into a 3D experience with little to no success.
Some of the most widely praised 3D movies in recent years include:
- Avatar (2009)
- Gravity (2013)
- Life of Pi (2012)
- The Walk (2015)
- How to Train Your Dragon (2010)
While these films don’t have separately tinted layers, they use stereoscopic filming to create two slightly askew layers that when viewed with 3D glasses creates an immersive viewing experience. Because of the disconnect between what a person sees on the screen and what their body is experiencing, some people experience motion sickness when viewing 3D movies.
You can create a 3D animation effect in After Effects to try to recreate some of your favorite 3D movie experiences.
Utilize Storyblocks Templates for Easy Video Content Creation
If you love creating video content, but continually find yourself bogged down by manually creating effects and looking for video footage, a subscription to Storyblocks can help speed up your creation process.
A Storyblocks subscription gives you access to Adobe After Effects templates, Adobe Premiere Pro templates, royalty-free stock video, audio files, and still images. Most subscriptions give you unlimited downloads each month so you can create as many videos as you want.
Want to experience true creative freedom? Sign up for Storyblocks today and see where your creativity can take you.