You’ve shot your footage and recorded your audio. Now, you’re excited to see how it all comes together. But before you debut your creation to the world, you’ll need to stir in a generous serving of editing magic. Video editing is the phase of your project when your raw materials come together to form the complete story you’re trying to tell. The editing process takes time and patience to do well, but it’s a lot easier to pull off if you follow a few professional video editing tips and tricks.
Top 10 video editing tips and tricks
1. Plan your story in advance
You’ll want to approach any video editing project with a solid plan for how your story will play out on screen. The good news is, you probably already have some kind of script or rough storyboards that you followed during the filming and footage-gathering phase. These will serve as useful guides as you edit everything together. Essentially, you want to make sure your story has a clear beginning, middle, and end, and that your clips flow together in a way that follows that progression.
It’s also important to plan out how your video will look, and establish any stylistic themes upfront so you can use them consistently throughout. This can include everything from sound effects, colors, and transitions to the fonts, sizes, and positions of any text you use on screen.
2. Organize your project
Strong organization and efficiency are cardinal virtues among video editors, and it’s easy to see why. Even short video projects can use dozens or even hundreds of video clips, sound files, and motion graphics. Tracking down a file you misplaced can lead to major headaches.
Investing a bit of time to set up your folders before you even import your files will pay dividends in reduced frustration throughout the process. The simplest way to keep everything orderly is to create a project folder on your computer’s desktop. Then, within that folder, set up neatly-labeled subfolders for things like “Sounds,” “Graphics,” “Raw Footage,” “B-Roll,” etc. Using this method, the assets you need will be easier to track down when the time comes to use them.
3. Import all media
Any professional video editor will tell you that keeping your media organized is essential to working efficiently. During the import phase, be mindful of how you name and organize your files into your folders and subfolders so you can find them fast when you need them later. In earlier stages, this can be as broad as separating usable footage from unusable footage. Then, you can get into organizing at a more granular level by scene, type, or whatever makes the most sense for your production. With Storyblocks’ Premiere Pro plugin, you can access our entire library from directly within Premiere Pro, which will save you quite a bit of importing time. It even automatically organizes and stores your files in your preferred bins to further streamline your process.
4. Pick the right video editing software
Today, anybody can use professional video editing techniques with a little software assistance. But choosing the right tool is equally important, whether you’re a seasoned pro or just learning how to edit. There are several top-notch solutions out there for different preferences and skill levels.
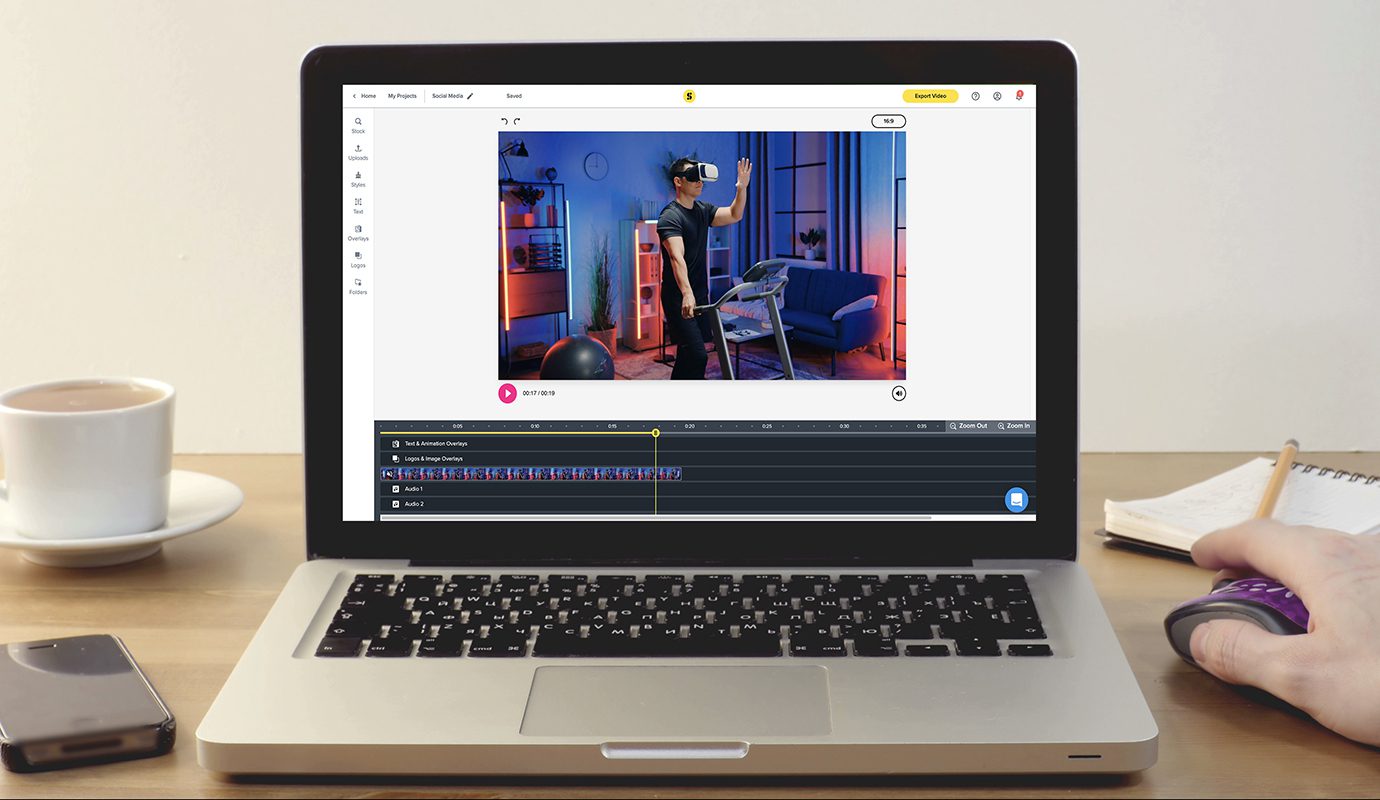
Maker
Maker is Storyblocks’ own intuitive video editing tool that curbs the complexity factor without sacrificing quality or functionality. Designed for experienced editors and newbies alike, it includes all of the editing tools you’ll need to rapidly produce professional-level video content.
Maker integrates directly with Storyblocks’ entire content library, giving you instant access to more than 2 million high-quality stock footage clips, images, audio files, and more. The tool’s thoughtful design encourages experimentation, letting you swap media elements in and out with ease. Need a little inspiration to get your project off the ground? You can jump-start your creativity with one of Maker’s customizable templates featuring cinematic visuals.
There’s even a version designed specifically for businesses, Maker for Teams. It includes the same robust feature set as Maker, plus additional collaboration and branding features geared toward organizations both large and small.
Premiere Pro
Adobe Premiere Pro is one of the most widely used video editing software applications, and it’s considered the industry standard in production circles. You can use Premiere Pro’s dizzying selection of features to create and edit professional-caliber videos of any length or scale.
Some of Premier Pro’s functionality takes practice to master. But with Storyblocks Premiere Pro templates, make it easy to put professional video editing flourishes into your work. Add motion graphics, title animations, transitions, text effects, and so much more with only a few mouse clicks.
After Effects
Adobe After Effects is a sister program of Premiere Pro, and it’s popular for creating motion graphics, visual effects, and other post-production finishing touches. It’s also a powerful tool when you need to make cinematic-level special effects (SFX) for your project. However, the time, cost, and skill required to successfully implement such effects puts their use out of reach for many creators. There’s an easy solution for that, though: Storyblocks’ After Effects templates library makes it easy to add big-screen-quality SFX to productions of any size.
Final Cut Pro
Apple’s answer to Adobe’s ubiquitous software offerings is Final Cut Pro. This Mac-only tool gives you the functionality you need to dice and slice your footage into cohesive narratives. It functions very much like Premiere Pro, so the tool you choose may come down to personal preference. One difference to note is that Final Cut Pro offers some useful features like background rendering — which could make it a better choice for certain types of projects.
DaVinci Resolve
Originally used primarily for color correction, DaVinci Resolve has evolved in recent years into a powerful and popular nonlinear editing software with a solid range of functionality. It’s still not quite as feature-rich as some O.G. alternatives like Premiere Pro. However, it offers several positive aspects — including some useful broadcast production tools — that help set it apart from the pack. You can find a wide variety of pre-made, customizable DaVinci Resolve templates available in the Storyblocks library.
5. Templatize the workflow
If you’re creating multiple video projects with similar visual elements (like a series of explainer videos), templatizing your workflow is an easy way to speed up the editing process. If your videos tend to contain recurring “beats” at certain times, such as lower-thirds, motion graphics, or a credit sequence, you can create custom templates that automatically insert editable versions of these assets in the appropriate spot on your project timeline. Then all you need to do is tweak the look and style to match the video’s overall aesthetic. To help you hit the ground running, Storyblocks offers professional-caliber templates you can download and customize.
6. Properly use cuts and transitions
Almost every video you’ve ever seen contains cuts and transitions, but most of the time audiences don’t even notice them. And that’s the point. Cuts and transitions are usually meant to be invisible, and using them improperly can be jarring to the audience. If you’re showing a clip of somebody talking, for example, you wouldn’t want to include a cut mid-sentence, as it can create a disjointed viewing experience.
The same can be said of transitions, which shepherd the viewer from scene to scene. A stylistic transition between scenes may add some contextually appropriate visual flair to something like a Star Wars film, but it can make your video look cheap or cheesy if you use it just because it’s available. Good editing is subtle, so if you’re deliberately drawing attention to cuts or transitions, you should always have a darn good reason.
7. Master the audio
With so many visual elements to keep track of while editing your video, sometimes a project’s audio track can become an afterthought. Don’t make that mistake. Not giving your audio the attention it deserves can make a production feel shoddy, and even undermine all the hard work you put into editing the visuals. You’ll generally want to start the audio mastering process once the visuals are all in place.
Use audio meters to ensure sound levels are consistent throughout your video. Start with any dialogue, which should range in volume from around -20 to -12 dB. Once you get the dialogue dialed in, you can use it as a baseline, then adjust the sound effects, music, and any other audio making up your soundscape around it. Use editing software to chop out any unwanted sounds such as breathing or smacking lips, and clean up any background noise like hissing or traffic sounds. You’ll want to use high-quality audio files or recordings for your music and sound effects. And be sure to employ a second source for capturing dialogue wherever possible, like a lavalier or a shotgun microphone, since built-in microphones aren’t always very good.
Don’t underestimate the power of adding some really great music to your video, which can be a powerful way to evoke a wide range of emotions in the viewer. One final word on audio from legendary director David Lynch: “Films are 50% visual and 50% sound. Sometimes sound even overplays the visual.”
Download this clip of a woman listening to music
8. Color correction
Another post-production step that can make or break the entire look of a video is color correction. This process involves using your video editing software to adjust the brightness, contrast, and saturation of colors in your footage to ensure proper balance and visual consistency throughout. Doing color correction right requires a calibrated monitor, so you can be sure you’re working with true colors and proper levels of black from start to finish.
9. Use text when appropriate
Well-placed text can do a number of things for your video. You can use it to establish a time and location at the start of a scene (“Los Angeles, 2 Weeks Earlier”), introduce a speaker (“Angela McGinty, The Human Fund”), or even highlight an important part of your presentation with a text motion graphic synced to a speaker’s words. This comes in especially handy for educational or explainer content. Customize the look of on-screen text by adjusting the color, size, and font to match the tone of your project.
10. Export
Exporting is the final step in your video editing journey, and the last task before you finally see all your hard work come to life. The format you choose will largely depend on the platform you’re uploading to and how the final product will be viewed. A feature film shown in theaters will need to be exported in a very different format than a YouTube or TikTok video, for instance. Software programs like Maker and Premiere Pro provide many different format options, including presets in a range of resolutions for platforms like Facebook, Twitter, and Mobile Device to help you choose the right format.
Try Storyblocks templates for easy video content creation
Thanks to advanced video editing software, you now have more ways than ever to use professional-grade effects and get creative with your next project. Best of all, with Storyblocks’ collection of premade Premiere Pro and After Effects templates, you don’t have to be an experienced editor to infuse your work with stunning visuals. It’s like having a cheat code to tell better stories!
Learn more about how Storyblocks can help you create better, more compelling video content in record time. Check out our plan options to get started today.


