Everyone could use a little pop of color in their lives now and then—just to spice things up a bit and add that extra spark of personality to your day-to-day basics. The same can be said for your photos. Think about the thousands of beautiful, full-colored photos you have stored on your computer—don’t you wish there was a simple and creative way to edit these shots to make them more eye-catching? Have no fear! We are here to tell you all about an easy edit known as a color splash effect with a follow along Photoshop tutorial.
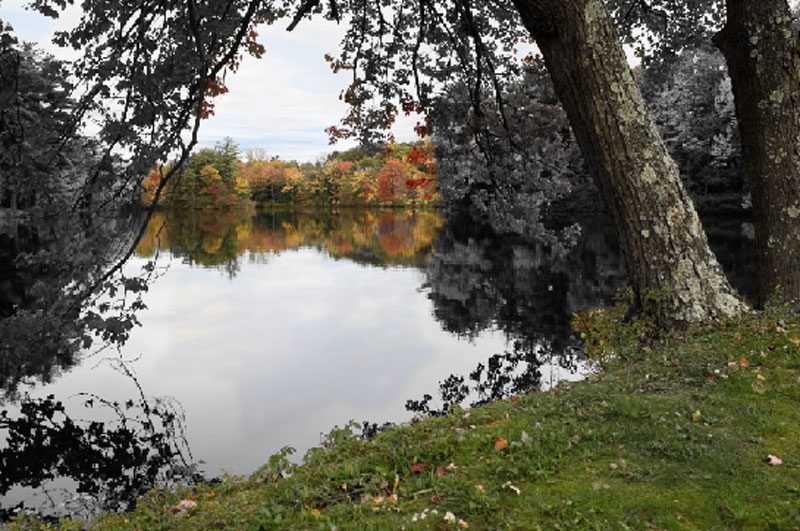
What exactly is a color splash effect, you ask? A color splash is an effect created in Photoshop that turns a full colored photo into a black and white photo with an isolated area of color, just a splash. This effect adds a little drama and dimension to your photos. Whether you’re looking to amp up your portfolio or just learn a new editing skill, this beginner’s Photoshop tutorial is perfect for creators of all levels. So let’s grab a royalty-free stock photo from our library and get started.
Step 1. Pick Your Photo
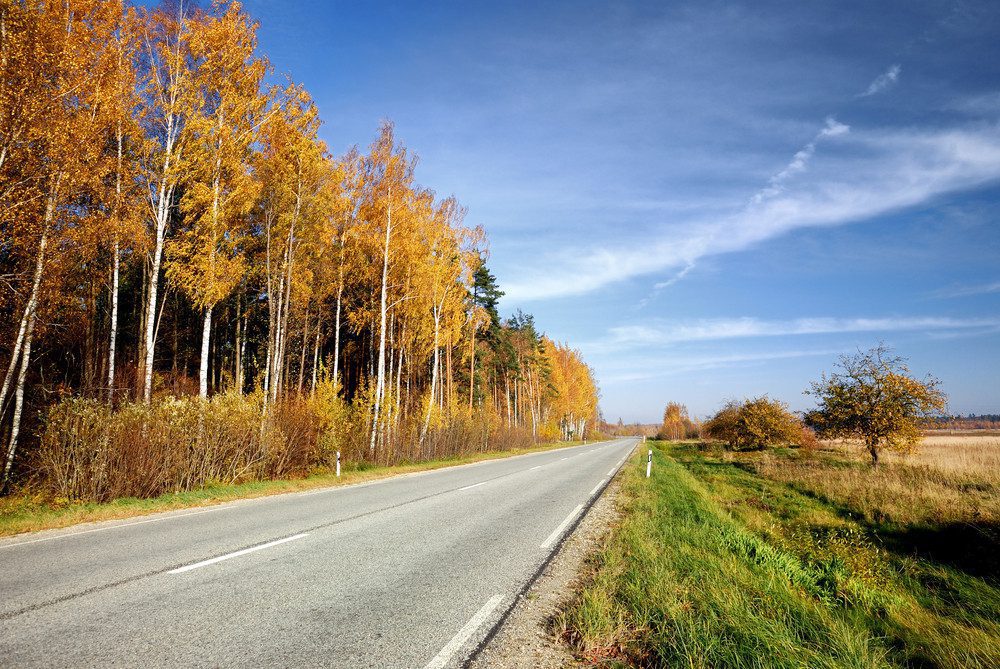
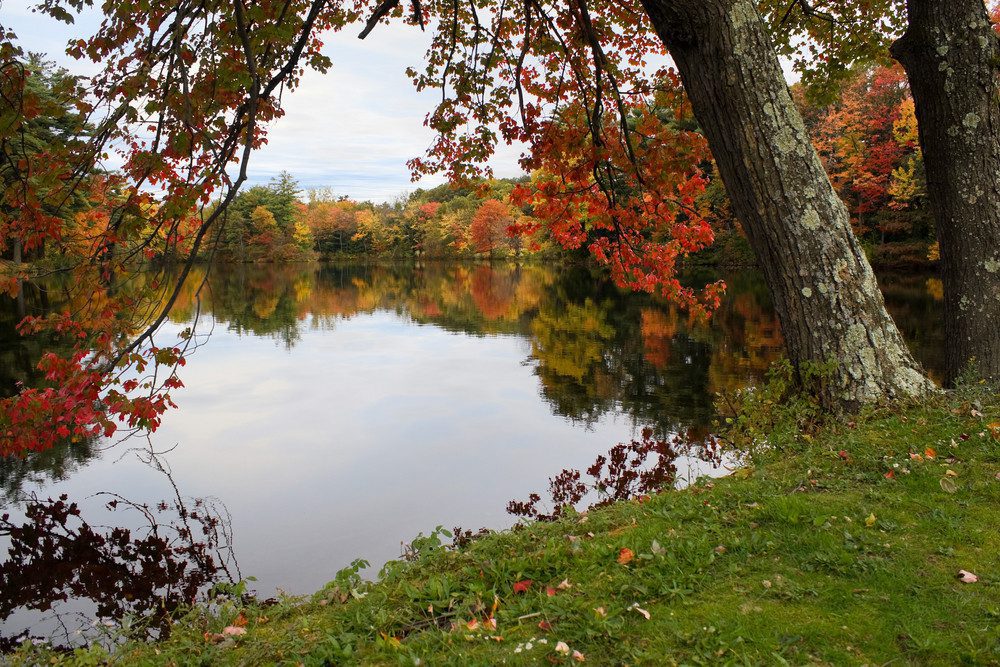
When deciding which photo or photos to add a color splash effect to, lean towards photos that have a strong focal point or a background where a transition from black and white to color will flow nicely. We found these photos in our library that not only work great for this Photoshop tutorial, but they’re also on trend with the coming autumn season.
 Download this Fall Country Road Stock Image.
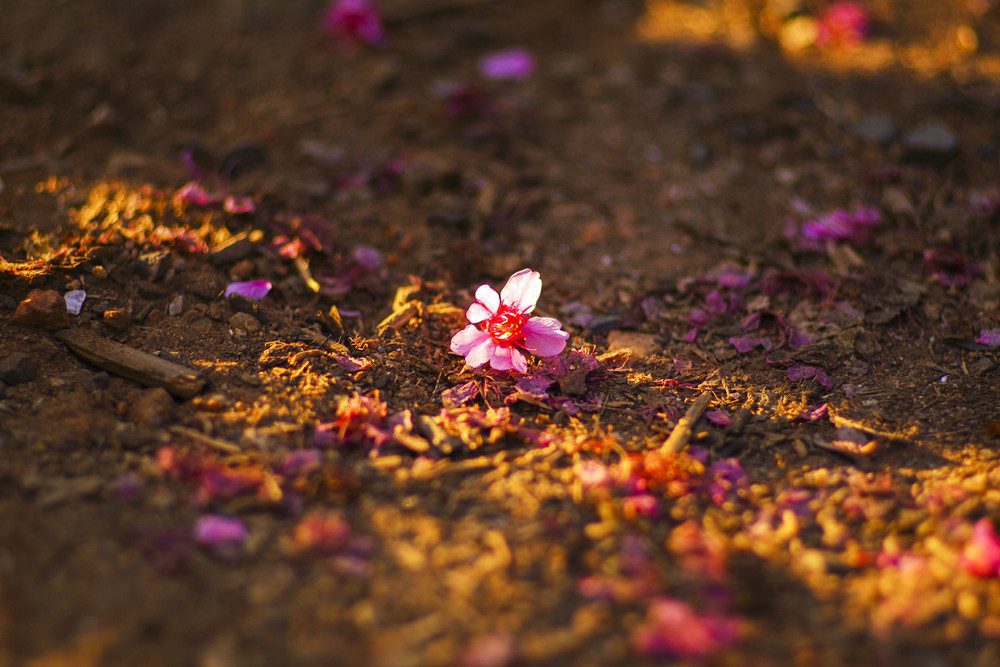 Download this Falling Sakura Stock Photo.
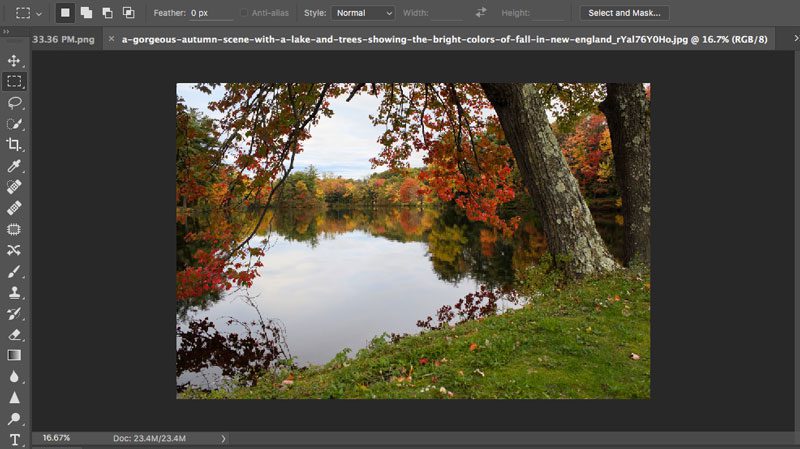
 Download this Gorgeous Autumn Landscape Stock Photo.
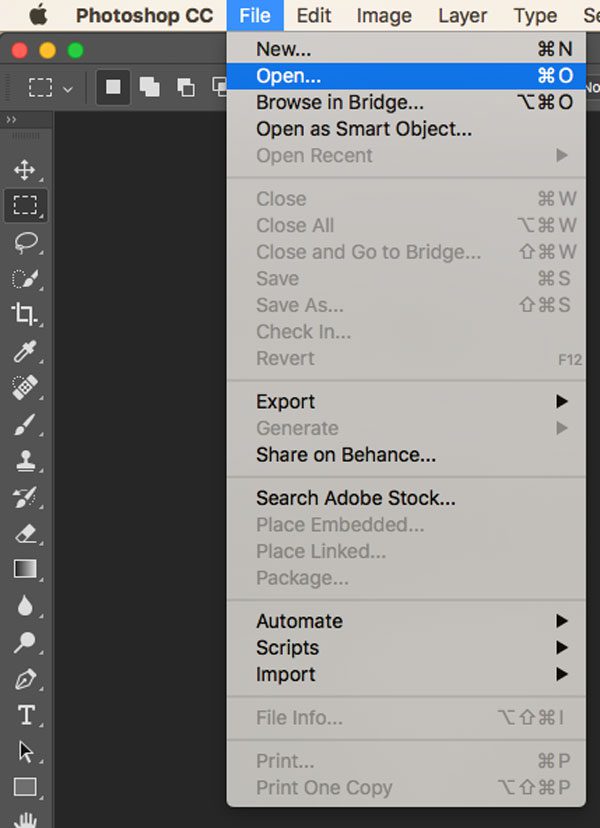
Step 2. Launch Photoshop
Once you have your photo selected and downloaded to your desktop–go ahead and open up Photoshop. Go to File > Open and navigate to your photo. If you know you need to resize your photo for specific dimensions—like for a website, business card, or other promotional material, make sure to do that now by going to Image > Image Size and entering it in the appropriate boxes.
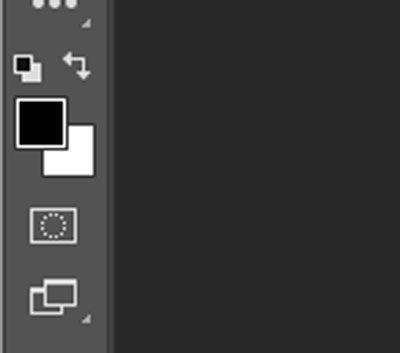
Step 3. Set Your Foreground and Background to Their Default Colors
We need to make sure our foreground and background colors are set to their appropriate defaults. These are located in the left-hand side toolbar in Photoshop near the bottom. Your foreground, the upper left box, should be set to black and your background, the upper right should be set to white. You can also hover your mouse over each box to see which one it is, foreground or background.
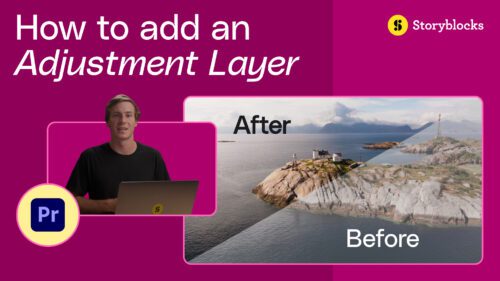
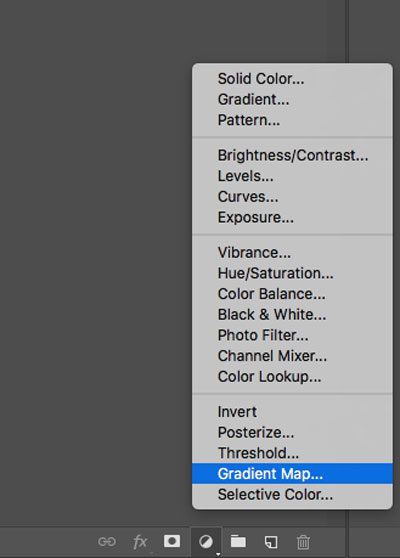
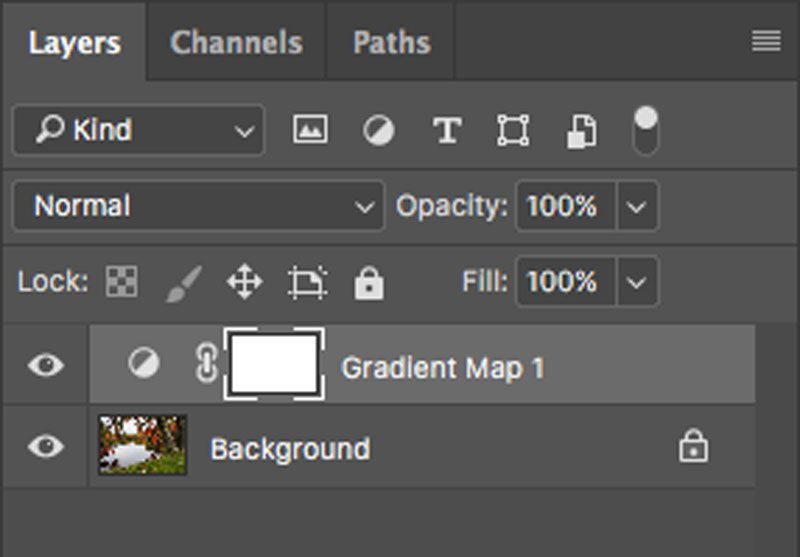
Step 4. Add a Gradient Map Adjustment Layer
Now it is time to flip your colored photo to black and white. By adding an adjustment layer, we keep the integrity of the original photo. Essentially, the adjustment layer doesn’t permanently change the original photo. Go to the bottom of your Layers panel and choose the icon for New Fill or Adjustment Layer > Gradient Map. Photoshop will then drop a new layer above the original image with your new adjustment layer.
Step 5. Grab the Brush Tool and Unlock Your Background
With the mask selected in the layers panel, you can now start “painting” some color back into your photo. When the mask layer is selected, you will see a white border outlining it. You’re cutting out spots of the black and white adjustment layer, so if it’s not selected you will not see any color coming back to your photo. Select the brush tool from the left hand side toolbar. Finally, unlock your Background layer by clicking the lock in the Layers Panel.
Step 6. Reset your Foreground and Background Colors
Photoshop automatically defaults your foreground color to white and your background color to black. However, to correctly edit our adjustment layer, we need to set the foreground layer to black and the background layer to white. Photoshop does this because we have a new layer selected, not our original background. Once your foreground and background colors are set up, you’re ready to start making some color splashes!
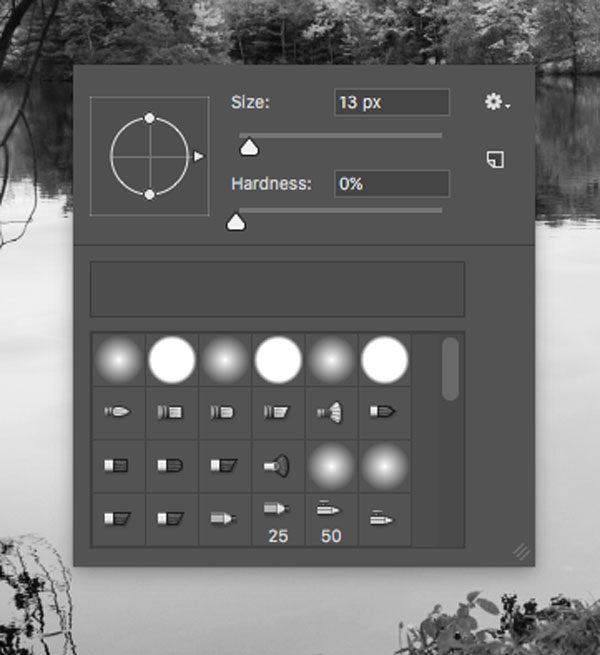
Step 7. Adjust Your Brush Settings
Making sure you have your brush tool selected; if you’re using a Windows computer right-click, or if you’re using a Mac control-click anywhere in the document window to open up the Brush Presets window. Set the Brush Hardness all the way down to 0% and the Opacity to 100%. You want the brush to have a soft feathered look when you paint to give it that “splash” effect. You also want to make sure the Blend Mode is set to Normal and the Flow is set at 100%.
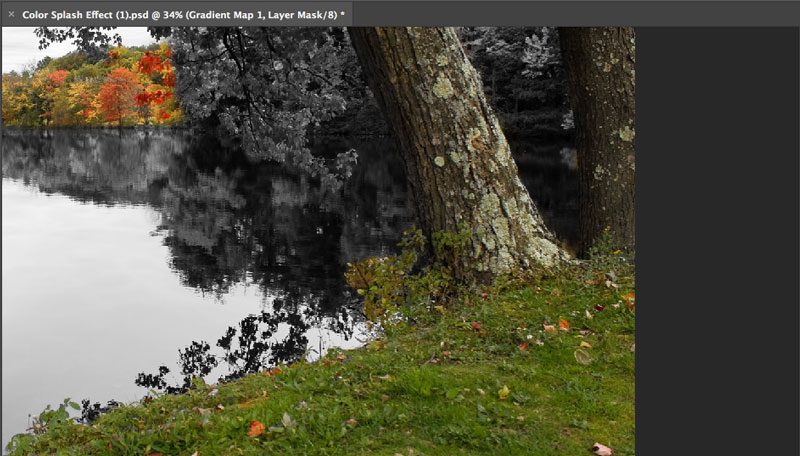
Step 8. Make a Splash
Using the right bracket key ( [ ) to make your brush size smaller and the left bracket key ( ] ) to make the brush bigger—start painting back the color into your photo where you’d like to. Be mindful that you only want the brush to be as large as the area you want to bring back color to. If you add color to an area you wanted to keep black and white simply press “D” on the keyboard to flip your foreground and background color so you can paint back the black and white image—just remember to switch it back when you’re done!
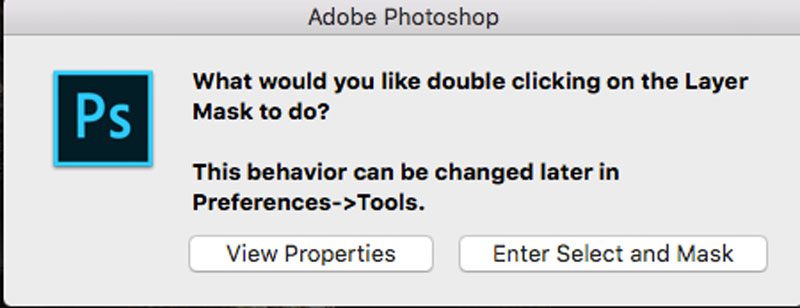
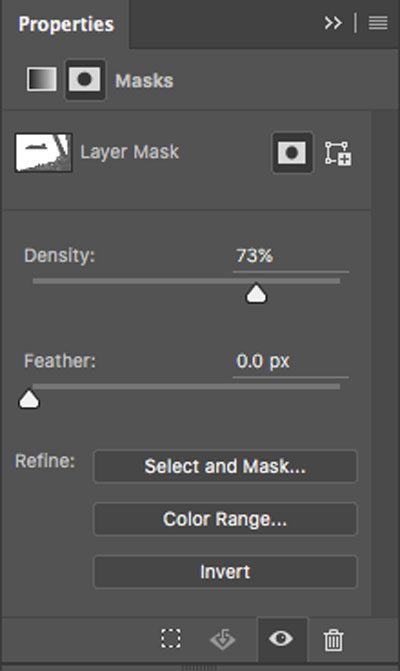
Step 9. Use the Density Slider to Fade Out the Color
It may seem the color you added back is just a little too intense. To help make the color splash look more natural we can open up our Properties Panel by double clicking on Mask in the Layers Panel. You will be prompted by Photoshop to choose an option with the mask. Choose View Properties. From there, select the mask icon in the upper left corner and play around with the Density Slider until you reach your desired look. We brought ours down to 75% to make the colors just a little more subtle.
There you have it! A simple way to make a more interesting and compelling image. But the creativity doesn’t have to stop there. There’s plenty of inspiration and Photoshop tutorials right on our blog. Learn how to wrap text around an image in Photoshop or how about changing your photos into watercolor paintings. Your creative potential is limitless!
Can’t wait to try out another Photoshop tutorial? Don’t forget to grab some fresh stock photos from our library along the way.