
How many professional videos have you seen where the video looks like it was filmed by a samba dancer going for gold? Thought so.
Smooth, clear video is a hallmark of professional productions. But it can be hard to capture. In a perfect world, you would always have a solid tripod or camera mount to keep the frame steady. Unfortunately, you can’t always make that happen when you’re out shooting. Thankfully, software can help with that! The advanced effects found in Adobe Premiere Pro can add stability after the fact and turn shaky footage into award-winning material, or at least something useable. In this tutorial, you’ll learn how to stabilize video using Adobe Premiere.
Why Should You Stabilize Your Video?
Good cinematography serves to complement scenes rather than distract from the story. Let’s explore a few reasons why stabilizing your videos in Premiere Pro is a good idea.
It Upgrades Your Production Quality
Professional videos showcase beautifully smooth shots in challenging situations. But it’s not always possible to capture totally stable raw footage, and realizing you have shaky video can be disheartening. Stabilizing could be your ticket to the top.
It Lets You Shoot Handheld Video
Shooting handheld gives your shots that human touch. It adds drama and an action feel. Plus it makes your audience feel like they’re in the scene. But when a video is too shaky, it can break immersion. Stabilizing in post-production can tweak it so that it’s exciting but not distracting.
It Fixes Mistakes
Imagine you’ve filmed an incredible shot, but you did it handheld because you weren’t able to set up a tripod. You go home, upload the footage into your editor, and, uh oh, it’s unusable. In your rush to get the shot, you didn’t keep the camera steady. But hope isn’t lost! In many cases, using software stabilization can rescue video and make it usable.
How to Stabilize Video Footage in Adobe Premiere
With Premiere’s powerful built-in tools, it’s surprisingly easy to stabilize shaky video. In fact, you can do it in just a few clicks!
1. Import Your Footage
I started with a new project window in Adobe Premiere. I used a video downloaded from Storyblocks, a powerful resource for creative projects. Then, I dragged the file from where it was stored and dropped it onto my sequence.

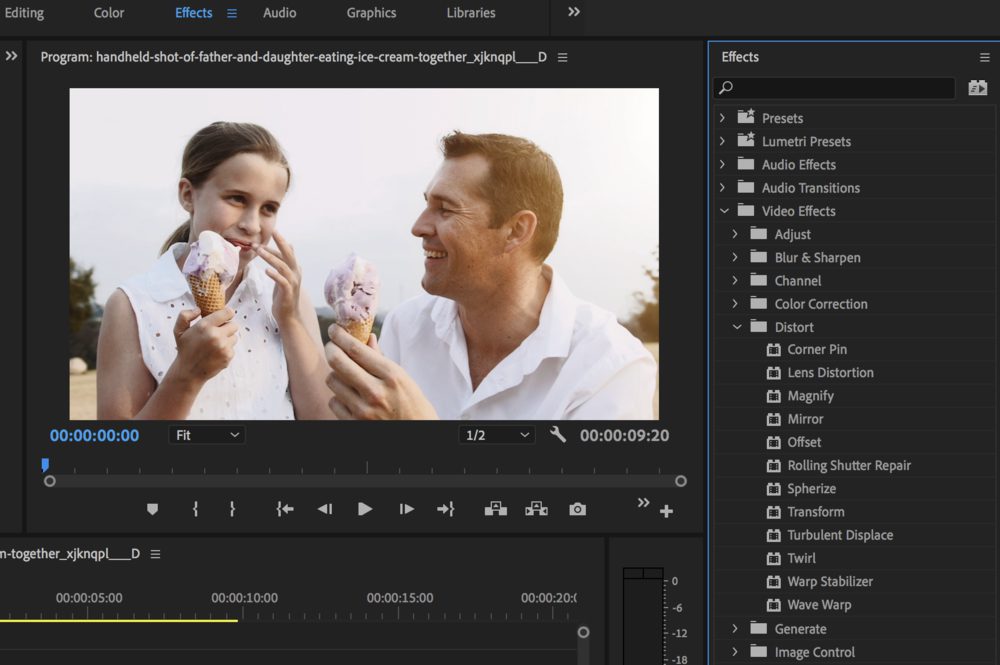
2. Find the Warp Stabilizer Effect
Stabilizing video in Adobe Premiere is done with the Warp Stabilizer effect. To find it, I opened the Effects tab at the top of the screen. In the new sidebar on the right, I opened the Video Effects folder, and then the Distort subfolder. I found Warp Stabilizer at the bottom of the list. Alternatively, you can type “Warp Stabilizer” in the search bar to find it fast.
3. Apply Warp Stabilizer to Your Video
To apply the effect and stabilize my video, I clicked on the Warp Stabilizer effect. Then, I dragged it on top of the video clip in my sequence. Premiere first analyzed my video frame-by-frame, and then applied the stabilizing effect.
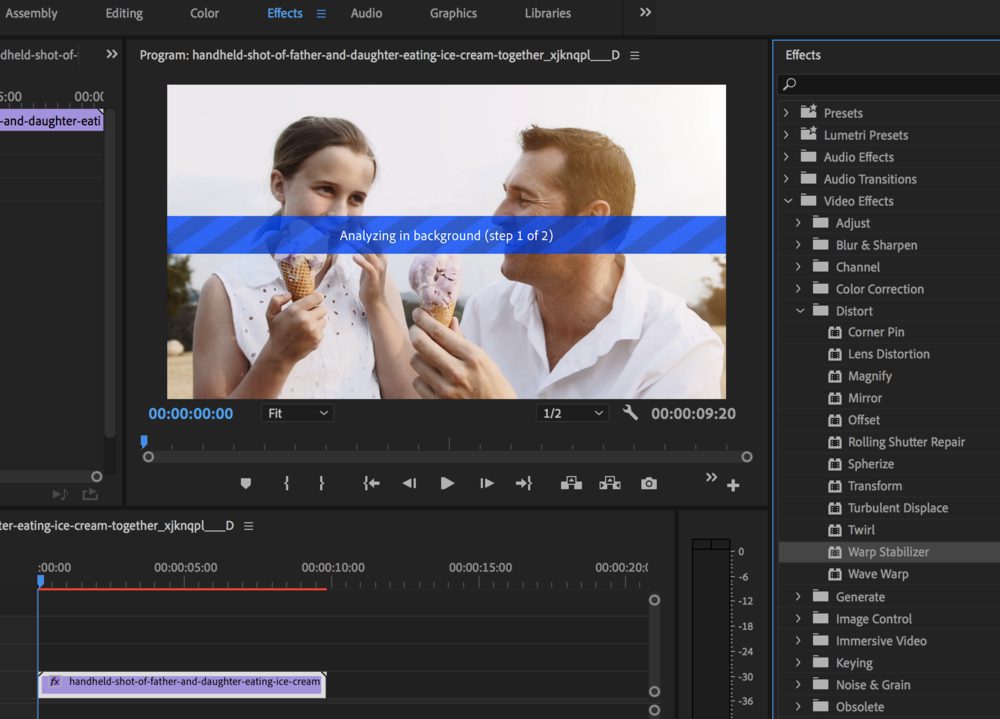
That’s it! I previewed the edit by pressing the spacebar, and Premiere played back the stabilized video. In just a few clicks, I was able to stabilize a shaky video and turn it into a beautifully smooth clip.
Go Forth and Stabilize
While Adobe Premiere features a built-in tool to stabilize your video, it’s not the only one. Products like NewBlue Stabilizer and BetterStabilizer offer professional-grade functionality to enable even more advanced edits.
And this trick doesn’t only apply to footage that you shoot. You can also use stabilization to clean up stock video clips as well. Whatever you choose, I hope you can see how helpful and easy it is to stabilize your videos in Adobe Premiere Pro!


