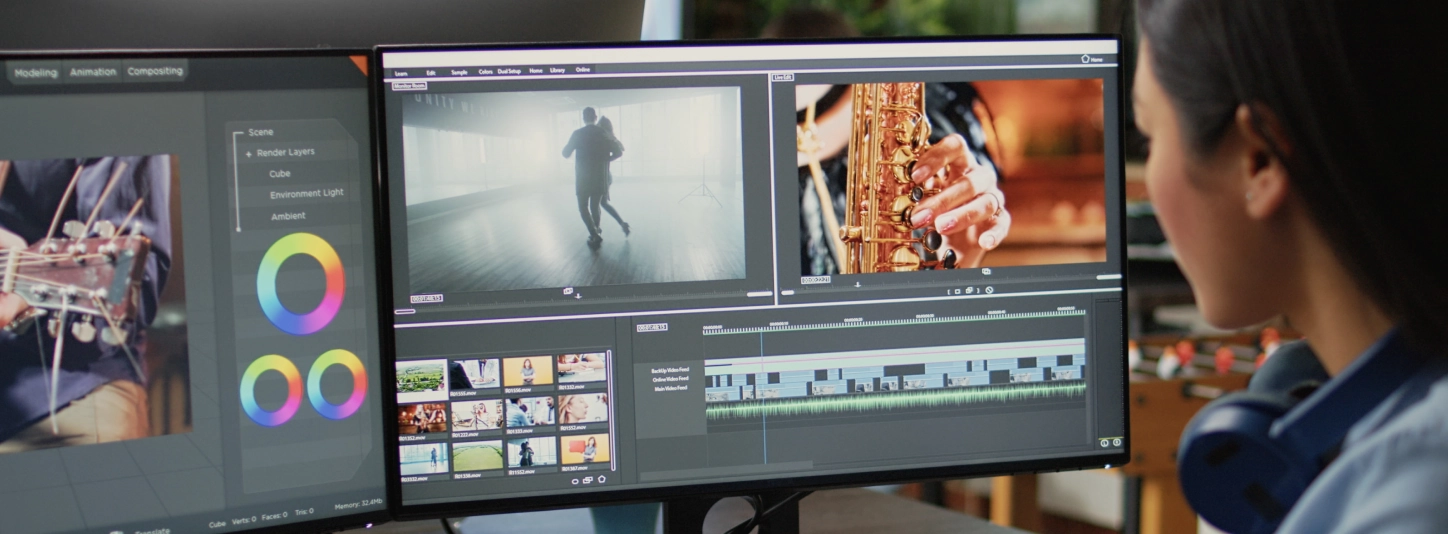
Cover photos and banners are an excellent way to make your social media pages look more professional. It may seem a little intimidating to do this yourself, but it’s actually quite easy to do in Photoshop!
Hannah from We Lived Happily Every After is here with a quick how-to on making your own header images for Facebook, Twitter, Etsy, YouTube, and Pinterest.
We’ll start with a Facebook Cover Photo, but you can apply the same technique to any platform using the dimensions in this cheat sheet:
1. Size your canvas at 851×315 pixels at 72 DPI, RGB
2. Add a background image or texture and paste into the canvas.
Storyblocks has a huge library full of great options for all types of businesses, blogs, and brands. You can also add multiple photos if you want a collage instead of just one image.
3. If adding text, you can add a blur to make the words pop.
Go to Filter / Blur / Gaussian Blur. Drag the dial to the right until you get your desired blur.
Join Our Creative Community
Access the best video tips, design hacks, and deals straight to your inbox.
4. Add your logo, text, and any graphic overlays of choice.
You can lower the opacity of the overlay layers for a cool, unique effect.
5. Before saving, make sure no text or important elements are within 160px of the left corner, which is where your Facebook profile photo will show up.
So what are you waiting for?! Go dress up your social media accounts!
Leave a Reply