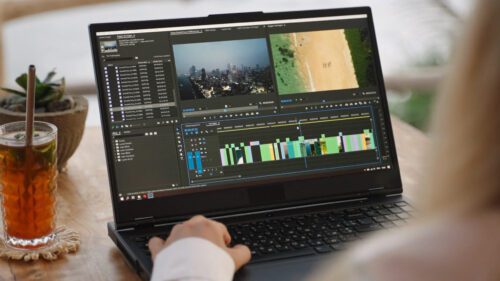
Stop motion and time lapse are a fun effects to occasionally incorporate into your video editing projects. You may think, however, that you need fancy software or high end video editing programs to get the job done. Not true! Even iMovie can create slow video and time lapse videos if you know how to manipulate it. Here are step by step instructions for creating a stop motion or time lapse sequence in iMovie.
1. Open iMovie. Go to Properties>Timing. Change the preferences from “Ken Burns” to “Fit in Frame”. This will keep your photos from zooming in and out during the stop motion effect.
2. Assuming all of your photos are already in sequential order, just click and drag them into iMovie.
3. Adjust the duration of each clip. To do this, double click on one of the images. This will bring up the inspector window. Change the duration from 4 seconds down to .1 second. Apply this to all the stills. This will make your stop motion sequence move at a rate of 10 frames per second (this is the fastest that iMovie will allow).
4. Export the video. This way you can string together multiple stop clips if you’re trying to accomplish multiple scenes.
5. Add your stop motion clip to your project and add transitions, text, color correction and more!
See? Pretty easy! Sure, iMovie is not going to be the best software to create stop motion and time lapse, but it will get the job done!


