
Practically all cameras these days shoot in full color, but sometimes you want that classic black and white look. Take, for example, the show, Black Mirror. In the Season 4 episode titled,“Metalhead,” director David Slade decided to film the episode in black and white. The decision paid off, as critics praised Slade and the episode for the creative use of black and white film on a traditionally colorful show.
Maybe you’re looking to create the same intense effects as “Metalhead,” or maybe you want to infuse a 1920’s vibe into your next project. You could even be trying to make a 2000’s crying-out-your-car-window-in-the-rain music video that can only be emotionally satisfied with some dramatic B&W. Lucky for you, creating this effect is pretty simple in iMovie.
It’s much easier to shoot in color and switch to black and white later than it is to shoot in black and white and realize you wanted color. This provides you with more flexibility and options—even if you don’t want to go fully black and white, you can reduce the saturation to create a different effect. By using stock footage clips from our library and following two simple steps, you can easily convert color footage to black and white in iMovie.
Import your video clips into iMovie
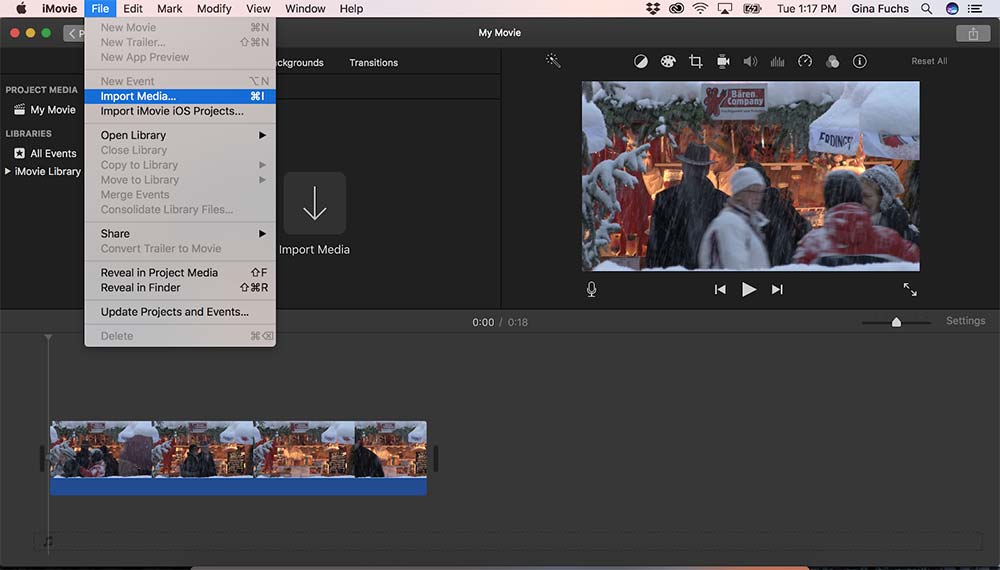
Open iMovie and click File>Import Media to import your file.
Convert video to black and white
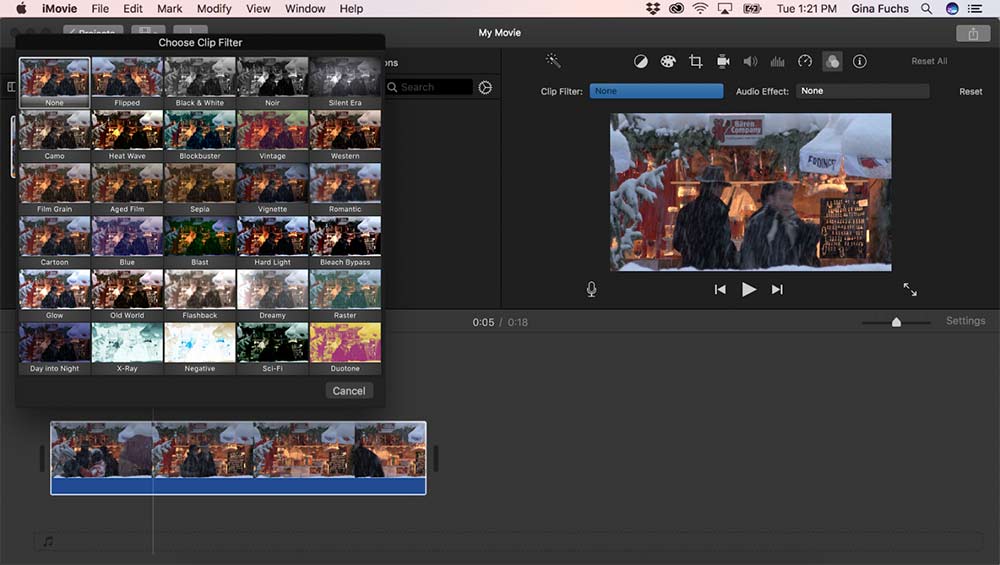
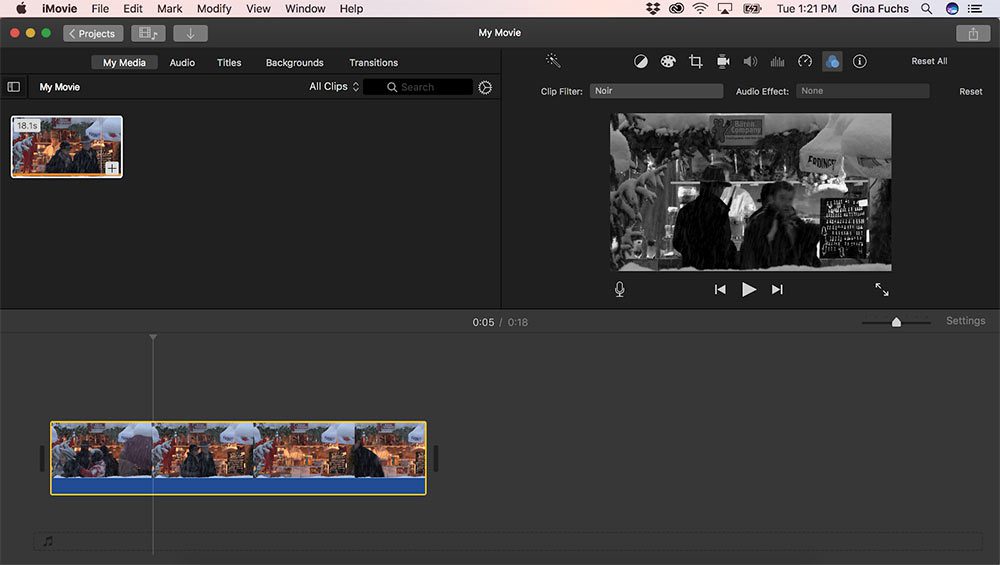
Once your video is uploaded, drag the clip onto the timeline. In the upper right-hand corner you’ll see an icon with three circles—clicking on this icon will reveal the “Clip Filter” and “Audio Effects” buttons. Select the “Clip Filter” option to change your clip to black and white or to apply other color effects.

That’s it! You can apply this black and white effect to one clip or your entire project.
Bonus: Adjust Saturation Levels to Get Your Look Just Right
Want to lower the saturation of your clip, but don’t want to go completely black and white? Rather than clicking the circle icon on your video panel, click the palette icon (a.k.a. the “Color Correction” button).

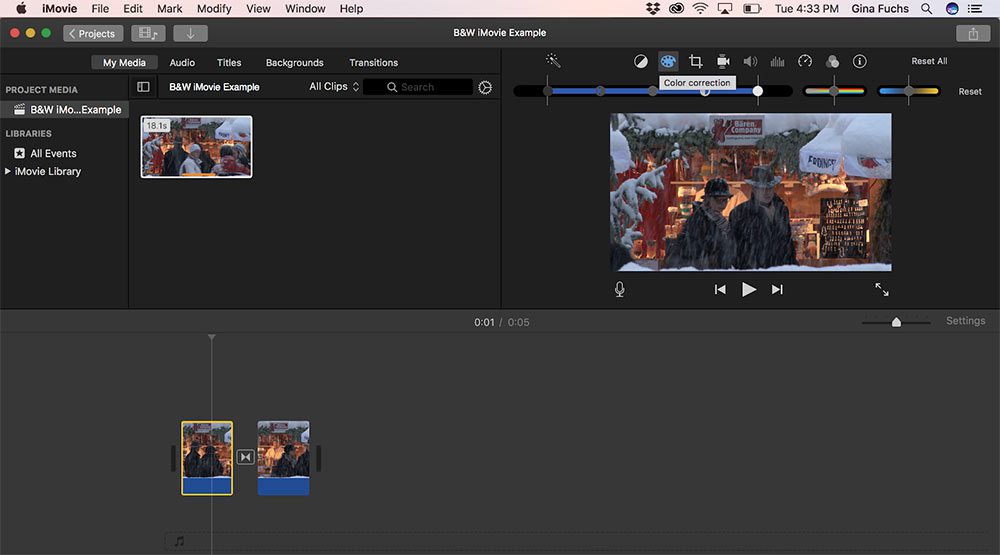

This will reveal a slider that allows you to change the clip’s saturation as you please.
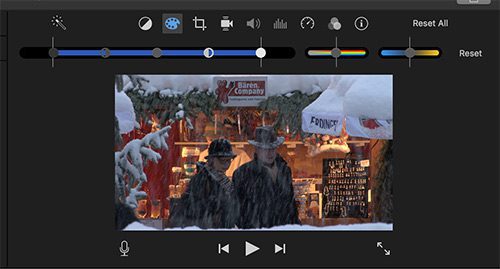
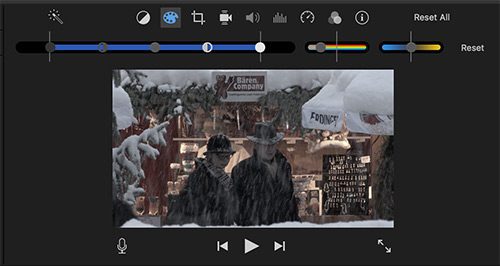
In the images above, we de-saturated the original clip (left) by adjusting the rainbow bar in the upper right-hand corner. You can also make the saturation more intense by moving the bar in the opposite direction. If you’re not happy with the adjustments, you can always reverse the changes by selecting “reset.”
For more editing tips and tricks, check out the other video tutorials on our blog. To get inspired, explore our video library for footage to fit any mood.


