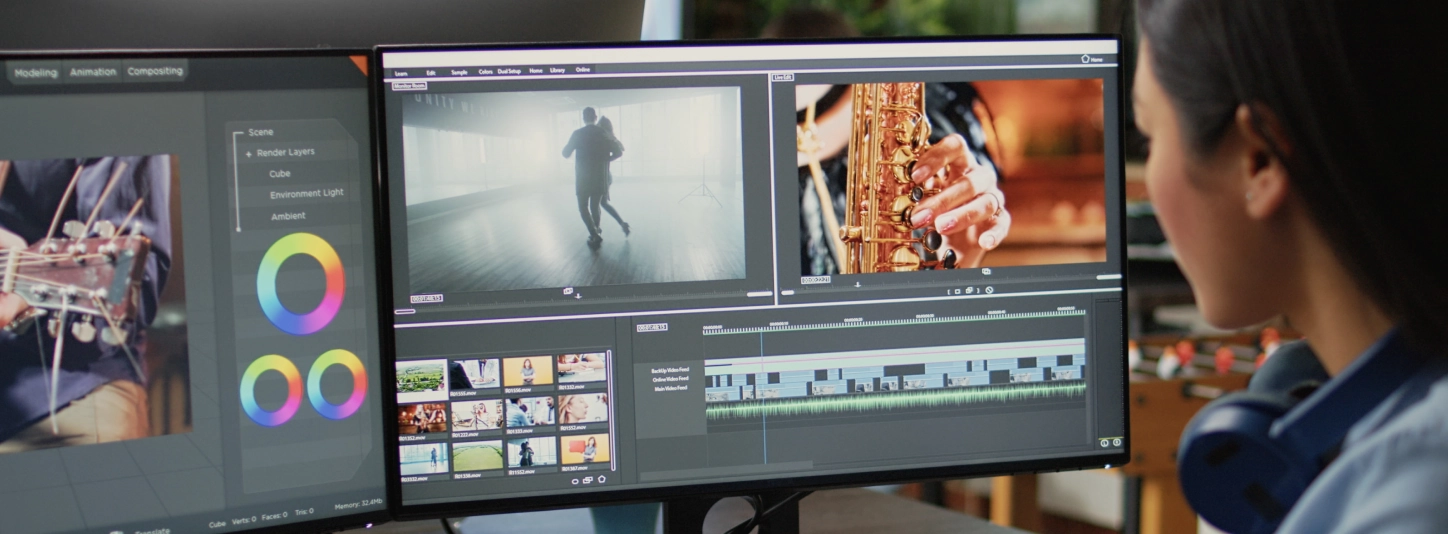
You’ve done it. You’ve designed an incredible website for your blog or small business, and you’re almost ready to take it live. But it’s just missing one thing: standout website hero images to tie it all together! Whether your site focuses on self-care, drool-worthy recipes, travel, technology, or your own personal ventures, hero images need to grab readers’ attention. The more interest your website generates, the more followers you’ll rack up. Before you know it, you’ll be seeing your articles in feeds everywhere.
Most hero images are wide and short, so you’re probably not going to find an image that’s already the perfect dimensions. We’ve got some helpful hints to help you create website hero images that are as effective as they are creative.
How To Choose a Hero Image
There are a few things to keep in mind when selecting a hero image. Keep it authentic, keep it on brand, and keep your dimensions in mind. Also, it’s best to avoid copy- and design-heavy images, as they can be hard on the eyes.
Cropping Your Website Hero Image
While finding a wide and short image would be ideal, it’s not always easy. Cropping images is a simple way to get the perfect dimensions while including the parts of the photo you like most. There are two ways to crop your image to the right dimensions, but first, you’ll want to change your image size to make it easier to work with. We’ll be using this beautiful landscape image, but feel free to use whatever image you want.
In the top, menu bar, go to Image > Image Size, then type the desired width of your hero image into the width box.
Right click on the ruler at the top and make sure your default measurement is in pixels.
Now, select the Crop Tool and crop your photo to the correct heights. The width will stay the same, and you’ll look at the pixel number to crop it to the desired height.
Once you’ve got the right dimensions, you can drag the photo within the cropping frame to adjust which parts of the photo are visible.
As we said before, there’s another way to crop your photos. First, open your photo in Photoshop, then leave it for a minute while you create a new doc with the right dimensions for your hero image.
Now, go back to the document with your photo and copy the entire image using Command + A then Command + C (Ctrl + A and Ctrl + C for Windows users). Paste the photo into your correctly-sized doc using Command + V. To resize your photo, click Command + T, then hold the shift key while dragging the corners of the photo in. Drag the corners until the photo fits the way you want it to. If you accidentally drag too far in, just undo it and start over! Once you’re done, you’ll have a beautiful hero image for your site!
Join Our Creative Community
Access the best video tips, design hacks, and deals straight to your inbox.
How To Use Text with Website Hero Images
You don’t want your copy to go unnoticed, so when adding text to your website hero image, it’s important to use a font and color combination that pops. If you know that your site will have a light text color, then consider using a darker image (and vice-versa). In the galaxy image used below, we used a darker photo of the galaxy with lighter text to make sure that our copy would be seen.
If you want to use a specific image that will make it difficult to see the copy, try adding text effects like a drop shadow, gradient, or custom stroke setting to add weight to your copy.
We went ahead and added a Drop Shadow to the text on this photo of a sunset on a river by right-clicking on the Text Layer, choosing Blending Options from the drop-down menu, and selecting the Drop Shadow effect.
You can manipulate dark-colored text on hero images using the same steps. We added a black font to this lighter image to create contrast, then we went in and added a Drop Shadow and an Outer Glow. We used the Eyedropper Tool to grab the color of the flower petals for the Outer Glow to add a warm, springtime feeling to the dark text.
Adding Blank Copy Space to Your Website Hero Image
Do you ever catch yourself thinking, “This image would be perfect if I had just a little more space for my copy…” Say you’ve got an image that you love, like this fun photo of a donut, but there’s no place to put your copy and the photo won’t fit your dimensions well. It’s no big deal—we can easily add some extra space using the Eyedropper Tool and the Rectangle Tool in Photoshop.
Open your photo in Photoshop and copy and paste it into a new document with your hero image’s dimensions (just like we did in our cropping example above).
Resize your photo using Command + T and dragging the corners in until it fits.
As we mentioned before, the dimensions of the photo are not ideal for your hero size, but no worries—we can fix that. Use the Eyedropper Tool to match the color of the background in the photo, then select the Rectangle Tool. For the Fill color, use the color that we just matched with the background. Now, click and drag to create a rectangle that will fill the white space.
Voila! You have now added blank copy space to your website hero image.
Your website is a one-stop shop to showcase your business, talents, knowledge, and creativity—don’t let less-than-perfect hero images take away from your incredible content. Our library is jam-packed with authentic stock photos just waiting to be featured on your website. Now go create some viral content!
Leave a Reply