
Are you a budding YouTuber or vlogger wondering what production equipment to invest in? With all of the different cameras and gear options out there, it can definitely be overwhelming. In this post, we’ll take a look at the video gear you should consider purchasing and what features to look for.
Keep in mind that the equipment I recommend may not be exactly right for you. If not, this post should help you develop an understanding of what could make your videos better. From there, continue to do research and compare equipment while considering your needs to come up with a custom list of gear that’s right for you.
Cameras
First, let’s talk about cameras. You want to make sure your camera shoots in at least a 1080p resolution.
1080p is the minimum standard for today’s videos, and if you’re looking to future proof your camera, one that records in 4k resolution is even better! Keep in mind that filming in 4k will take up more hard drive space because the files are larger, and your computer might struggle to edit the higher resolution videos.
The camera you decide to go with depends on several things; your experience level, the effort you’re willing to put in to use the gear, your budget, and your desired quality of your videos.
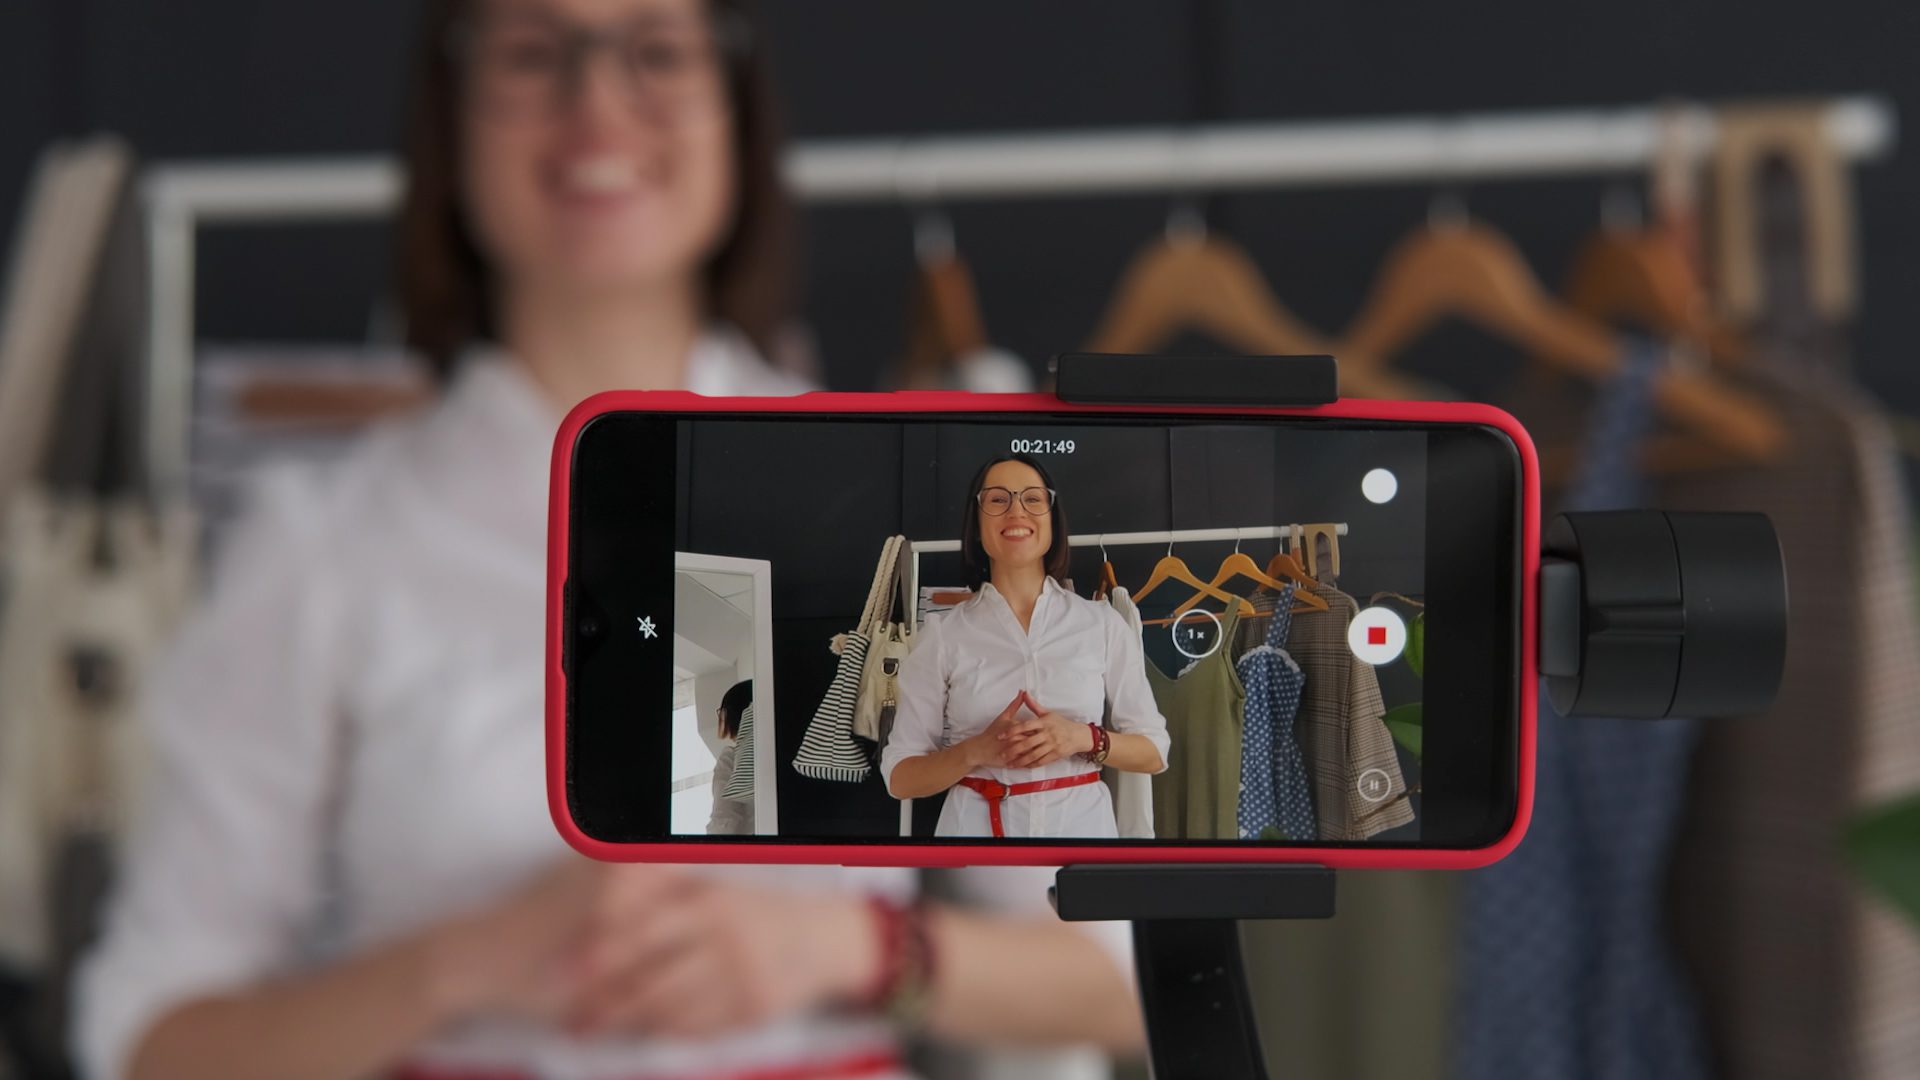
Smartphone
Chances are, you own a smartphone. A smartphone is the easiest and most budget-friendly option for shooting video. The quality captured on a smartphone can be decent in the right setting, but you will not have as much flexibility if you’re goal is high-quality.
Point and Shoot
If you want a dedicated camera to shoot your videos that’s still budget-friendly and easy to use, consider a compact camera — also known as a point and shoot. These cameras are lightweight and usually come with automatic settings and a built-in zoom lens. They may have limitations though like smaller sensors, lack of microphone input, or advanced camera settings.
What I recommend: Canon PowerShot SX620 HS Digital Camera
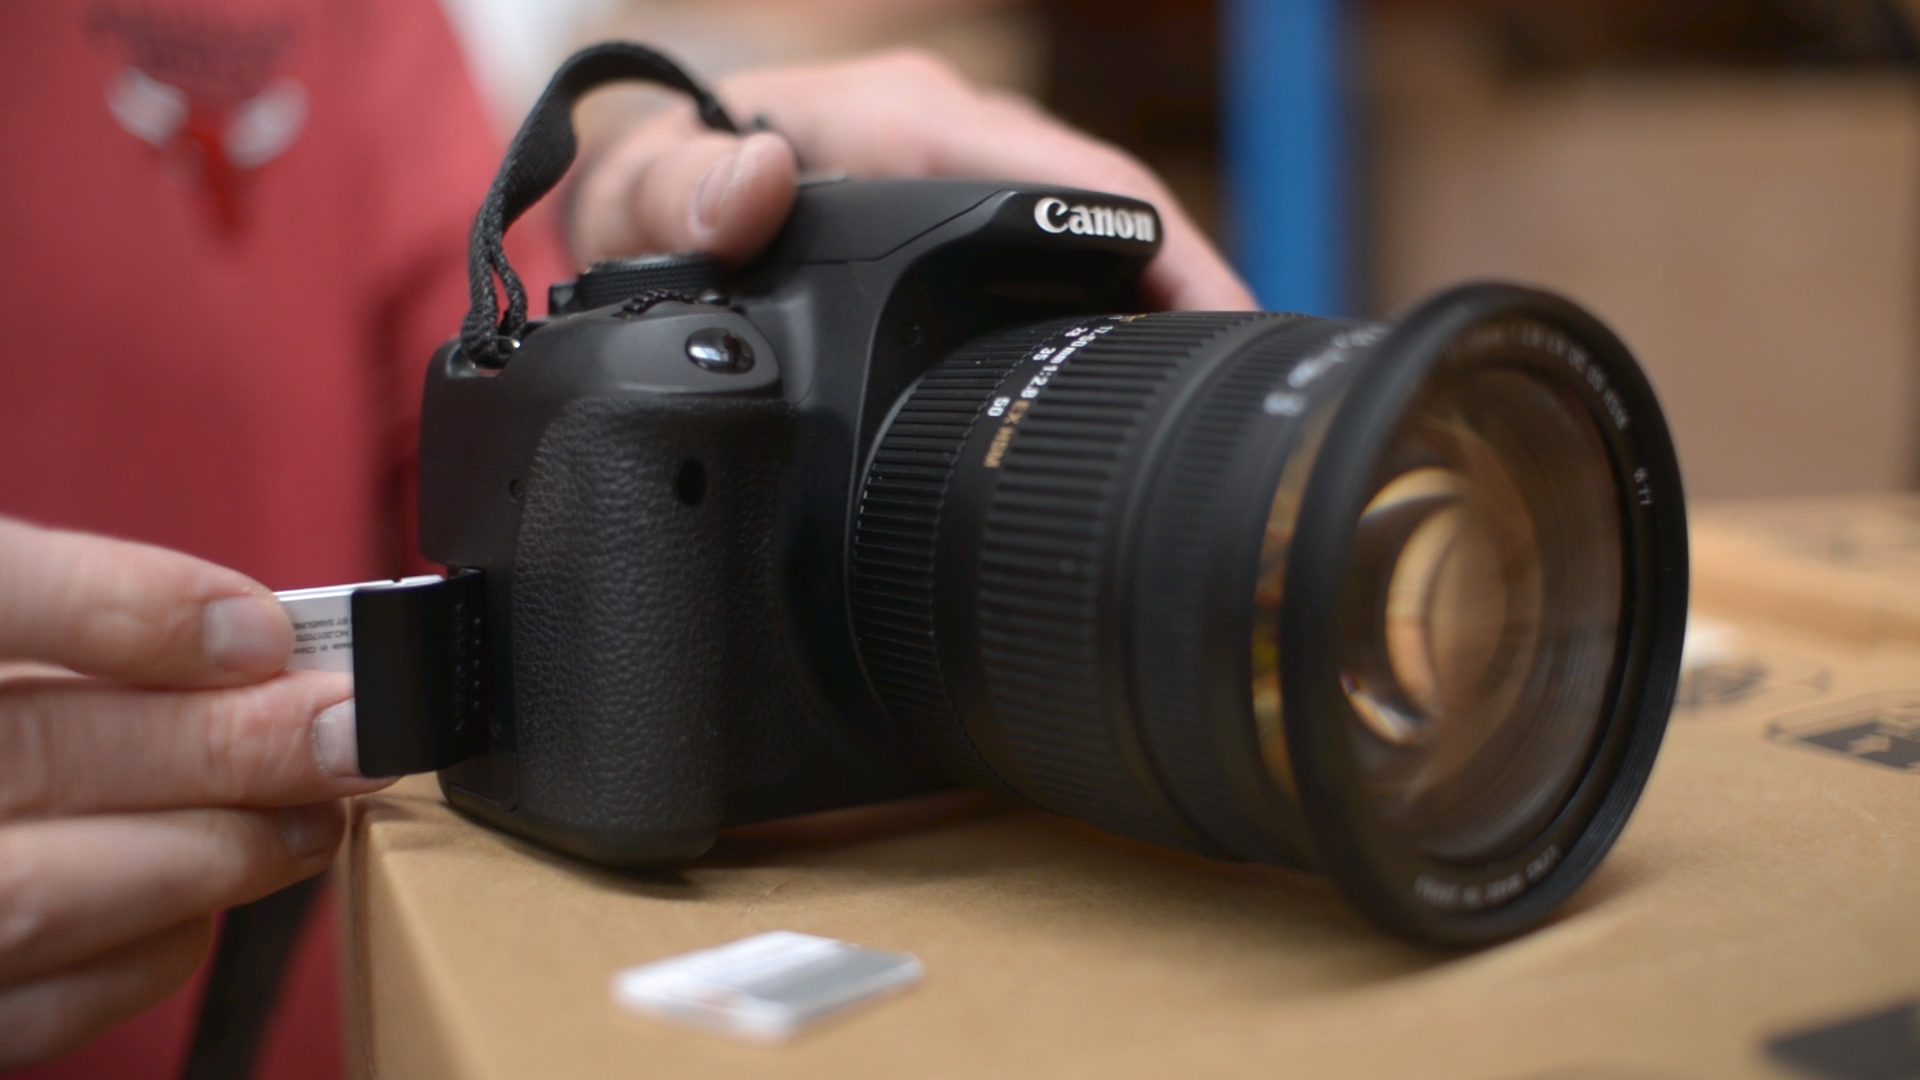
DSLR
If you’re taking YouTube or vlogging more seriously and have a bigger budget for your camera, then I recommend buying a DSLR or mirrorless camera. For the sake of this beginners blog post, we’ll consider both DSLR’s.
Although shooting with a DSLR comes with more of a learning curve than shooting with a smartphone or point and shoot camera, DSLR’s give you more control. You’ll have far more camera settings and the ability to change lenses to get precisely the type of clips you want.
DSLR cameras will need a lens for them to work, and the kit lens that comes with most DSLR packages will be fine when you’re starting out.
What I recommend: 1080P DSLR Camera with Kit Lens, 4K Mirrorless Camera with Flip Screen and Kit Lens
With both point and shoot and DSLR cameras, you’ll need an SD card or other type of memory card to record your footage onto. The benefit is, it will allow you to swap out your card for another when you run low on space, as opposed to storing footage directly on your smartphone which can run out of space.
Lastly, I recommend that you invest in a camera with a flip screen so you can easily see what you’re filming.
Audio Capture
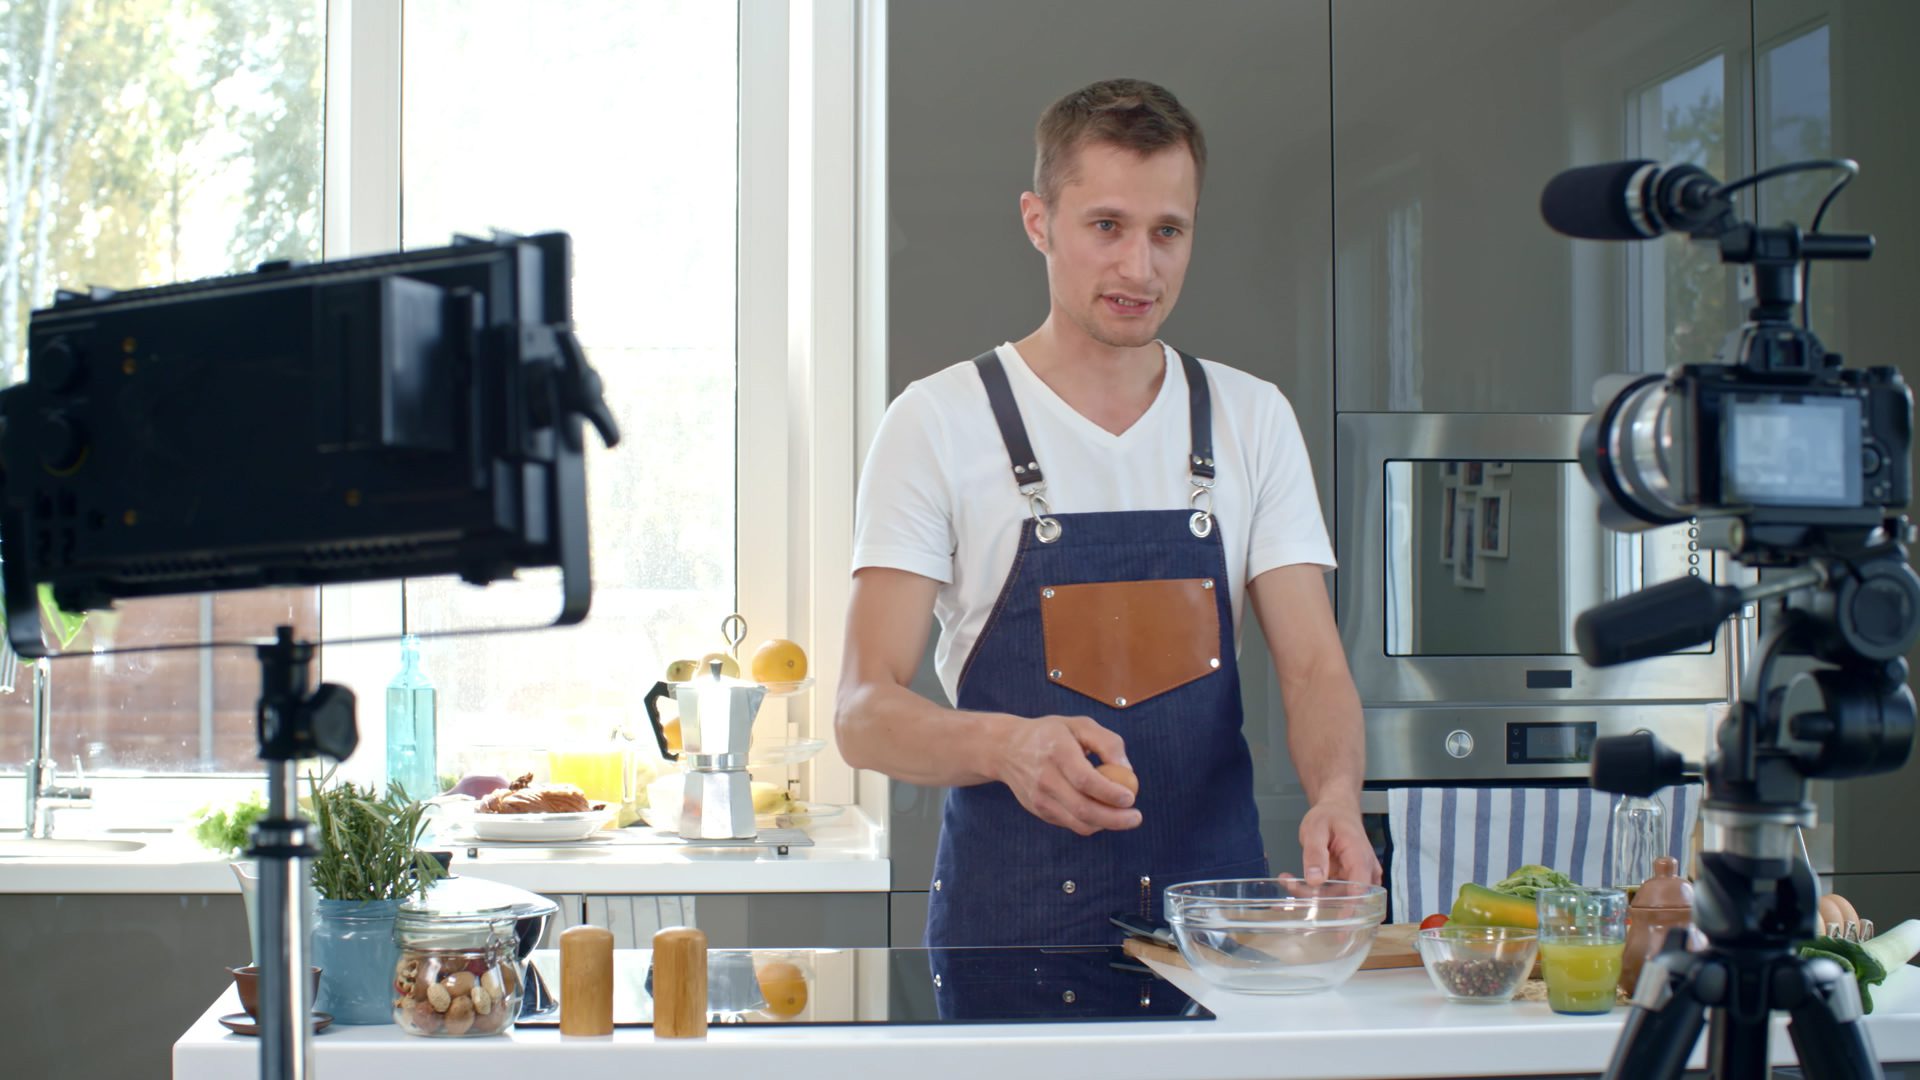
Next, let’s look at recording audio. Although you can technically get away with using your camera’s onboard microphone to record audio, chances are it’s not going to sound very clear or professional. And sound matters more than you may think. Poor sound quality in videos often results in a viewer leaving.
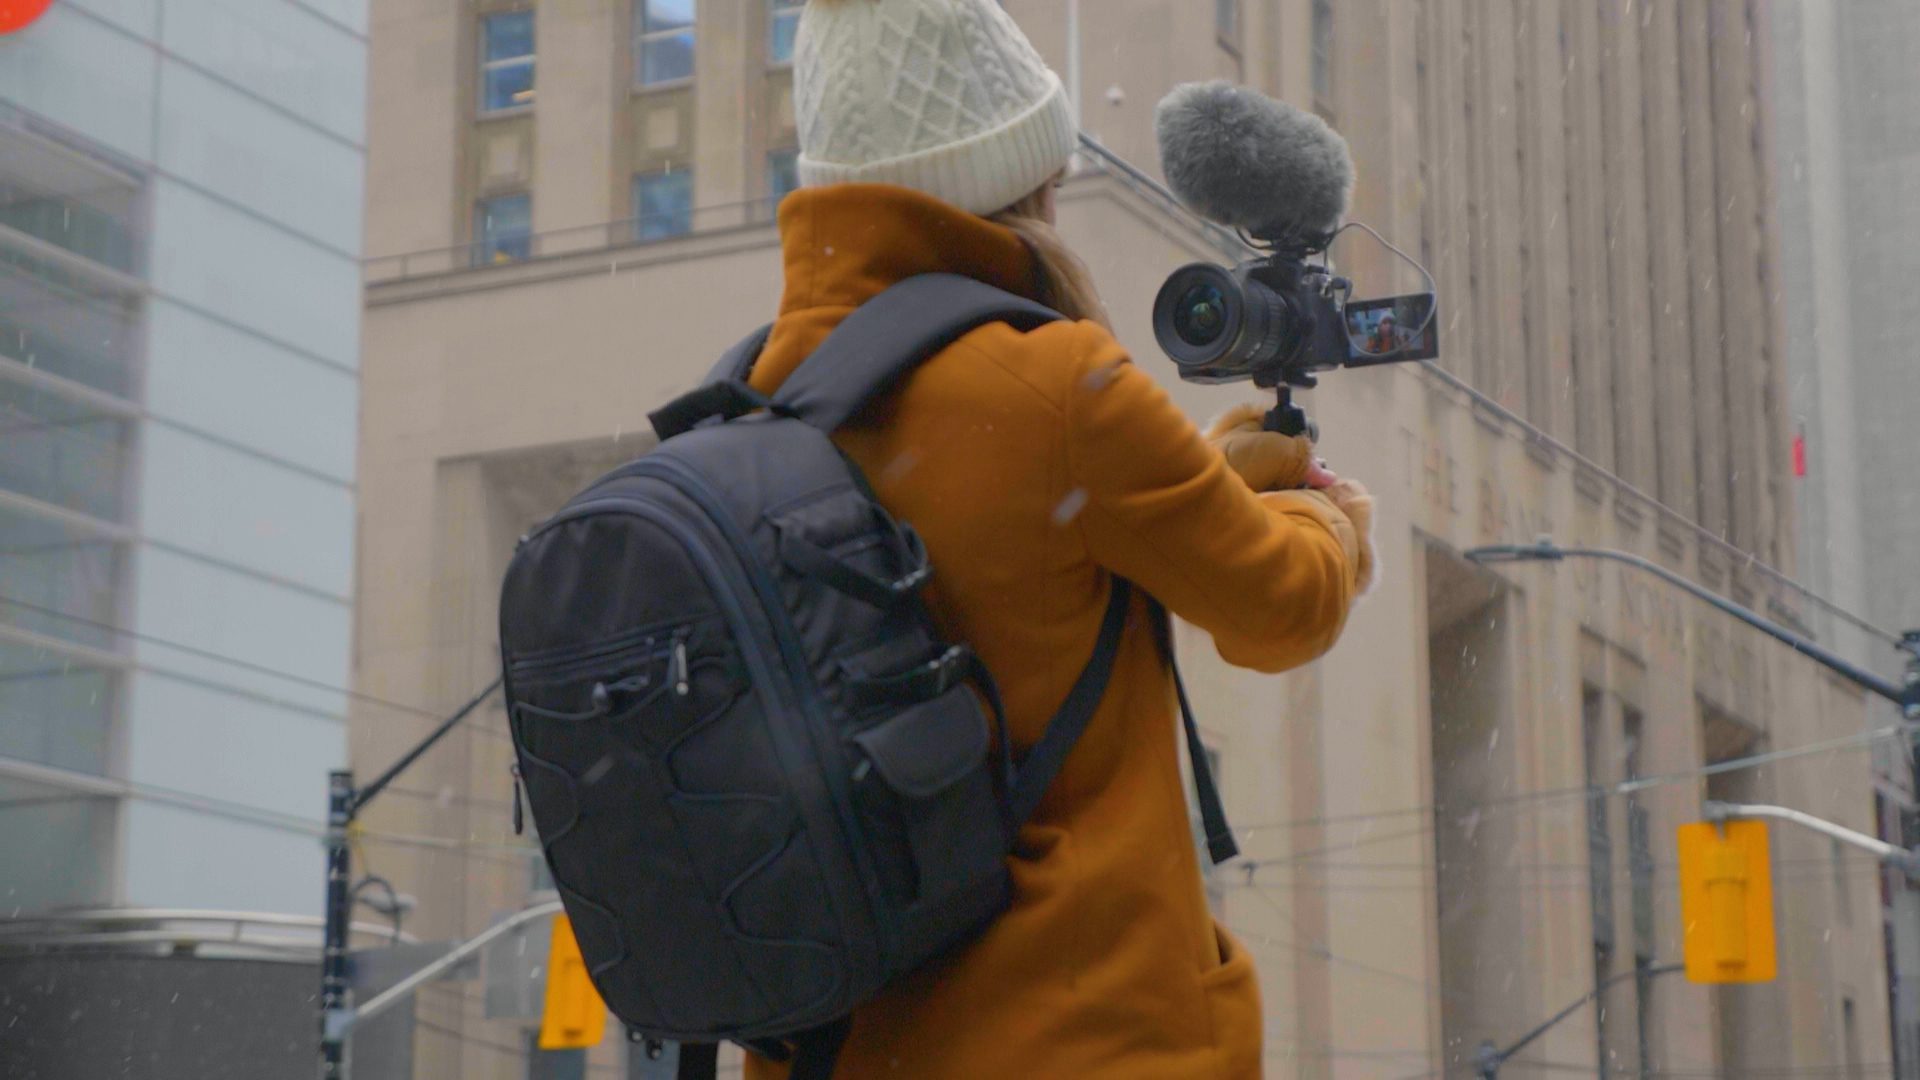
To record professional audio, I recommend getting an external shotgun microphone that can be mounted via the hot shoe mount on top of your DSLR. These microphones require an input jack on your camera to be plugged in and provide the best audio signal.
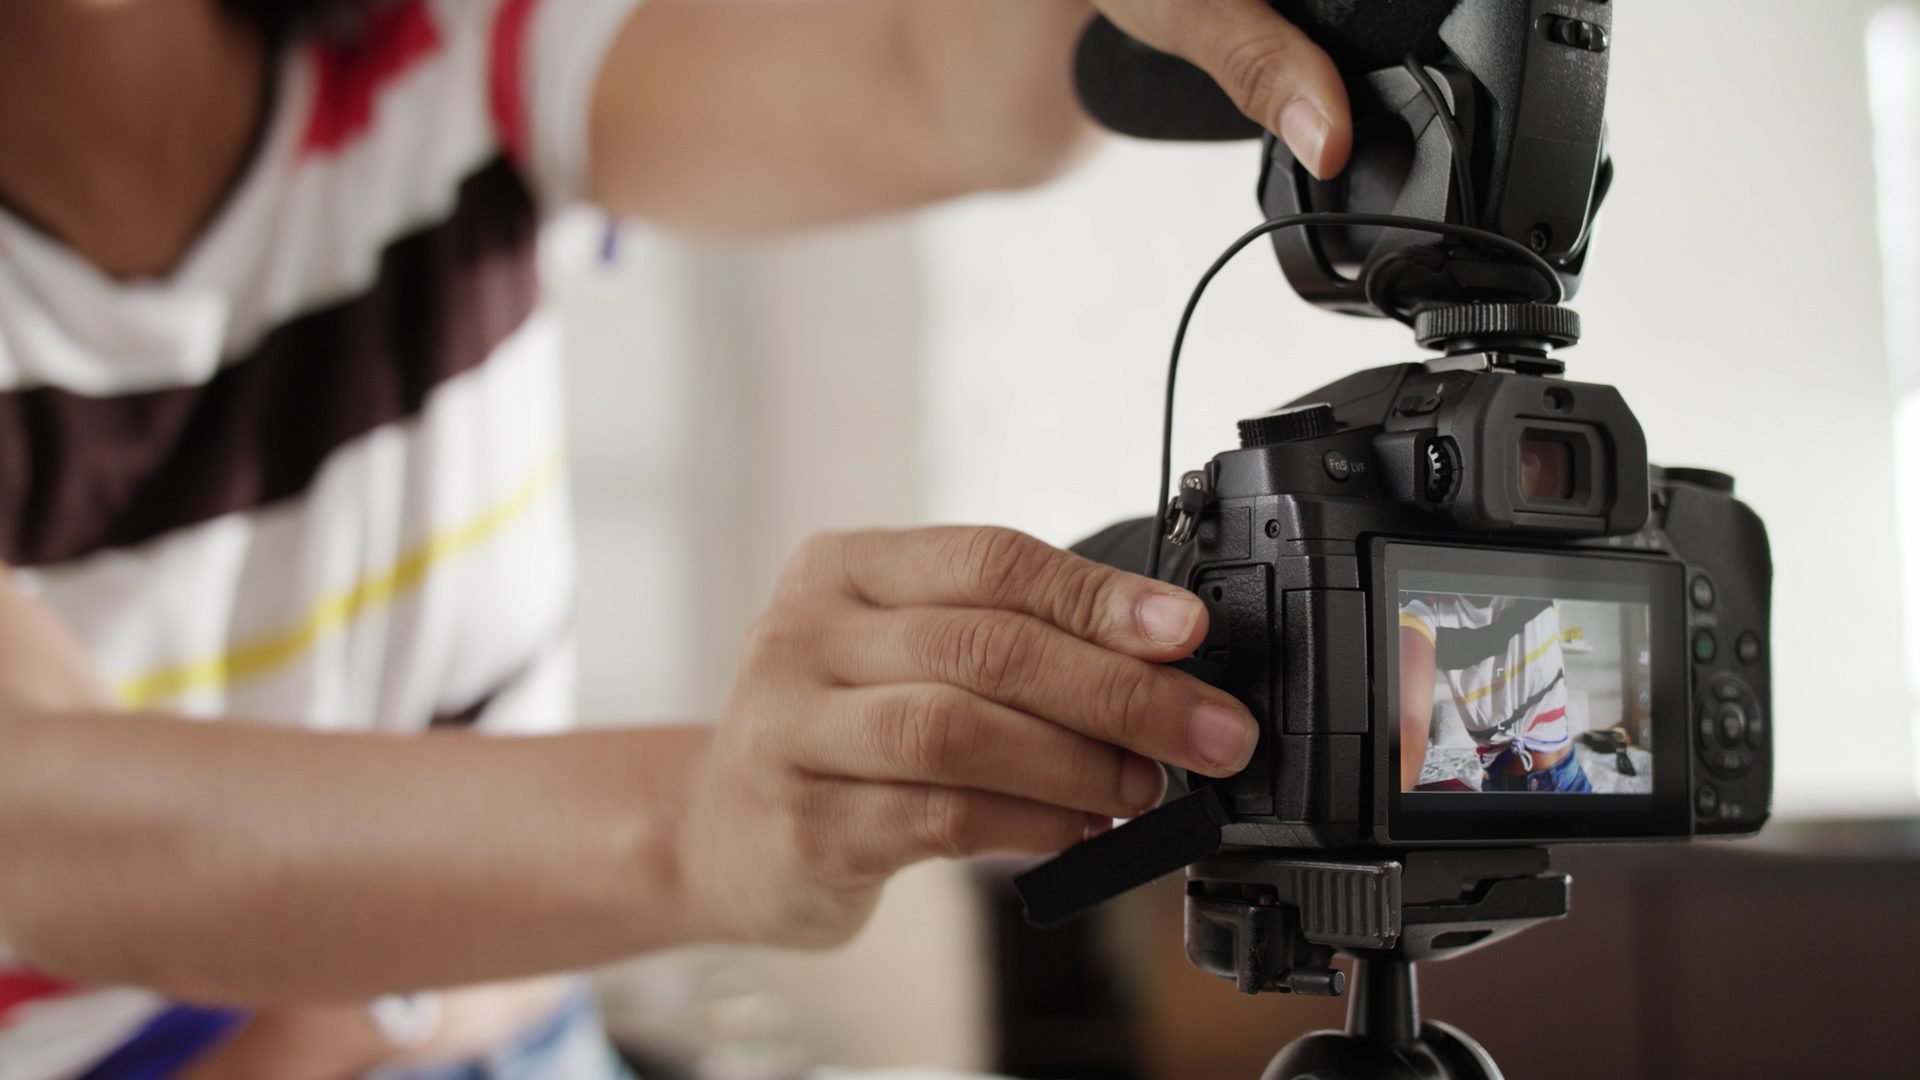
Shotgun microphones record directional sound so if the microphone is pointing at you as you speak, it will record better quality audio. To get the best results, make sure the camera and mic are no more than 2 – 4 feet away from you.
What I recommend: Shotgun Microphone
What should you do in cases where you need to be farther from the camera? Well, when an on-camera shotgun mic isn’t going to cut it, a wireless lavalier mic is a great alternative. You can clip a lavalier mic right onto you so that the microphone is nice and close and when you speak, it’ll capture excellent quality audio.
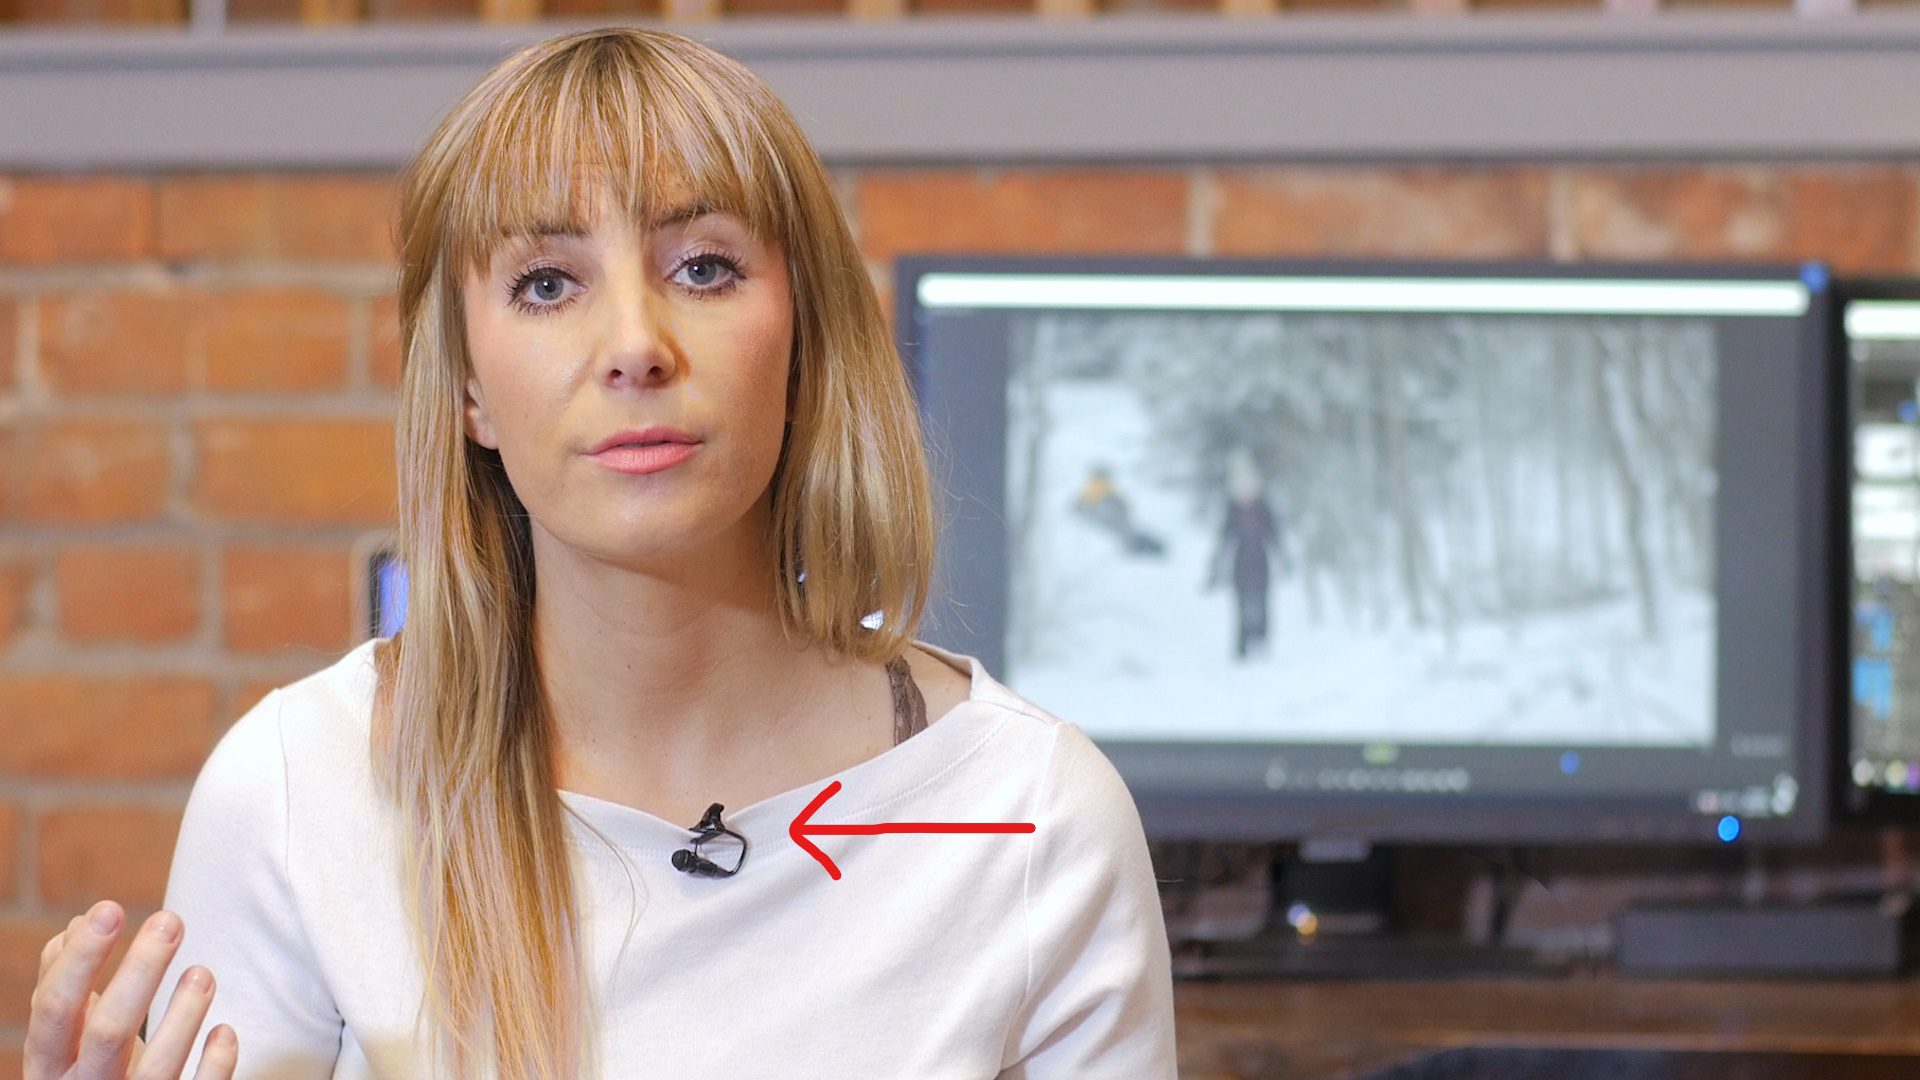
In this setup, the transmitter (which the lavalier mic is plugged into) sends the audio wirelessly to a receiver, which is plugged into your camera’s mic input jack.
What I recommend: Wireless Lavalier
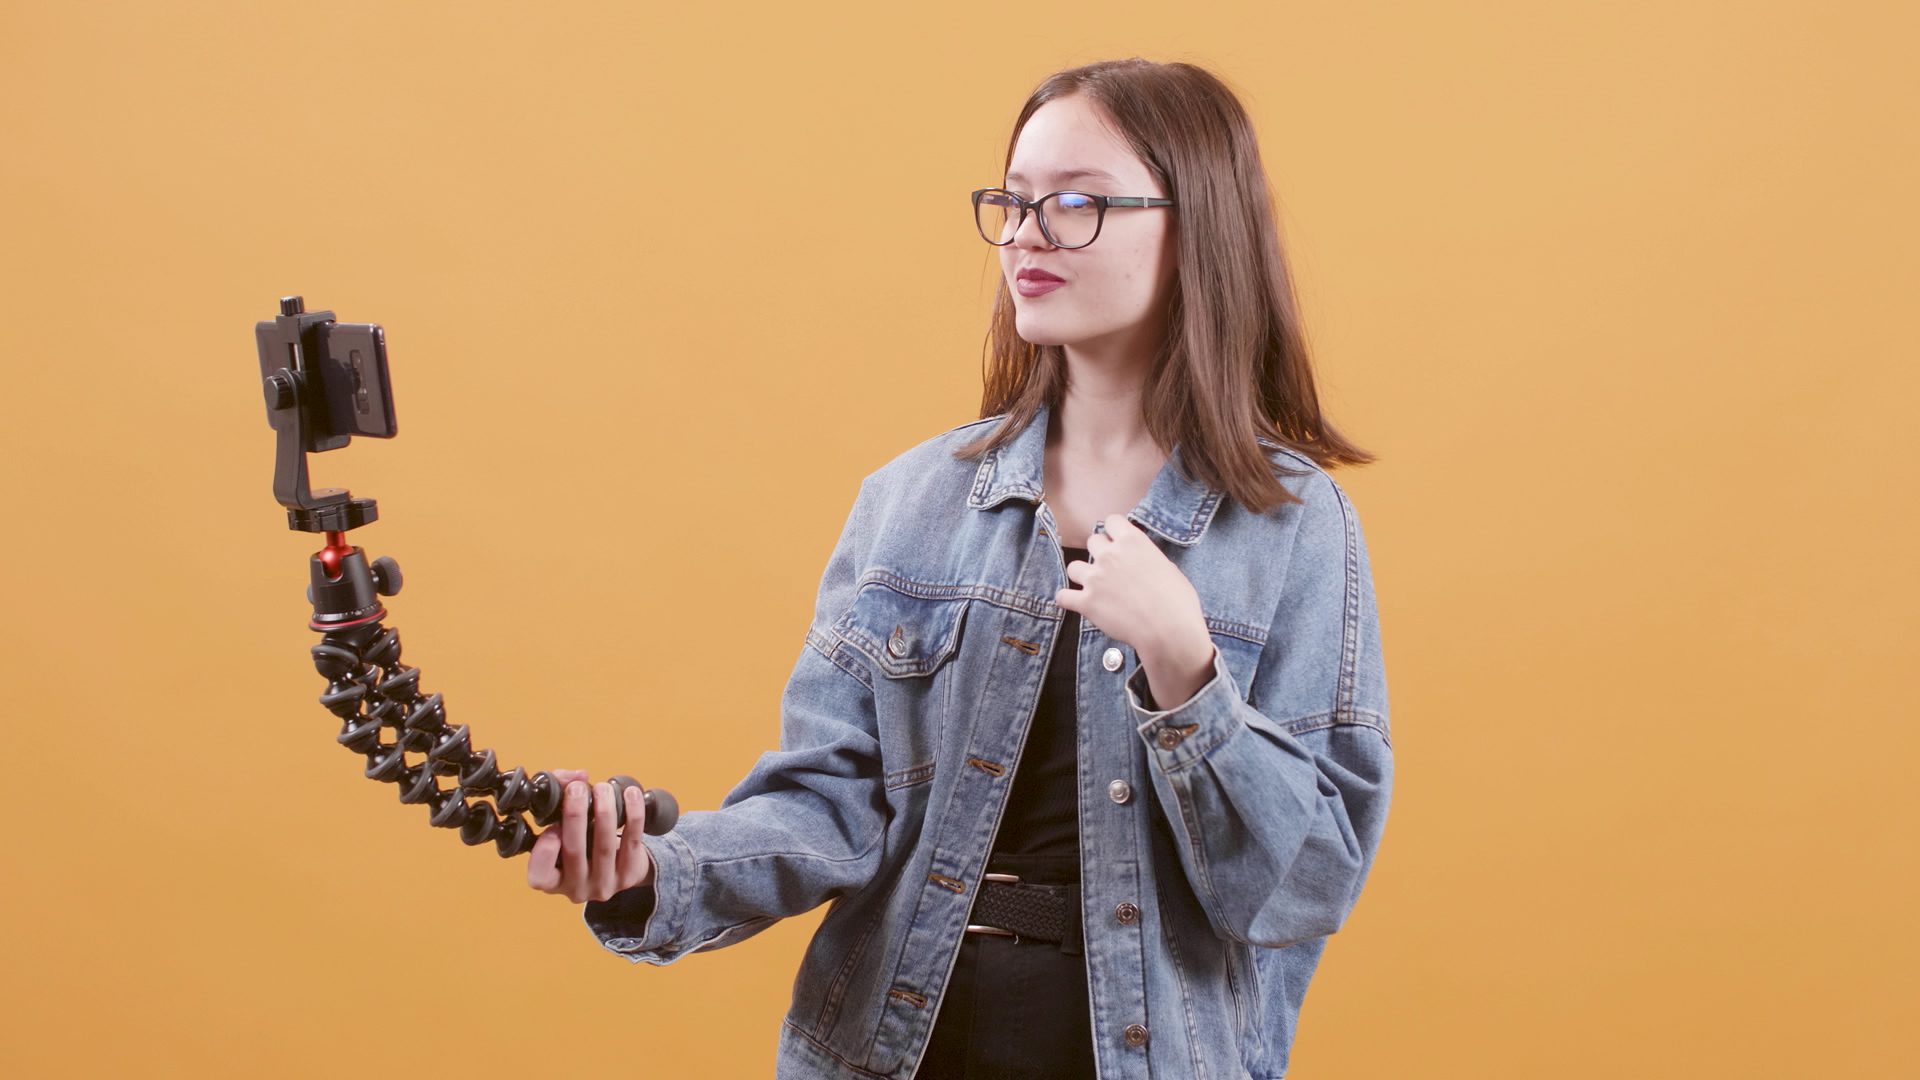
Tripods
Next, let’s talk tripods. While you can prop your camera up to film your vlogs on boxes or books, it’s not very practical long term, especially if you’re filming outside of your home. When choosing a good tripod, make sure you check out the weight that it can hold because you don’t want it to topple over once you put your camera on it. This is often shown as the max load capacity or max payload.
The most popular vlogging tripod is the Gorillapod. While it doesn’t have a lot of height, it’s incredibly portable and adjustable. Bonus; you can actually wrap the legs around objects to secure it, and place just about anywhere.
What I recommend: Joby GorillaPod Tripod
If you do need a more professional tripod, make sure you get one that has a fluid head if you’re capturing video. A fluid head is essential for video because it allows you to smoothly pan and tilt to get smoother footage.
Entry-level fluid head tripods from Manfrotto are great. Just read through the specs to make sure it does what you need and remember to check the reviews before purchasing.
Lighting
Using lighting to your advantage is another crucial aspect of producing great videos.
If you’re filming outside in daylight, chances are you will have enough natural light. However, if you’re shooting indoors, you’ll either need to be near a window that brings in a lot of natural light or have your own light source. The benefits of good natural light are it will be softer and look really nice. However, it is inconsistent, and you aren’t in control of it. If it becomes suddenly cloudy, and your light goes from bright to dark while filming, the lighting in your video won’t be consistent, and that can be distracting.
For consistent, controlled lighting, I recommend that you get at least one LED light. LED lights don’t heat up, and are energy efficient. Most of the time, it makes more sense to buy a kit that comes with two LED lights and two light stands, as you’ll have twice the amount of light and much more control. Look for lights that have adjustable dimming options, so you can control how bright the light is.
LED lights, by design, give off a soft light, but most also come with additional diffusion; either a blurred plastic panel or a fabric to place in front of the light.
What I recommend: 2 LED Light and Stand Kit
That’s a Wrap
And there you have it. That’s my list of the equipment every vlogger should consider investing in to create better videos. If you’re looking for more advice about getting started on YouTube, check out the YouTube tutorials and resources on the Storyblocks blog. Thanks for reading, and have fun creating!
Get Started with Stock Footage Today